Mixed Hardness Rock Tumbling requires careful planning and the right techniques to achieve professional results. When you tumble rocks of different hardness levels together, you face unique challenges that can make or break your project.
Success comes from understanding rock properties, selecting proper equipment, and using proven methods. With the right approach, you can create stunning polished stones even when working with varied hardness levels.
TL;DR
- Sort rocks using the Mohs scale (1-10 hardness rating) before tumbling to prevent damage.
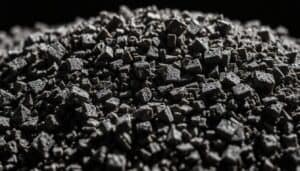
- Use silicon carbide grit starting at 60/90 mesh for mixed loads, then progress to 220, 400, and polish.
- Apply the staged approach method – tumble hardest rocks first for 7 days, then add softer ones.
- Check progress every 24 hours to prevent over-tumbling of softer stones.
Mixed Hardness Rock Tumbling Basics
The key to successful mixed hardness tumbling lies in understanding rock properties before you start. Each rock type responds differently to the tumbling process based on its hardness rating.
Hard rocks like quartz (hardness 7) need longer tumbling times than softer materials like limestone (hardness 3). When mixed together without proper preparation, harder rocks can damage softer ones or create uneven finishes.
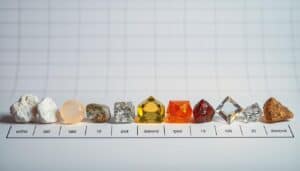
Understanding the Mohs Hardness Scale
The Mohs scale ranks minerals from 1 to 10 based on scratch resistance. Talc rates a 1 while diamond scores a perfect 10.
For rock tumbling, you want to group materials within 2-3 hardness points of each other. This prevents excessive wear on softer specimens during the polishing process.
Common Challenges and Solutions
Mixed hardness loads create specific problems that require targeted solutions. Understanding these issues helps you plan better tumbling strategies.
Uneven Polishing Problems
Harder rocks often finish polishing before softer ones reach their potential. This creates batches with mixed quality results that look unprofessional.
- Timing issues – Different rocks need different cycle lengths
- Grit selection – One size doesn’t fit all hardness levels
- Load composition – Wrong ratios of hard to soft materials
Damage to Softer Stones
Softer rocks can chip, crack, or develop pits when tumbled with harder materials. Prevention requires protective techniques and careful monitoring.
The most effective approach involves creating buffer zones using medium-hardness rocks or specialized cushioning media.
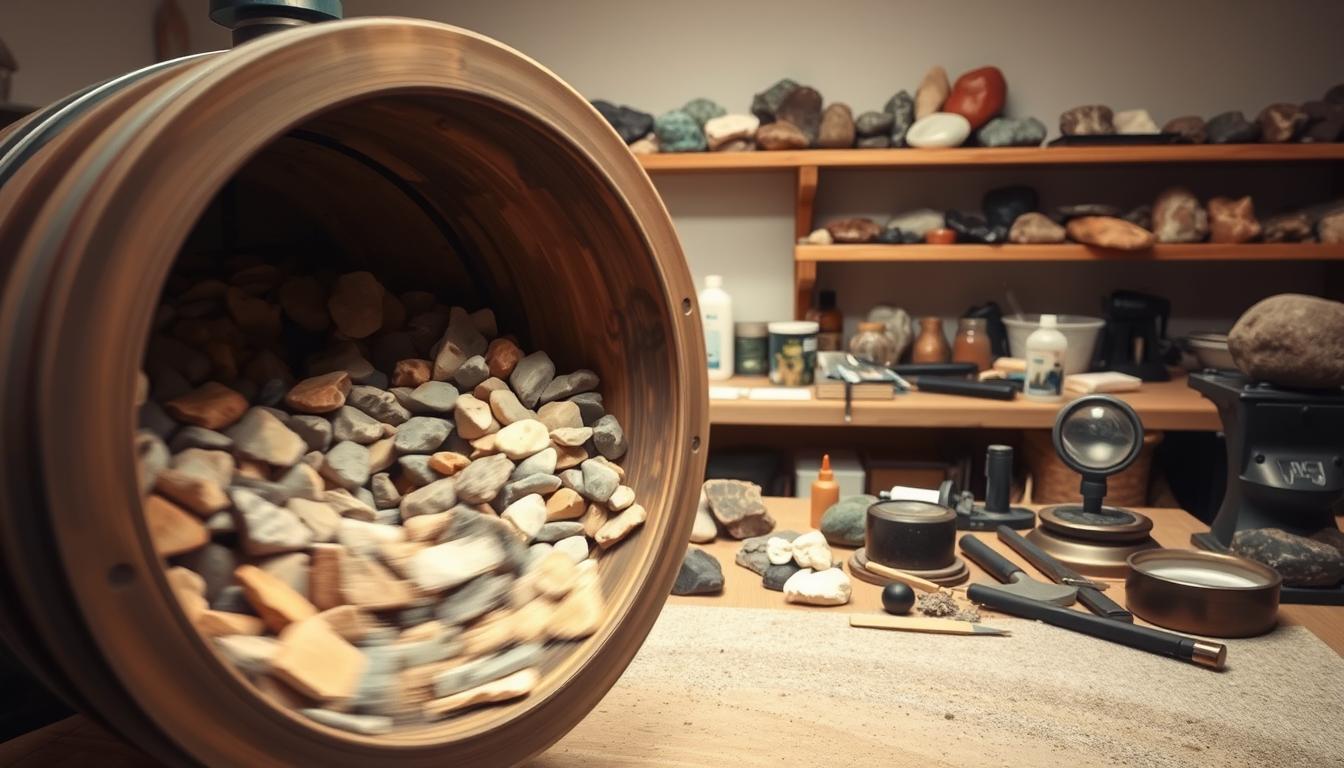
Rock Preparation Techniques
Proper preparation makes the difference between success and failure in mixed hardness tumbling. Start by sorting your collection using reliable hardness testing methods, and consider preforming rocks before tumbling to ensure optimal results.
Sorting by Hardness Levels
Test each rock using simple scratch tests or reference charts. Group materials into compatible hardness ranges for better results.
- Test each specimen. Use known minerals to scratch test unknown rocks.
- Create hardness groups. Sort into ranges like 3-5, 5-7, or 7-9 on the Mohs scale.
- Record your findings. Label containers so you remember which rocks go together.
Pre-Tumbling Preparation
Clean rocks thoroughly and inspect for cracks or inclusions that could cause problems. Remove any loose material that might contaminate your grit.
Size sorting matters too – keep rocks within similar size ranges to ensure even tumbling action throughout the barrel.
Equipment Selection for Mixed Loads
Different tumbler types handle mixed hardness loads with varying degrees of success. Choose equipment that matches your specific rock combinations.
Rotary vs Vibratory Tumblers
Rotary tumblers work well for mixed loads because they provide gentle, consistent action over long periods. The rolling motion helps prevent excessive impact damage to softer materials.
Vibratory tumblers offer more control but require careful adjustment to prevent over-processing softer rocks while harder ones remain unfinished.
Pro Tip for Mixed Loads
Fill your tumbler only 2/3 full when working with mixed hardness rocks. This extra space prevents excessive impact and allows better cushioning action.
Grit Selection Strategy
Start with coarser grits than you might use for single-hardness loads. This helps level the playing field between different rock types.
- Stage 1 – 60/90 mesh silicon carbide for initial shaping
- Stage 2 – 220 mesh for smoothing surfaces
- Stage 3 – 400 mesh for pre-polishing
- Stage 4 – Aluminum oxide or cerium oxide for final polish
Proven Tumbling Methods
Several specialized techniques help overcome the challenges of mixed hardness tumbling. Each method addresses specific problems you might encounter.
The Staged Approach Method
This technique involves starting with your hardest rocks and adding softer materials in later stages. Begin tumbling the hardest specimens for several days before introducing medium and soft rocks.
The staged approach prevents over-processing of softer materials while ensuring harder rocks get adequate tumbling time.
Protective Matrix Technique
Surround softer rocks with medium-hardness materials or specialized cushioning media. This creates a protective barrier that reduces direct contact between hard and soft specimens.
Ceramic media or pre-tumbled rocks of medium hardness work well as protective materials.
Monitoring and Troubleshooting
Regular progress checks help you catch problems before they ruin your entire batch. Inspect your rocks every 24 hours during the first week.
Signs of Problems
Watch for these warning signs that indicate you need to adjust your approach:
- Excessive pitting – Usually means grit is too coarse or tumbling too aggressive
- Uneven wear patterns – Indicates poor load composition or inadequate cushioning
- Fracturing – Sign that rocks weren’t properly sorted or have hidden flaws
If you notice rocks cracking in your tumbler, it’s essential to identify the cause quickly and adjust your approach.
When to Separate Problem Rocks
Remove any rocks that show signs of excessive damage or those causing problems for others in the batch. It’s better to tumble problem specimens separately than risk ruining your entire load.
Some rocks simply aren’t suitable for mixed hardness tumbling and need individual attention to achieve good results. Be sure to check our guide on rocks not to tumble to avoid common mistakes.
Articles You May Like
Frequently Asked Questions
Can you tumble rocks of different hardness together?
Yes, but only if you use proper techniques like staged approaches or protective matrices. Keep hardness differences within 2-3 points on the Mohs scale for best results.
How long does mixed hardness rock tumbling take?
Mixed loads typically take 4-6 weeks total, with each stage running 7-10 days. Softer rocks may finish earlier and need removal to prevent over-processing.
What grit should I start with for mixed hardness loads?
Start with 60/90 mesh silicon carbide grit for most mixed loads. This coarser grit helps level differences between hard and soft rocks during initial shaping.
Why are my softer rocks getting damaged during tumbling?
Damage occurs when harder rocks impact softer ones directly. Use protective matrix techniques or separate extremely different hardness levels into different batches.
How do I fix uneven polishing in mixed loads?
Remove rocks that finish polishing early and continue tumbling remaining specimens. Alternatively, extend polishing time for the entire batch but check progress daily.
Final Thoughts
Mixed Hardness Rock Tumbling requires patience and attention to detail, but the results justify the extra effort. Start with compatible rock combinations and gradually experiment with more challenging mixed loads as your skills develop. Understanding rock hardness and polish relationships will help you achieve better results with every batch.
Remember that some rock combinations simply work better than others – don’t be afraid to separate problematic specimens and tumble them individually for better results.