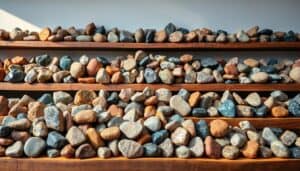
How To Clean Rocks Without A Tumbler offers rock collectors an accessible path to revealing their specimens’ hidden beauty. Many rockhounds assume expensive tumbling equipment is necessary for proper cleaning, but simple household methods can achieve impressive results. These techniques work especially well for beginners or collectors who want to preserve delicate specimens that might be damaged by mechanical tumbling.
Manual cleaning methods give you complete control over the process and cost virtually nothing to implement. You can start with basic supplies from your kitchen and bathroom to transform dirty, dull rocks into polished treasures worth displaying.
TL;DR
- Soap and water cleaning removes 80% of surface dirt from most rock specimens in 15-20 minutes of gentle scrubbing.
- White vinegar soaks for 2-4 hours dissolve calcium deposits and mineral buildup that obscure a rock’s natural patterns.
- Progressive sandpaper technique using 120, 220, and 400 grit creates a smooth finish without expensive polishing equipment.
- Household items like baking soda paste and hydrogen peroxide tackle stubborn stains for under $10 total investment.
How To Clean Rocks Without A Tumbler – The Fundamentals
Manual rock cleaning starts with understanding your specimen and choosing the right approach. Different rock types require different cleaning strategies – what works for hard quartz might damage soft limestone or delicate fossils. The key is starting gentle and increasing intensity only when needed.
Most rocks respond well to basic soap and water cleaning as your first step. This removes loose dirt, mud, and organic matter without risking damage to the underlying mineral structure.
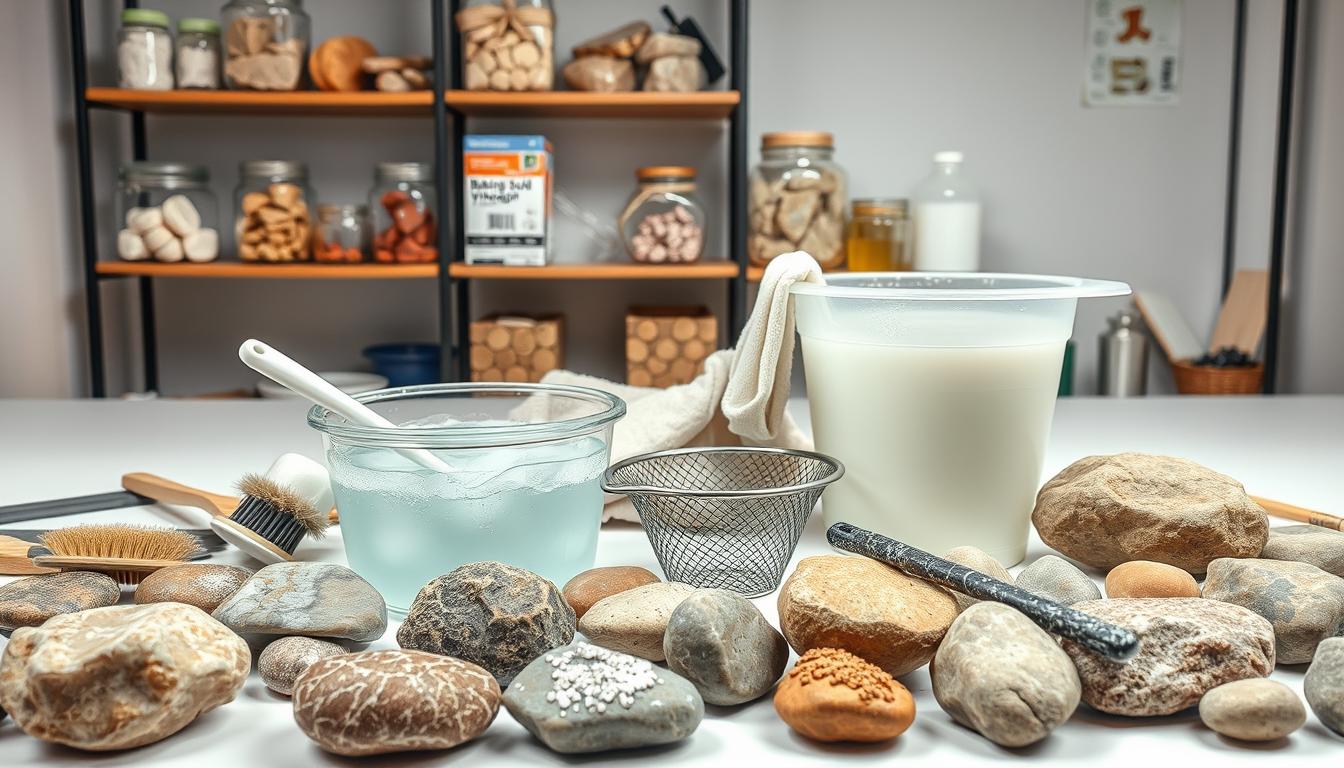
Essential Cleaning Supplies
Gather these common household items before starting your cleaning project:
- Dish soap – mild detergent that won’t harm most minerals
- White vinegar – dissolves calcium deposits and mineral crusts
- Baking soda – creates gentle abrasive paste for stubborn dirt
- Hydrogen peroxide – removes organic stains and brightens specimens
- Soft brushes – old toothbrushes work perfectly for detailed cleaning
- Sandpaper – various grits from 120 to 600 for polishing
Basic Cleaning Methods That Work
Start every cleaning session with the gentlest method first. You can always move to stronger techniques if the initial approach doesn’t remove all the dirt and grime.
Soap and Water Technique
Mix warm water with a few drops of mild dish soap in a bowl large enough to submerge your rocks. Let specimens soak for 10-15 minutes to loosen surface dirt, then gently scrub with a soft brush to remove remaining debris.
Rinse thoroughly with clean water and pat dry with a soft cloth. This method works for most rock types and serves as an excellent starting point for any cleaning project.
Vinegar Soak for Mineral Deposits
Calcium buildup and mineral crusts require acid to dissolve effectively. Create a 50/50 solution of white vinegar and water, then submerge affected rocks for 2-4 hours.
Check progress every hour and brush gently to remove loosened deposits. Never leave acid-sensitive rocks like marble or limestone in vinegar solutions, as the acid will damage the stone itself.
Baking Soda Paste for Stubborn Dirt
Mix baking soda with just enough water to create a thick paste consistency. Apply this mixture to dirty areas and let it sit for 15-20 minutes before scrubbing with a soft brush.
The mild abrasive action helps lift embedded dirt without scratching harder minerals. Rinse completely and repeat if necessary for heavily soiled specimens.
Specialized Cleaning for Different Rock Types
Each rock family requires specific handling to avoid damage while achieving the best cleaning results. Understanding these differences prevents costly mistakes and protects valuable specimens.
Hard Minerals and Crystals
Quartz, granite, and other hard specimens can handle more aggressive cleaning. These rocks tolerate stronger acids and mechanical action without damage.
For heavily stained hard rocks, try a hydrogen peroxide soak followed by gentle scrubbing. The bubbling action helps lift organic stains and brightens dull surfaces naturally.
Soft Stones and Sedimentary Rocks
Limestone, sandstone, and similar soft rocks need gentle treatment to prevent surface damage. Stick to soap and water cleaning, avoiding acids that can dissolve the stone itself.
Use soft brushes and light pressure when scrubbing these delicate specimens. Patient, gentle cleaning produces better results than aggressive techniques that might damage the rock’s surface.
Iron-Rich Specimens
Rocks containing iron often develop rust stains that regular cleaning won’t remove. Oxalic acid solutions (available at hardware stores) dissolve iron stains effectively when used carefully.
Always wear gloves and work in ventilated areas when using chemical cleaners. Test any new cleaning solution on a small, hidden area first to check for adverse reactions.
Safety First
Always wear safety glasses and rubber gloves when cleaning rocks, especially with chemical solutions. Work in well-ventilated areas and keep a bowl of clean water nearby for immediate rinsing if needed.
DIY Rock Polishing Techniques
Once your rocks are clean, polishing brings out their natural beauty and creates display-worthy specimens. Hand polishing takes patience but produces results comparable to machine tumbling for many rock types.
Progressive Sandpaper Method
Start with 120-grit sandpaper to remove scratches and smooth rough surfaces. Progress through 220, 400, and 600-grit papers, spending equal time at each stage.
Always wet-sand to prevent dust and reduce scratching. Clean your rock thoroughly between grit changes to remove particles that could cause scratches at the next stage.
- 120-grit stage. Remove major scratches and shape irregularities with firm, consistent pressure.
- 220-grit stage. Smooth out scratches from the previous grit while maintaining the rock’s shape.
- 400-grit stage. Create a smooth surface that’s ready for final polishing.
- 600-grit stage. Develop the initial shine that preparation for compounds will enhance.
Cloth and Compound Polishing
Apply polishing compound to a soft cloth and work it into the rock’s surface using circular motions. Cerium oxide works well for most minerals, while aluminum oxide suits harder specimens.
Continue polishing until you achieve the desired shine, then clean away all compound residue with soap and water. This final step reveals the rock’s true beauty and creates a professional-looking finish.
Preserving and Displaying Your Results
Proper drying and storage protect your cleaning efforts and keep rocks looking their best long-term. Take time with these final steps to ensure lasting results, and consider creative display options to showcase your polished specimens.
Drying Techniques
Pat rocks dry with soft cloths immediately after cleaning to prevent water spots. Allow complete air drying for 24-48 hours before applying any protective coatings or storing specimens.
Place rocks on absorbent towels in a warm, dry location away from direct sunlight. Turn specimens occasionally to ensure even drying on all surfaces.
Protective Finishes
Clear mineral oil or specialized rock wax provides long-lasting protection and enhanced appearance. Apply thin coats with soft cloths, allowing each application to penetrate before buffing to a shine.
Reapply protective finishes every 6-12 months depending on display conditions and handling frequency. This maintenance keeps your rocks looking freshly polished year after year.
Articles You May Like
Frequently Asked Questions
How long does it take to clean rocks without a tumbler?
Basic cleaning takes 30-60 minutes per rock, while full cleaning and polishing can require 2-4 hours depending on the specimen’s condition and desired finish level.
Can I clean valuable specimens using these methods?
Yes, manual cleaning is often safer for valuable rocks than machine tumbling since you control every aspect of the process and can stop immediately if problems arise.
What rocks should never be cleaned with vinegar?
Avoid using vinegar on limestone, marble, calcite, or any carbonate minerals as the acid will dissolve and damage these specimens permanently.
How do I know when my rock is clean enough?
A properly cleaned rock shows its natural colors and patterns clearly with no remaining dirt or mineral deposits obscuring the surface details.
Is hand polishing as effective as machine tumbling?
Hand polishing can achieve similar results to tumbling for many rock types, though it requires more time and effort per specimen.
Final Thoughts
How To Clean Rocks Without A Tumbler opens up rock collecting to anyone with basic household supplies and patience. These manual methods let you clean specimens safely while learning about their unique characteristics and properties, helping you evaluate rocks before committing to extensive tumbling processes.
Start with simple soap and water cleaning on budget-friendly rock collection specimens to build your skills before tackling more valuable or delicate specimens.