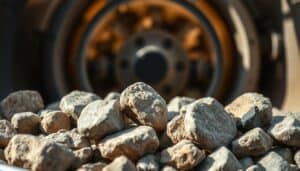
How To Prep Rocks For Tumbling transforms rough stones into polished gems through careful preparation steps. Getting your rocks ready properly makes the difference between disappointing results and stunning finished stones. This process removes debris and sets up your rocks for the best possible tumbling outcome.
Proper rock preparation saves time and prevents damage to your tumbler equipment. It also helps you get the most value from your grit and polishing compounds by ensuring they work on clean, suitable stones.
TL;DR
- Fill your tumbler barrel 2/3 to 3/4 full with rocks for optimal tumbling action.
- Choose rocks with Mohs hardness between 6-7 like quartz, agate, and jasper for best results.
- Sort rocks into batches with similar hardness levels to prevent softer stones from getting damaged.
- Clean rocks thoroughly and remove all clay, dirt, and surface debris before tumbling begins.
How To Prep Rocks For Tumbling: Step-By-Step Process
Rock preparation starts with understanding what makes a good tumbling stone. The four-stage tumbling process works best when you start with properly prepared materials.
Each tumbling stage serves a specific purpose – coarse grinding shapes the rock, medium grinding refines the surface, fine grinding prepares for polishing, and the final stage creates the shine. Your preparation work sets the foundation for all these stages to work effectively.
Essential Tools for Rock Preparation
Gathering the right tools makes rock preparation much easier. You’ll need basic equipment to clean, examine, and prepare your stones properly.
- Rock saw or lapidary saw – for cutting larger stones to size.
- Rock hammer and chisel – for breaking off unwanted sections.
- Wire brushes – for scrubbing away dirt and debris.
- Ultrasonic cleaner – for removing stubborn materials from delicate specimens.
- Magnifying glass – for spotting cracks and flaws.
- Sieves – for sorting rocks by size.
Selecting the Right Rocks for Tumbling
Not all rocks work well in a tumbler, so choosing suitable stones saves you time and frustration. The best tumbling rocks have specific hardness levels and structural qualities.
Rocks with Mohs hardness between 6-7 give the best results because they’re hard enough to take a good polish but not so hard they wear out your equipment quickly. Softer rocks crumble during tumbling while harder rocks take forever to polish.
Ideal Rock Types
These rock types consistently produce excellent tumbled stones:
- Agate – polishes to a high gloss with beautiful patterns.
- Jasper – takes excellent polish and comes in many colors.
- Quartz varieties – includes amethyst, citrine, and rose quartz.
- Petrified wood – shows amazing detail when polished.
- Chalcedony – produces smooth, glossy results.
Rocks to Avoid
Some materials cause problems in tumblers and should be avoided:
- Soft stones – shale, sandstone, and limestone break apart.
- Clay-rich rocks – create mud that clogs your tumbler.
- Layered stones – tend to split along natural planes.
- Heavily fractured rocks – fall apart during tumbling.
Examining Rocks for Quality
Careful examination helps you spot problems before they ruin a tumbling batch. Look closely at each rock to identify potential issues, following proper evaluation techniques to assess your stones.
Use good lighting and a magnifying glass to check for hairline cracks that might not be visible to the naked eye. These small cracks often grow during tumbling and can split your stones.
Identifying Cracks and Flaws
Check every rock for structural problems that could cause issues during tumbling. Tap each stone gently with a small hammer to listen for hollow sounds that indicate internal cracks.
Look for these warning signs:
- Visible cracks – any crack that goes partway through the stone.
- Soft spots – areas that feel different when scratched.
- Inclusions – foreign materials embedded in the rock.
- Weathered surfaces – areas where the rock has started to break down.
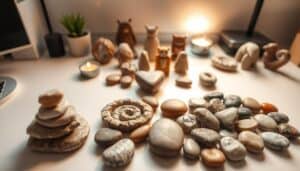
Recognizing Valuable Patterns
Some rocks have special features that make them worth extra care during preparation. Beautiful banding in agates or interesting color zones in jaspers can create stunning finished stones.
Mark these special rocks and handle them carefully throughout the preparation process. Consider their orientation when breaking or shaping to preserve the best features.
Pro Tip for Rock Selection
Test unknown rocks by trying to scratch them with a steel nail (hardness 5.5). If the nail scratches the rock easily, it’s too soft for tumbling.
Initial Cleaning Steps
Thorough cleaning removes materials that interfere with the tumbling process. Dirt, clay, and organic matter can create problems if left on your rocks.
Start with basic washing using warm water and a stiff brush. Scrub each rock individually to remove surface dirt and loose material.
Removing Surface Debris
Use these cleaning methods based on what you’re trying to remove:
- Basic dirt and grime. Warm soapy water and a stiff brush work for most surface cleaning.
- Clay deposits. Soak rocks in water for several hours, then scrub with a wire brush.
- Iron staining. Use oxalic acid (wood bleach) following safety instructions carefully.
- Organic matter. Pick off moss, roots, and other plant material by hand.
Using Ultrasonic Cleaners
For delicate specimens or stubborn debris, ultrasonic cleaners provide gentle but effective cleaning. These devices use high-frequency sound waves to remove materials from hard-to-reach crevices.
Fill the cleaner with appropriate solution, place rocks in the basket, and run for the recommended time. Always rinse rocks thoroughly after ultrasonic cleaning.
Breaking and Shaping Larger Rocks
Large rocks often need to be broken into smaller pieces for effective tumbling. This process requires safety equipment and proper technique.
Plan your cuts carefully to get the most usable material from each rock. Look for natural fracture lines that make breaking easier and safer.
Safety Precautions
Rock breaking creates flying chips and dust that can cause serious injury. Always use proper safety equipment before starting any breaking work.
- Safety glasses – protect your eyes from flying rock chips.
- Work gloves – prevent cuts from sharp edges.
- Dust mask – avoid breathing rock dust particles.
- Ear protection – protect hearing when using power tools.
Breaking Techniques
Choose your breaking method based on the rock size and type:
- Chisel and hammer – good for removing small sections or following natural fractures.
- Rock saw – makes clean, precise cuts through hard materials.
- Sledgehammer method – breaks large rocks into chunks (wrap rock in newspaper first).
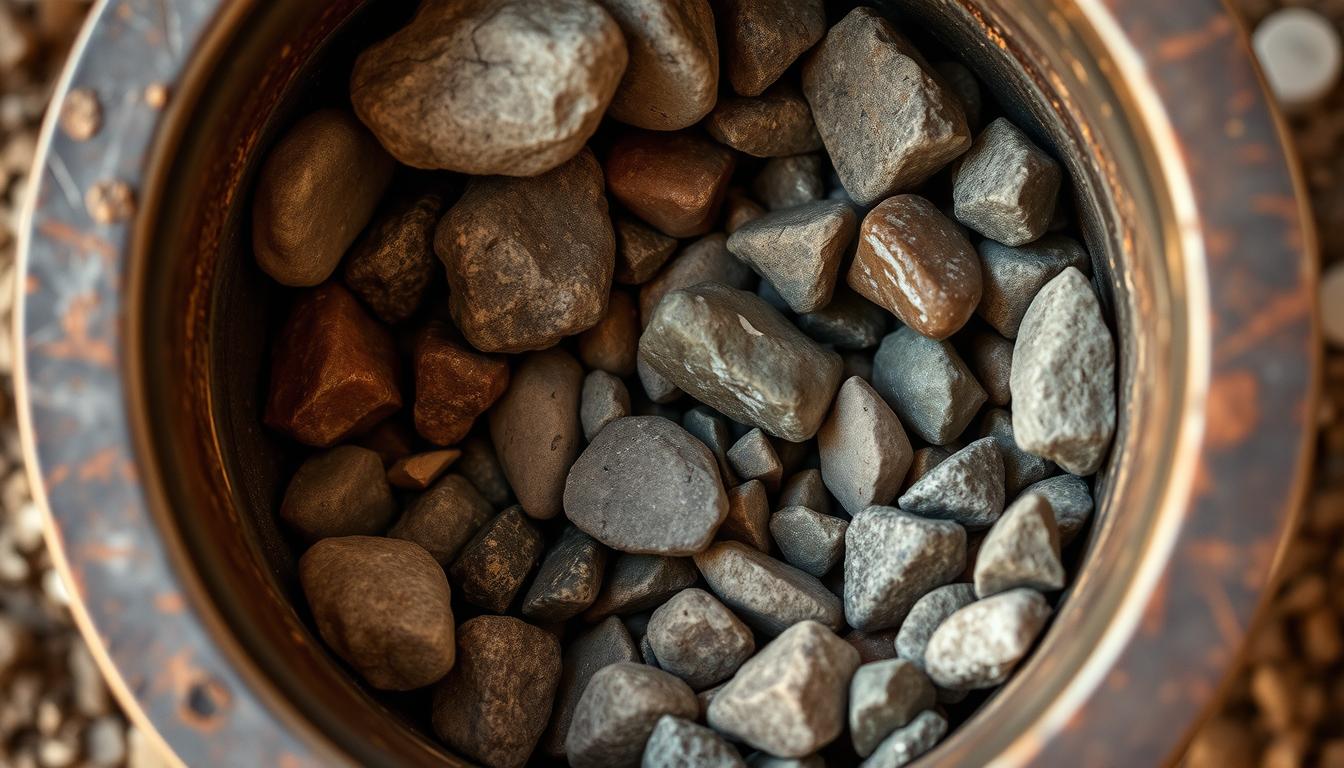
Sorting Rocks by Size and Hardness
Proper sorting ensures even tumbling results and prevents damage to softer stones. Group rocks that have similar properties together in each batch.
Size matters because larger rocks can damage smaller ones during tumbling. Hardness matters because soft rocks wear away faster than hard ones when tumbled together.
Creating Hardness-Matched Batches
Use the Mohs hardness scale to group rocks with similar hardness levels. This prevents softer stones from getting ground away before harder ones are properly shaped.
Test hardness by trying to scratch one rock with another. The harder rock will scratch the softer one but not the reverse.
Size Grading
Sort rocks into size groups using these guidelines:
- Small batch – stones under 1 inch diameter.
- Medium batch – stones 1-2 inches diameter.
- Large batch – stones over 2 inches diameter.
Use sieves or measuring tools to ensure consistent sizing within each batch. This helps all stones in a batch finish at the same time.
Final Preparation Before Tumbling
The last preparation steps set up your tumbler for success. Getting the rock-to-barrel ratio right ensures proper tumbling action.
Calculate how much material fits in your tumbler barrel and add the right amount of grit and water for your first tumbling stage.
Calculating Rock-to-Barrel Ratio
Fill your tumbler barrel 2/3 to 3/4 full with rocks and ceramic media combined. This ratio allows rocks to tumble freely while maintaining enough cushioning action.
Too few rocks and they won’t tumble properly. Too many rocks and the barrel becomes packed too tightly for effective action.
Adding Ceramic Media
Ceramic media fills gaps between rocks and provides additional abrasive action. Use plastic pellets for the first two stages and ceramic pellets for pre-polish and polish stages.
Add enough media to bring your total load up to the proper barrel fill level. The media should fill spaces between rocks without overpacking the barrel.
Articles You May Like
Frequently Asked Questions
What rocks work best for beginners?
Start with agate, jasper, or quartz varieties since they’re forgiving and produce reliable results. Avoid soft or heavily fractured stones until you gain experience.
How long does rock preparation take?
Plan 2-4 hours for preparing a full tumbler load, including cleaning, examining, breaking, and sorting steps. Rushed preparation leads to poor tumbling results.
Can I tumble different rock types together?
Only tumble rocks with similar hardness levels together. Mixing soft and hard rocks results in uneven wear and poor polish quality.
What happens if I skip the cleaning step?
Dirt and clay create muddy slurry that prevents proper tumbling action and can damage your equipment. Always clean rocks thoroughly before tumbling.
How do I know if my barrel is properly loaded?
The barrel should be 2/3 to 3/4 full with rocks and media combined. You should hear rocks tumbling freely when you rotate the barrel by hand.
Final Thoughts
How To Prep Rocks For Tumbling requires patience and attention to detail, but proper preparation makes the difference between amateur and professional-looking results. Taking time with each preparation step pays off with beautiful polished stones.
Start with simple rock types and master the preparation process before moving on to more challenging materials. Good preparation habits developed early will serve you well throughout your rock tumbling journey.