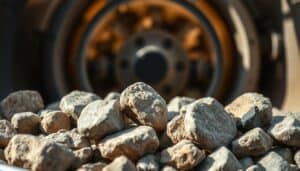
How To Evaluate Rocks Before Tumbling helps rock enthusiasts select the best specimens for creating beautiful polished stones. Proper evaluation prevents wasted time and ensures your tumbling projects succeed from the start.
Understanding which rocks work well and which ones cause problems makes the difference between smooth, shiny results and disappointing failures. This guide shows you exactly what to look for when choosing rocks for your tumbler.
TL;DR
- Choose rocks with Mohs hardness between 7-7.5 for best tumbling results without damaging your equipment.
- Look for uniform texture and avoid rocks with visible cracks, fractures, or mica-rich compositions.
- Select rocks between 1-3 inches in diameter for optimal tumbling action and even polishing.
- Test rocks by scratching with common items – fingernails (2.5), copper pennies (3.5), or steel files (6.5) to gauge hardness.
How To Evaluate Rocks Before Tumbling
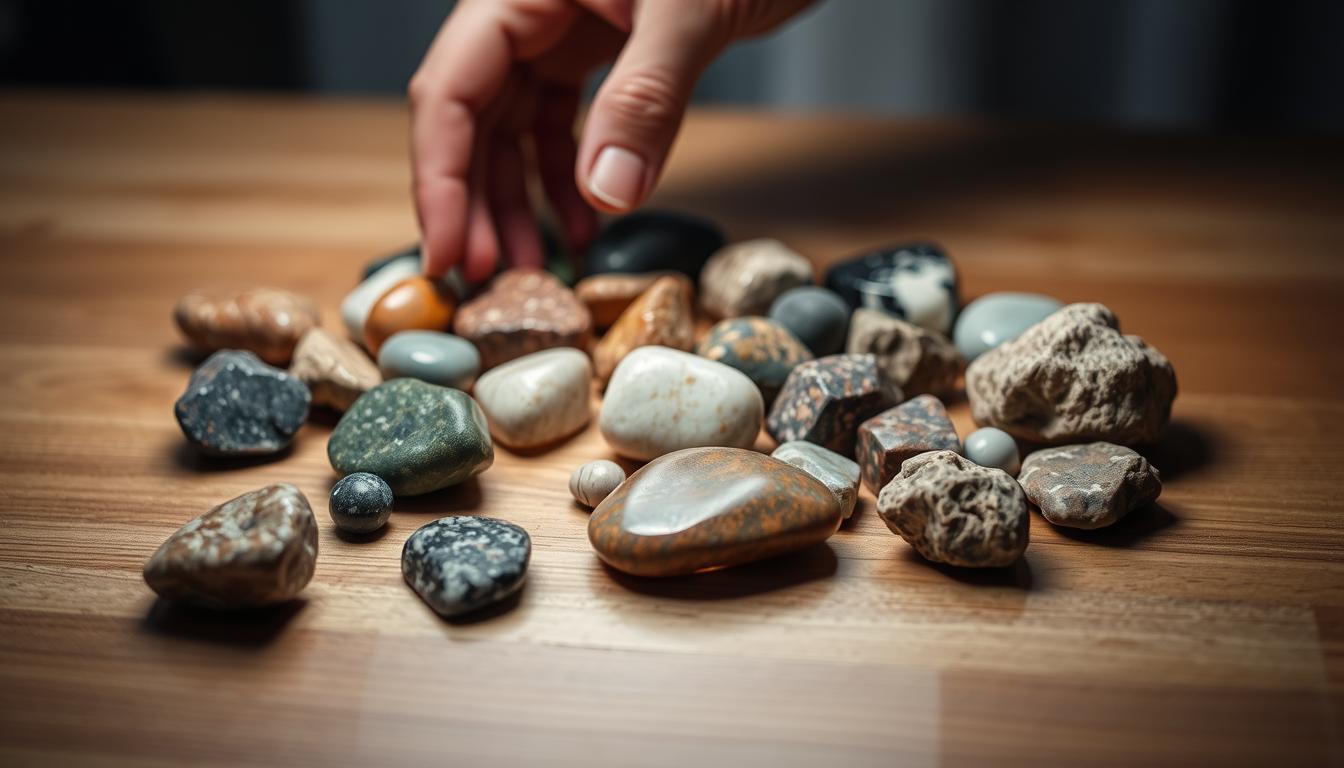
Rock evaluation starts with a careful visual inspection of each specimen. Look for surface cracks, chips, or areas where the rock appears weathered or soft.
Hold each rock up to bright light to spot internal fractures that might not show on the surface. These hidden flaws often cause rocks to break apart during the tumbling process.
Visual Inspection Checklist
Check these key areas when examining potential tumbling rocks:
- Surface texture – smooth, uniform areas polish better than rough, pitted surfaces.
- Color consistency – solid colors or well-defined patterns work better than muddy, mixed areas.
- Edge condition – avoid rocks with sharp edges that might damage other stones in the tumbler.
- Size proportion – select rocks of similar sizes to ensure even tumbling action.
Understanding Rock Hardness for Tumbling
The Mohs hardness scale rates minerals from 1 (softest) to 10 (hardest). Rocks between 7-7.5 on this scale produce the best tumbling results.
You can test hardness at home using simple tools. A fingernail rates about 2.5, a copper penny rates 3.5, and a steel file rates around 6.5 on the Mohs scale.
Simple Hardness Testing
- Fingernail test. Try scratching the rock with your fingernail – if it leaves a mark, the rock is too soft for tumbling.
- Penny test. Use a copper penny to scratch the surface – rocks that scratch easily won’t survive the tumbling process.
- Steel test. If a steel file easily scratches your rock, it probably ranks below 6.5 and might crumble during tumbling.
Best Rock Types for Tumbling Success
Certain rock types consistently produce excellent tumbling results. Focus on these proven winners for your projects.
Top Igneous Rock Choices
Igneous rocks with fine grain structures typically tumble beautifully:
- Agate – forms in volcanic cavities and creates stunning banded patterns when polished.
- Jasper – offers rich colors and takes a mirror-like polish with proper technique.
- Quartz varieties – includes rose quartz, smoky quartz, and clear quartz specimens.
- Obsidian – volcanic glass that produces jet-black polished stones with careful handling.
Suitable Sedimentary Options
Some sedimentary rocks work well despite their layered formation:
- Petrified wood – fossilized wood that has turned to stone over millions of years.
- Chert – fine-grained sedimentary rock that polishes to a smooth finish.
- Flint – hard sedimentary rock that creates sharp, glossy surfaces when tumbled.
Pro Tip for Rock Selection
Collect more rocks than you need for each batch. This gives you backup options if some specimens crack during the initial coarse grinding stage.
Rocks to Avoid in Your Tumbler
Certain rock types cause problems and should be avoided entirely. Learning to spot these troublemakers saves time and protects your equipment.
Soft Rock Problems
Rocks below 6 on the Mohs scale often crumble or wear away completely during tumbling:
- Limestone – dissolves in acidic conditions and produces chalky residue.
- Calcite – too soft and breaks down into powder during grinding stages.
- Gypsum – extremely soft and will disappear entirely in the tumbler.
- Talc – the softest mineral on the Mohs scale, completely unsuitable for tumbling.
Problematic Rock Structures
Even hard rocks can cause issues if they have certain structural problems:
- Mica-rich rocks – flaky layers separate during tumbling, creating sharp fragments.
- Heavily fractured specimens – break apart and damage other rocks in the batch.
- Conglomerate rocks – different hardness levels cause uneven wear patterns.
Physical Properties That Matter
Beyond hardness, several other physical properties affect tumbling success. Size, shape, and internal structure all play important roles.
Optimal Size Guidelines
Rock size affects how well specimens tumble together in the barrel:
- 1-2 inches – ideal size range for most home tumblers and produces good results.
- 3 inches maximum – larger rocks may not tumble properly in smaller machines.
- Uniform sizing – mixing very different sizes leads to uneven polishing results.
Shape Considerations
Rock shape influences the final appearance and tumbling effectiveness:
- Rounded shapes – tumble most efficiently and produce even polish coverage.
- Angular specimens – work but may create more chips and require longer grinding times.
- Flat or thin rocks – often break during the process and should be avoided.
Where to Find Quality Tumbling Rocks
Good tumbling rocks come from various sources. Each location offers different types and quality levels.
Natural Collection Sites
These locations often yield excellent tumbling material:
- Ocean beaches – waves naturally pre-tumble rocks, providing smooth starting specimens perfect for rock tumbling.
- River beds – flowing water rounds rocks and exposes fresh surfaces.
- Desert areas – arid regions often contain agate and jasper in washes and hillsides.
- Rock quarries – active or abandoned quarries may allow collecting with permission.
Commercial Rock Sources
Buying rocks ensures quality and saves collection time:
- Rock shops – offer pre-selected tumbling rough in various sizes and types.
- Gem and mineral shows – provide bulk purchasing options at competitive prices.
- Online suppliers – deliver tumbling rough directly to your door with quality guarantees.
Preparing Evaluated Rocks for Tumbling
Once you’ve selected quality rocks, proper preparation ensures the best possible results. Clean preparation prevents contamination and improves polish quality.
Cleaning and Sorting
- Initial cleaning. Scrub rocks with soap and water to remove dirt, oils, and surface contaminants.
- Detailed inspection. Re-examine each rock under good lighting to spot any missed flaws or problems.
- Hardness grouping. Sort rocks by approximate hardness to ensure compatible tumbling speeds.
- Size matching. Group similar-sized rocks together for even tumbling action in the barrel.
Pre-Tumbling Treatments
Some rocks benefit from special preparation before tumbling:
- Crack sealing – use super glue to stabilize minor fractures in valuable specimens.
- Sharp edge removal – file down extremely sharp corners that might damage other rocks.
- Surface preparation – remove any loose material or weathered surfaces that might contaminate the batch.
Articles You May Like
Frequently Asked Questions
What hardness level works best for rock tumbling?
Rocks with Mohs hardness between 7-7.5 produce the best tumbling results. This range provides durability without being too hard for effective polishing.
Can I tumble different rock types together?
Only tumble rocks of similar hardness together. Mixing soft and hard rocks causes uneven wear and poor results for both types.
How do I test rock hardness at home?
Use common items like fingernails (2.5), copper pennies (3.5), or steel files (6.5) to scratch test rocks. Rocks that resist scratching from a steel file usually work well for tumbling.
What size rocks work best in a tumbler?
Choose rocks between 1-3 inches in diameter for optimal results. Smaller rocks may wear away completely, while larger ones don’t tumble properly.
Should I avoid all cracked rocks?
Avoid rocks with major fractures, but minor surface cracks can sometimes be sealed with super glue. Evaluate each specimen individually based on crack severity.
Final Thoughts
How To Evaluate Rocks Before Tumbling sets the foundation for successful rock polishing projects. Taking time to properly assess each specimen prevents disappointing results and equipment damage.
Start by checking hardness, inspecting for flaws, and choosing appropriate sizes for your next tumbling batch. With practice, rock evaluation becomes second nature and greatly improves your finished stones. Once you’ve mastered rock selection, learn about proper preparation techniques and timing considerations for each tumbling stage.