Rock Tumbling Guide For Beginners opens up a fascinating world where ordinary stones transform into polished gems through a simple mechanical process. Anyone can start this rewarding hobby with basic equipment and a handful of rocks from their backyard or local beach.
The ancient art of rock tumbling mimics thousands of years of natural weathering in just a few weeks. With patience and the right technique, you’ll create beautiful polished stones perfect for jewelry, decoration, or simply admiring.
TL;DR
- A complete tumbling cycle takes 4-6 weeks with 4 distinct grit stages from coarse 60/90 grit to final polish.
- Rotary tumblers cost $50-200 and can process 1-15 pounds of rocks depending on barrel size.
- Agate, jasper, and quartz work best for beginners with hardness ratings of 6.5-7 on the Mohs scale.
- Each grit stage runs 24/7 for 7-10 days with specific rock-to-grit ratios of 1 tablespoon per pound of rocks.
Rock Tumbling Guide For Beginners: Essential Equipment
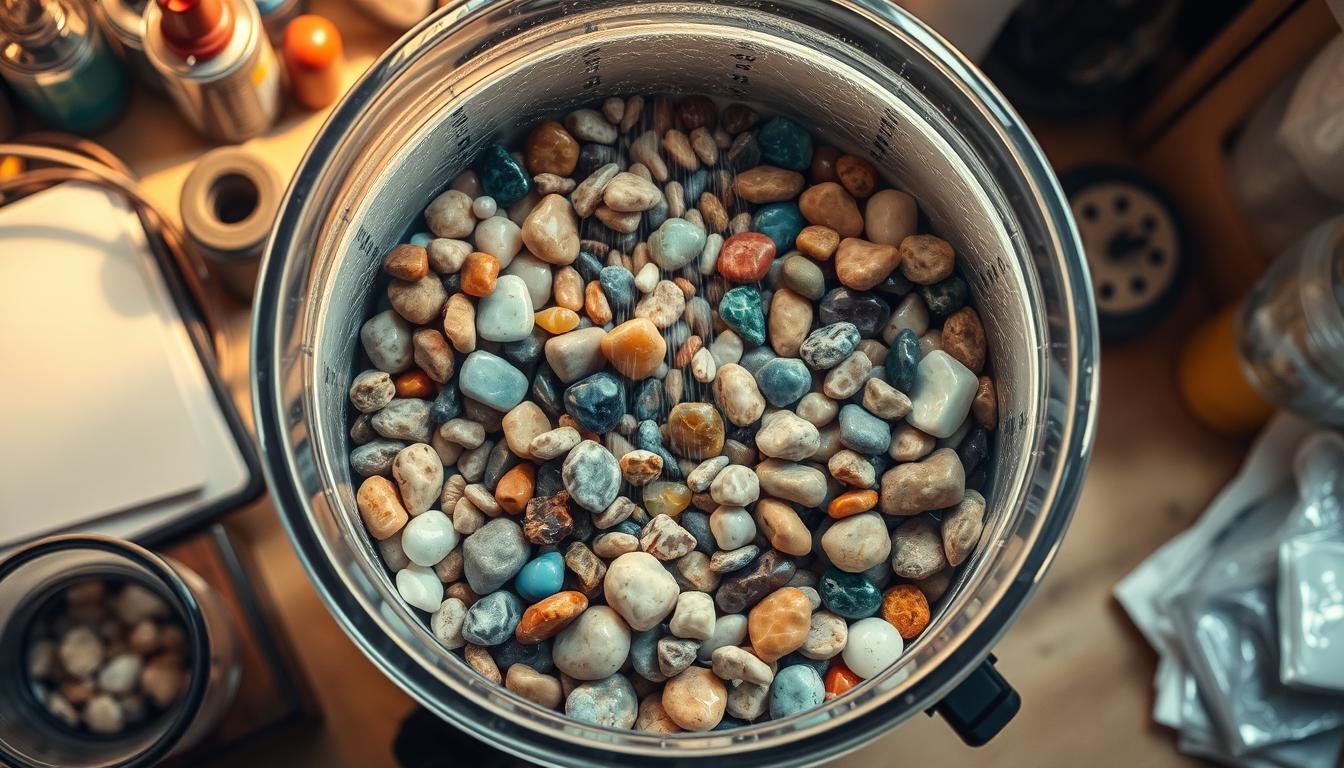
A basic rock tumbler setup requires just a few key components to get started. The tumbler itself rotates a barrel filled with rocks and abrasive grit, creating the friction needed for polishing.
Choosing Your First Rock Tumbler
Rotary tumblers work best for beginners because they’re simple, reliable, and affordable. These machines rotate horizontally, allowing rocks to cascade and grind against each other continuously.
- Single barrel tumblers – Perfect for small batches and learning the process without major investment.
- Double barrel models – Allow you to run two different grit stages simultaneously once you gain experience.
- Large capacity units – Handle 12-15 pounds of rocks but require more space and electricity.
Vibratory tumblers work faster but cost more and create more noise. For those concerned about noise levels, consider reading our guide on quiet rock tumblers to find the best silent models for peaceful stone polishing.
Required Grit and Supplies
Silicon carbide grit comes in four progressive stages that gradually smooth and polish your rocks. Each stage serves a specific purpose in the transformation process.
- Coarse grit (60/90). Removes rough edges and major imperfections during the first week of tumbling.
- Medium grit (120/220). Smooths surfaces and eliminates scratches left by the coarse grit stage.
- Fine grit (500/600). Creates the smooth foundation needed for the final polishing step.
- Polish (aluminum oxide). Produces the mirror-like shine that makes tumbled rocks so attractive.
You’ll also need plastic pellets to cushion soft rocks and maintain proper barrel load during tumbling.
Selecting the Right Rocks
Rock hardness determines tumbling success more than appearance or size. Choose stones with similar hardness ratings using the Mohs hardness scale to ensure even polishing across your entire batch.
Best Rocks for Beginners
Hard rocks between 6-8 on the Mohs hardness scale produce the most satisfying results. These materials polish to a brilliant shine and resist chipping during the tumbling process.
- Agate – Creates stunning banded patterns and polishes to glass-like perfection.
- Jasper – Offers rich colors and interesting patterns while tumbling predictably.
- Quartz varieties – Including rose quartz, smoky quartz, and clear quartz for reliable results.
- Tiger’s eye – Produces chatoyant bands that shimmer under light when properly polished.
Rocks to Avoid Initially
Soft rocks, layered stones, and highly fractured materials often break apart during tumbling. Save these challenging materials for later when you understand the process better.
- Limestone and marble – Too soft and dissolve in acidic grit solutions.
- Shale and slate – Split along natural layers and create sharp fragments.
- Highly fractured rocks – Fall apart under constant tumbling action regardless of hardness.
- Very small pieces – Anything under 1/4 inch gets lost in the grit and creates waste.
The Four-Stage Tumbling Process
Each grit stage removes progressively smaller scratches until your rocks achieve a mirror finish. Rushing through stages or skipping steps results in dull, poorly polished stones. For detailed timing information, check out our comprehensive guide on how long rock tumbling takes.
Stage 1: Coarse Grit (60/90)
The coarse grit stage does the heavy work of shaping and smoothing rough rock surfaces. This stage typically runs 7-10 days depending on rock hardness and initial condition.
Load your barrel 2/3 full with rocks of similar hardness. Add 1 tablespoon of coarse grit per pound of rocks, then fill with water until it barely covers the stone tops.
Stage 2: Medium Grit (120/220)
Medium grit removes the scratches left by coarse grit while further refining surface texture. Clean rocks and barrel thoroughly between stages to prevent contamination.
Inspect rocks after the coarse stage and remove any that cracked or developed deep pits. These damaged stones won’t improve with continued tumbling and may damage other rocks.
Stage 3: Fine Grit (500/600)
Fine grit prepares rock surfaces for the final polish by creating microscopic smoothness. This stage requires extra attention to cleaning since any coarse grit contamination ruins the entire batch.
Use a separate set of tools and containers for fine grit to prevent cross-contamination. Even tiny amounts of coarse grit will scratch surfaces during this delicate stage.
Stage 4: Polish
The polish stage transforms smooth rocks into brilliant gems using aluminum oxide or cerium oxide compounds. This final step runs 3-7 days depending on desired shine level.
Pro Tumbling Tip
Run a small test batch of 3-4 rocks before committing to large loads. This helps you learn timing and technique without risking valuable stones.
Common Beginner Mistakes
Most tumbling failures come from impatience or skipping essential cleaning steps between stages. Taking shortcuts almost always results in disappointing final results.
Timing and Patience Issues
Each stage needs adequate time to complete its work properly. Rushing through stages leaves scratches that become more visible as polishing progresses.
- Stopping stages too early – Leaves deep scratches that later stages cannot remove completely.
- Running stages too long – Wastes time and grit without improving results significantly.
- Inconsistent checking – Check progress every 2-3 days to catch problems early.
Contamination Problems
Cross-contamination between grit stages causes the most common polishing failures. Even microscopic amounts of coarse grit will scratch stones during fine stages.
Use separate tools, containers, and work areas for each grit stage. Label everything clearly and never mix equipment between different grit levels.
Troubleshooting Common Issues
Understanding why problems occur helps prevent future failures and salvage partially successful batches. Most issues have simple solutions once you identify the root cause.
Dull or Cloudy Polish
Cloudy finishes usually indicate contamination or insufficient fine grit preparation. The polish stage cannot correct problems from earlier stages. For specific techniques to achieve better results, read our detailed article on how to improve rock tumble polish.
Start over from the fine grit stage if polish results disappoint you. This extra time investment produces much better final results than accepting poor polish.
Chipped or Broken Rocks
Mixing rocks of different hardness levels causes softer stones to chip against harder ones. Sort rocks carefully by hardness before starting any tumbling cycle.
Overloading barrels also increases breakage since rocks cannot move freely. Keep loads between 1/2 and 2/3 barrel capacity for best results.
Frequently Asked Questions
How long does it take to tumble rocks from start to finish?
A complete tumbling cycle takes 4-6 weeks with each of the four grit stages running 7-10 days continuously. The exact timing depends on rock hardness and desired polish quality.
Can I tumble different types of rocks together?
Only tumble rocks with similar hardness ratings together, typically within 1 point on the Mohs scale. Mixing hard and soft rocks results in chipped softer stones and poor polish on harder ones.
How much does rock tumbling cost to get started?
A basic single-barrel tumbler costs $50-100, with grit sets around $20-30. Expect to spend $75-150 total for equipment and supplies to begin rock tumbling as a hobby.
Where can I find rocks suitable for tumbling?
Beaches, riverbeds, and rock shops provide excellent tumbling material. Look for hard, solid stones without cracks or soft spots that might break during the tumbling process. For coastal locations, check out our guide to the best beaches for rockhounding to find quality specimens.
Is rock tumbling noisy?
Rotary tumblers produce a steady rolling sound similar to a clothes dryer but quieter. Most people run tumblers in garages or basements to minimize household noise.
Final Thoughts
Rock Tumbling Guide For Beginners provides the foundation for a lifelong hobby that transforms ordinary stones into polished treasures. Success comes from patience, proper technique, and attention to detail during each stage of the process.
Start with a simple rotary tumbler and hard rocks like agate or jasper to build your skills. Once you master the four-stage process, you’ll have beautiful polished stones and the knowledge to tackle more challenging projects.