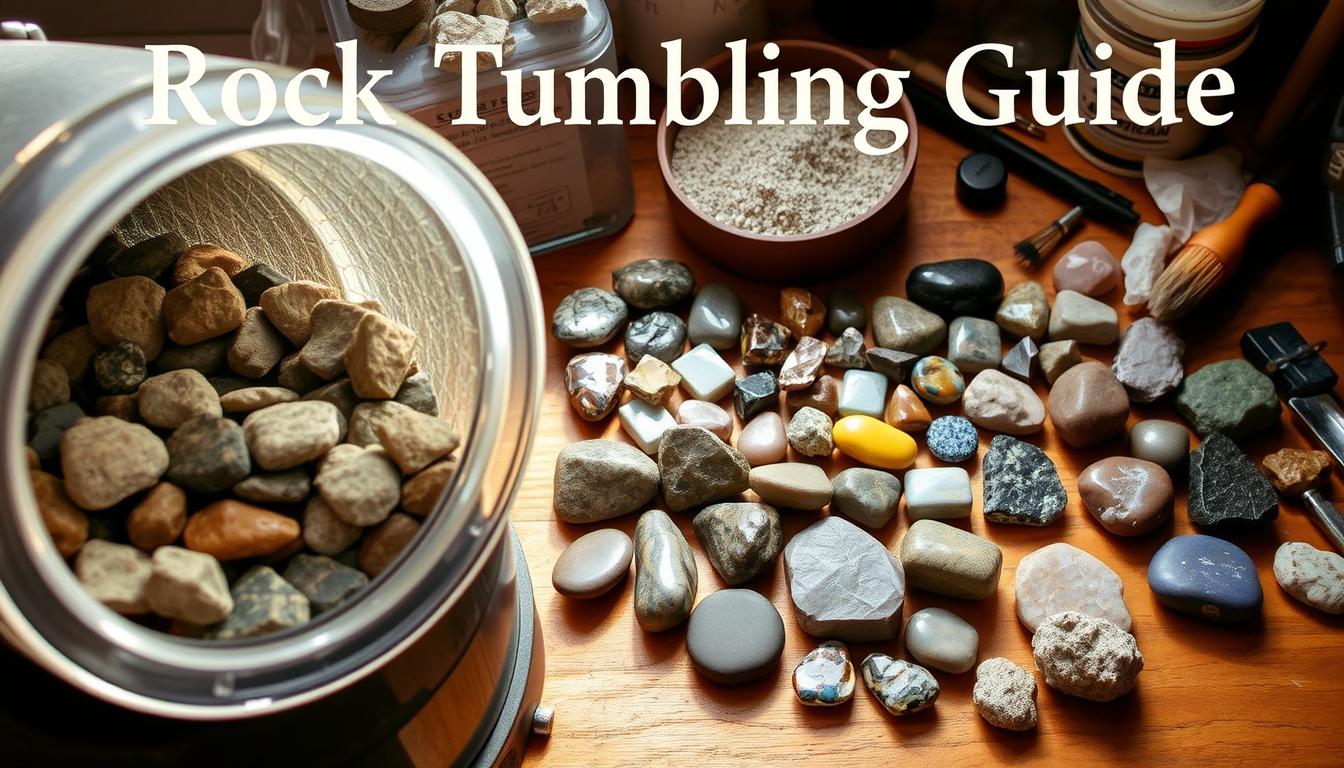
Rock tumbling is a fun hobby that turns rough rocks into shiny stones. It needs patience, the right tools, and some knowledge. Rock tumbling lets people make special decorations or jewelry.
For newbies, rock tumbling might look hard. But, once you know how it works, it’s fun and rewarding. This guide will show you how to tumble rocks, from getting them ready to polishing them.
Key Takeaways
- Understand the basics of rock tumbling
- Learn the step-by-step process of tumbling rocks
- Discover the benefits of rock tumbling as a hobby
- Identify the right equipment needed for rock tumbling
- Achieve professional-looking results with practice
Understanding the Rock Tumbling Process
The journey of turning raw rocks into beautiful stones starts with learning about rock tumbling. This method, like ocean waves, smooths rocks into shiny stones. It shows their hidden beauty.
What is Rock Tumbling?
Rock tumbling is a way to make rough rocks smooth. It uses abrasives to polish them. This hobby mixes geology, mechanics, and patience, making unique items or jewelry.
The Science Behind Rock Polishing
The science of rock polishing is about using finer abrasives. First, coarse grit removes rough edges. Then, finer grits and polishing compounds make them shiny. This reveals their patterns and colors.
Benefits of Tumbling Your Own Rocks
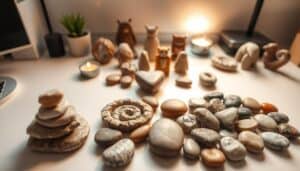
Tumbling your own rocks has many benefits. You can make unique, personalized items like jewelry or decorations. It’s also therapeutic and rewarding, connecting you with nature.
Learning about rock tumbling makes it more fun and rewarding. It’s a journey into geology and craftsmanship, for both newbies and experts.
Essential Equipment for Rock Tumbling
To start rock tumbling, you need to know the basic equipment. This process changes rough rocks into shiny stones. It involves several steps and tools.
Types of Rock Tumblers
The main part of rock tumbling is the tumbler. There are two main types: rotary and vibratory.
- Rotary Tumblers: These are great for beginners. They rotate a barrel with rocks and grit, tumbling them against each other and the walls.
- Vibratory Tumblers: These use vibration to polish rocks faster than rotary tumblers.
httpss://www.youtube.com/watch?v=E5RmXbFTpts
Grit and Polish Materials
Grit and polish are key for tumbling rocks. Each stage needs a different grit size to smooth the rocks.
- Coarse Grit: First, it removes rough edges and shapes the rocks.
- Fine Grit: Later, it smooths the rocks more.
- Polish: The last step uses polish like aluminum oxide for a shiny finish.
Additional Tools and Supplies
Other tools and supplies are needed for rock tumbling.
- Screens and Colanders: They help separate grit from rocks between stages.
- Safety Gear: Gloves and safety glasses protect against dust and debris.
- Storage Containers: For grit, polish, and finished rocks.
Knowing and using the right equipment helps rock tumbling fans get great results at home.
Selecting the Best Rocks for Tumbling
To get the best results in rock tumbling, you need the right rocks. First, you must know what makes a rock good for tumbling.
Recommended Rock Types for Beginners
For beginners, some rocks are better than others. Agate, jasper, and quartz are great for starters. They polish well and are easy to work with.
- Agate: Known for its vibrant colors and patterns, agate is a popular choice.
- Jasper: Jasper is another favorite among rock tumblers, with a wide range of colors and patterns.
- Quartz: While quartz can be more challenging due to its hardness, it produces beautiful results when tumbled correctly.
Hardness Scale and Why It Matters
The Mohs hardness scale is key in picking the right rock. Rocks with a higher hardness rating are better. They can handle the tumbling process.
Knowing the hardness scale helps pick rocks that polish well and last through tumbling.
Where to Find Tumbling-Quality Rocks
You can find tumbling-quality rocks in nature. Streams, beaches, and rocky areas are great places to look. For more tips, check out rock tumbling guides.
- Streams: Often have smooth rocks that have been naturally tumbled.
- Beaches: Beaches are a good source of tumbling rocks, after storms.
- Rocky Areas: Areas with exposed rock formations can yield high-quality tumbling rocks.
Preparing Your Rocks for the Tumbler
Getting your rocks ready is key to a good tumbling process. It makes sure everything goes smoothly and safely. You need to do a few important steps to get the best results.
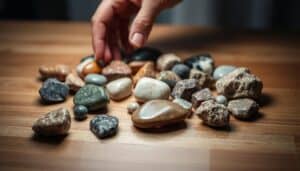
Cleaning and Sorting Your Rocks
First, clean and sort your rocks. Remove dirt and debris from their surface. Use a soft brush and mild soap, then rinse well with water.
Also, sort your rocks by size and type. This helps them tumble evenly.

Breaking Larger Rocks Safely
For big rocks, you’ll need to break them down. Wear gloves and safety glasses for protection. Use a hammer or rock saw to break them, carefully catching any flying pieces.
Creating the Perfect Rock Mixture
Having the right mix of rock sizes is important. Aim for a mix of big and small rocks. The big ones grind down the small ones. The small ones fill gaps, making sure all rocks tumble well.
| Rock Size | Proportion | Purpose |
|---|---|---|
| Large Rocks | 40% | Grinding action |
| Medium Rocks | 30% | Balancing the mix |
| Small Rocks | 30% | Filling gaps |
Safety Precautions When Handling Rocks
Handling rocks can be dangerous without the right safety. Always wear gloves and safety glasses. Watch out for sharp edges and don’t handle rocks when tired or distracted.
- Wear protective gear (gloves, safety glasses)
- Handle rocks with care to avoid injury
- Be aware of your surroundings
By following these steps and being careful, you can prepare your rocks well. This leads to a safe and successful tumbling experience.
How to Tumble Rocks (Step-by-Step)
Tumbling rocks is a multi-stage process. It turns rough stones into polished gems. Each stage needs specific materials and techniques for a high-quality finish.
Stage 1: Coarse Grind (60-90 Grit)
The first stage is the coarse grind, with a grit size of 60-90. It’s key for removing rough edges and shaping the rocks. The coarse grind removes material quickly, helping to shape the rocks.
- Use 60-90 grit silicon carbide for this stage.
- Run the tumbler for about 7-10 days, depending on the rocks and tumbler capacity.
- Check the rocks periodically to assess progress.
Stage 2: Medium Grind (120-220 Grit)
After the coarse grind, the next stage is the medium grind, with a grit size of 120-220. This stage smooths out the rocks, removing scratches from the coarse grind.
- Switch to 120-220 grit silicon carbide.
- Run the tumbler for another 7-10 days.
- Inspect the rocks to ensure they are becoming smoother.
Stage 3: Fine Grind (400-600 Grit)
The fine grind stage uses a grit size of 400-600. It’s key for achieving a smooth surface. This stage prepares the rocks for polishing by removing any remaining scratches.
- Use 400-600 grit silicon carbide.
- Run the tumbler for 7-10 days.
- Check the rocks for a uniform smoothness.
Stage 4: Polish (Aluminum Oxide or Tin Oxide)
The final stage is polishing, using a polish like aluminum oxide or tin oxide. This stage brings out the natural beauty of the rocks.
- Apply aluminum oxide or tin oxide polish.
- Run the tumbler for 7-14 days, depending on the desired level of polish.
- Inspect the rocks for a high-gloss finish.
By following these stages and using the right materials, you can get beautifully polished rocks. Be patient and check the progress at each stage for the best results.
Maintaining Your Equipment During the Process
Keeping your rock tumbling equipment in top shape is key. It helps your tumbled rocks look great and your tumbler last longer. Regular care makes sure your tumbler works well, giving you beautiful polished rocks.
Cleaning Your Tumbler Between Stages
Cleaning your tumbler between stages is very important. Leftover grit and debris can ruin your next batch of rocks. Start by taking out any rocks and grit left over.
Then, wash the barrel and parts with warm soapy water. Use a soft-bristled brush to get rid of tough spots. Make sure to rinse well and dry everything before putting it back together.
Tips for Effective Cleaning:
- Use a dedicated cleaning brush to avoid cross-contamination of grit and debris.
- Inspect the barrel seals for signs of wear and tear, replacing them if necessary.
- Dry the tumbler thoroughly after cleaning to prevent rust or corrosion.
Checking and Replacing Barrel Seals
Barrel seals are very important for the tumbling process. They can wear out over time, affecting your tumbler’s performance. Check the seals often for cracks or wear. If they’re damaged, replace them right away to keep your tumbler working well.
| Seal Condition | Action Required |
|---|---|
| Good condition, no visible wear | No action needed |
| Minor wear, slight cracks | Monitor condition, consider replacement |
| Significant wear, large cracks or damage | Replace seals immediately |
Proper Storage of Supplies and Materials
Storing your rock tumbling supplies and materials right is very important. Keep grit and polish in airtight containers to stop moisture and contamination. Organize your rocks and keep them separate from supplies to avoid mistakes.
Label your containers well and store them in a cool, dry place. Keep them away from direct sunlight.
By following these tips, you can keep your rock tumbling equipment in great shape. This will help you get high-quality results and make your tumbler last longer.
Troubleshooting Common Rock Tumbling Problems
Rock tumbling can be a trial-and-error process. Knowing common issues helps you get better results. It’s important to know how to fix problems for success.
Dealing with Uneven Results
Uneven results can be frustrating. This might happen if you pick the wrong rocks or if the tumbler isn’t working right. Make sure your rocks are similar in hardness and the tumbler is well-maintained.
- Check the hardness of your rocks to ensure they are compatible.
- Verify that the tumbler is running smoothly and evenly.
- Adjust the load in the tumbler to ensure it’s not overloaded or underloaded.
Fixing Scratched or Damaged Stones
Scratched or damaged stones can ruin your tumbled rocks. Try re-tumbling them with a finer grit. Sometimes, changing the tumbling media or the tumbler’s speed helps.
- Re-tumble the stones with a finer grit to smooth out scratches.
- Consider using a different tumbling media, such as ceramic or plastic pellets.
- Adjust the tumbler’s rotation speed to reduce friction.
Addressing Tumbler Mechanical Issues
Tumbler mechanical issues can stop the tumbling process. Regular maintenance is key. Check the belt, motor, and seals often.
- Inspect the tumbler’s belt for wear and tear.
- Check the motor for any signs of malfunction.
- Replace worn-out seals to prevent leakage.
When to Restart the Process
Sometimes, you need to start over due to damage or contamination. If there’s severe damage or the media is contaminated, it’s best to start again.
Key indicators to restart the process include:
- Severe damage to the stones.
- Contamination of the tumbling media.
- Failure to achieve desired polish or smoothness.
Understanding these common issues and how to fix them can improve your rock tumbling. You’ll get beautifully polished stones.
Creative Projects with Your Polished Rocks
After tumbling your rocks, you can start many projects. Polished rocks can make your projects unique. They are great for both experienced crafters and beginners.

Jewelry Making with Tumbled Stones
Polished rocks are perfect for making jewelry. You can make pendants, earrings, and rings. They look great on leather cords or wire.
To start, you need wire, string, or findings. You can find these at craft stores or online. Mix your stones with beads or metal for unique designs.
Home Décor and Display Ideas
Polished rocks can also decorate your home. Place them in bowls or vases for a centerpiece. Or, use them in a rock garden or terrarium.
Try making a rock mosaic or a border around plants. This adds a personal touch to your space.
Gifts and Crafts with Polished Rocks
Tumbled rocks make great gifts. Use them to make ornaments, magnets, or paperweights. These gifts are thoughtful, with rocks that mean something special.
Wrap your gifts nicely in boxes or bags. Add a note about the rock’s story. This makes the gift even more meaningful.
Conclusion
Rock tumbling is a fun hobby that makes rough rocks into beautiful stones. You can get great results by learning the process, picking the right rocks, and using the right tools.
This guide has covered the basics of rock tumbling. It talks about the tools you need and creative projects you can do. With time and effort, you can make unique jewelry, decor, and gifts.
Rock tumbling is a hobby that’s both fun and creative. It needs focus and a desire to learn. By following this guide, you can make raw rocks into beautiful stones. This is a great summary for beginners.
As you keep learning about rock tumbling, you’ll find new things to try. It doesn’t matter if you’re new or experienced. Rock tumbling is full of creative possibilities, making it a rewarding hobby.
FAQ
What is rock tumbling, and how does it work?
Rock tumbling makes rocks smooth by using ocean wave action. It uses finer abrasives to grind and polish rocks.
What kind of rocks are suitable for tumbling?
Start with rocks like agate, jasper, and quartz. Know the Mohs scale to pick the right rocks.
What equipment do I need to start rock tumbling?
You need a rock tumbler, grit, polish, screens, and safety gear. Choose a rotary or vibratory tumbler based on your needs.
How do I prepare my rocks for the tumbler?
Clean and sort rocks first. Break big rocks into smaller pieces safely. Use a mix of rock sizes in the tumbler. Always wear protective gear.
What is the step-by-step process of rock tumbling?
Start with a coarse grind to remove edges. Then, use medium and fine grinds to smooth the rocks. Finish with a polish for shine.
How do I maintain my rock tumbler and associated equipment?
Clean the tumbler between stages. Check and replace seals as needed. Store supplies properly.
What are some common problems that can arise during rock tumbling, and how can I troubleshoot them?
Problems include uneven results and scratched stones. Troubleshoot by identifying and fixing the cause, like restarting or adjusting the tumbler.
What are some creative projects I can do with my polished rocks?
Use polished rocks in jewelry, home decor, and gifts. They add a unique touch to any project.
How do I choose the best grit and polish for my rocks?
Understand grit sizes and their uses. Use finer grits to polish, ending with a polish like aluminum oxide.