Rock Bruising is a frustrating problem that can ruin your carefully selected stones during the tumbling process. When rocks get damaged or chipped inside the tumbler, all your hard work goes down the drain.
Understanding what causes rock bruising and how to prevent it makes the difference between disappointing results and beautiful polished stones. The good news is that most bruising problems can be avoided with the right techniques and careful attention to your tumbling process.
TL;DR
- Fill your tumbler barrel only 2/3 to 3/4 full to prevent overcrowding damage.
- Sort rocks by hardness using the Mohs scale before tumbling to avoid softer stones getting scratched by harder ones.
- Add ceramic pellets or plastic cushioning materials to reduce direct rock-to-rock contact.
- Check your tumbling progress every 2-3 days and adjust speed or duration as needed.
Rock Bruising Prevention Basics
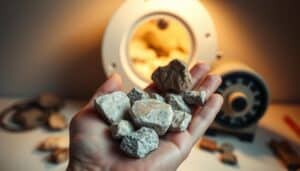
Rock bruising happens when stones get small fractures, chips, or surface damage during the tumbling process. These tiny injuries show up as dull spots, rough patches, or visible cracks that ruin the final polish.
The main culprits are rocks hitting each other too hard, incorrect tumbler settings, or mixing incompatible stone types together. Preventing these issues starts with understanding your stones and setting up your tumbler correctly.
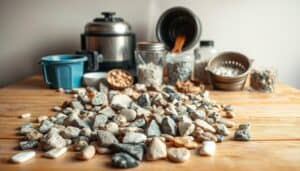
Why Proper Rock Selection Matters
Mixing rocks of different hardness levels is like putting a delicate flower in a boxing ring. Harder stones will always damage softer ones during the tumbling action.
Use the Mohs hardness scale to group your rocks before tumbling. Keep stones within 1-2 hardness points of each other in the same batch for best results. Choosing the right stones from the start is crucial, and our complete beginner’s guide to the best rocks for tumbling can help you make informed decisions about which stones work well together.
Common Rock Hardness Groups
- Soft stones (1-4) – talc, gypsum, calcite, fluorite
- Medium stones (5-6) – apatite, feldspar, turquoise
- Hard stones (7-9) – quartz, topaz, corundum
- Very hard stones (9-10) – sapphire, diamond
Setting Up Your Tumbler for Success
The right barrel fill ratio prevents rocks from getting crushed together or bouncing around too violently. Too full creates pressure that causes bruising, while too empty means rocks slam into each other with more force.
Keep your barrel between 2/3 and 3/4 full with rocks, then add your grit and water. This gives rocks enough room to move while maintaining gentle tumbling action.
Adding Cushioning Materials
Ceramic pellets, plastic pellets, or even small pieces of leather work as cushioning between your rocks. These materials absorb impact and create a gentler tumbling environment. Our detailed comparison of plastic pellets vs ceramic media can help you choose the best cushioning option for your specific tumbling needs.
Add about 10-15% of your rock volume in cushioning materials. More than this can prevent proper grinding action, while less won’t provide enough protection.
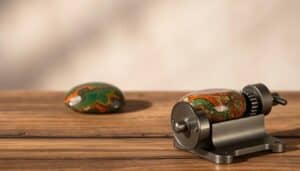
Managing Tumbling Speed and Duration
Running your tumbler too fast creates excessive force that damages stones. Most rotary tumblers should run at 20-30 RPM, while vibratory tumblers work best at higher speeds but with gentler action.
Check your manufacturer’s recommendations for your specific model. When in doubt, start slower and increase speed gradually while monitoring your rocks for signs of damage. Understanding how long rock tumbling takes for each stage helps you plan appropriate durations without overdoing it.
Stage-by-Stage Timing
- Coarse grit stage. Run for 7-10 days, checking every 2-3 days for progress and damage.
- Medium grit stage. Reduce to 5-7 days with daily progress checks.
- Fine grit stage. Run 3-5 days, watching closely for over-grinding.
- Polish stage. Complete in 2-4 days with gentle monitoring.
Rest Between Stages
Let your rocks rest for 24 hours between tumbling stages. This settling period helps reduce stress fractures that can turn into visible bruising later.
Monitoring Your Tumbling Progress
Regular check-ins prevent small problems from becoming major disasters. Open your tumbler every 2-3 days to inspect your rocks and look for early signs of bruising or damage. Learn the proper techniques for checking your rock tumbling progress to catch issues before they become permanent problems.
Look for new chips, dull spots, or rough areas that weren’t there before. If you spot damage early, you can adjust your process before it gets worse.
What to Check During Inspections
- Rock surfaces – look for new chips, cracks, or dull areas
- Grit condition – fresh grit should feel sharp and granular
- Water level – maintain proper water coverage over rocks
- Barrel wear – check for rough spots that could damage stones
Equipment Maintenance for Better Results
A worn-out tumbler barrel or damaged rubber liner creates rough surfaces that bruise your rocks. Inspect your equipment regularly and replace worn parts before they cause problems.
Clean your barrel thoroughly between stages to remove old grit that could scratch your stones. Even tiny particles left behind can cause damage during finer polishing stages. Follow our comprehensive rock tumbler barrel cleaning guide to keep your equipment in perfect condition and prevent contamination between stages.
Signs Your Equipment Needs Attention
- Rough barrel interior – smooth out or replace worn surfaces
- Loose tumbler parts – tighten or replace damaged components
- Inconsistent speed – service motor or drive system
- Excessive noise – check for worn bearings or loose parts
Articles You May Like
Frequently Asked Questions
What causes rock bruising in tumblers?
Rock bruising happens from overloading the tumbler, mixing rocks of different hardness, using incorrect grit progression, or running the tumbler at wrong speeds.
How full should I fill my tumbler barrel?
Fill your barrel 2/3 to 3/4 full with rocks, leaving enough space for proper tumbling action without overcrowding.
Can I tumble different types of rocks together?
Only tumble rocks with similar hardness levels together – keep stones within 1-2 points on the Mohs hardness scale in the same batch.
How often should I check my tumbling rocks?
Check your rocks every 2-3 days during tumbling to monitor progress and catch any bruising problems early.
What materials work best for cushioning rocks?
Ceramic pellets, plastic pellets, or small leather pieces work well as cushioning materials to reduce rock-to-rock impact.
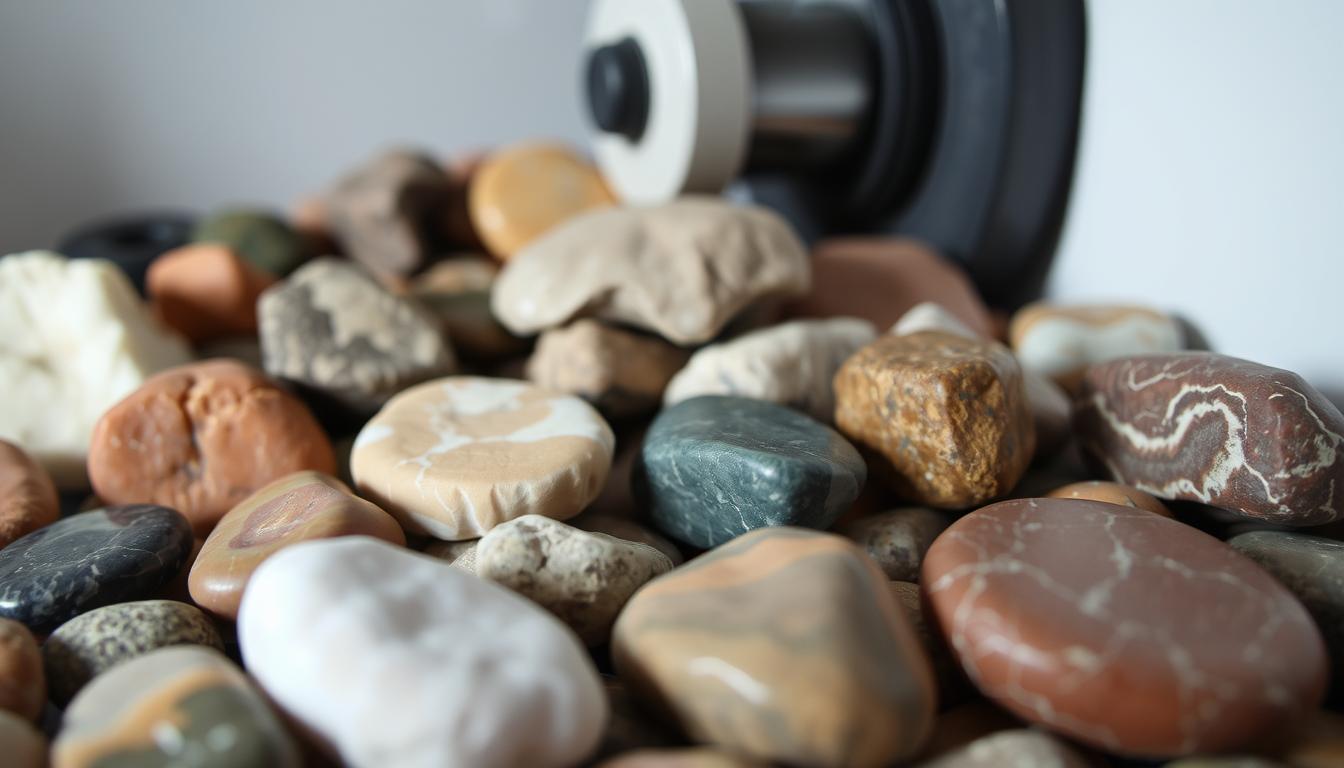
Final Thoughts
Rock Bruising is preventable when you understand the causes and take proper precautions during your tumbling process. The key is matching rocks by hardness, maintaining proper barrel fill ratios, and monitoring your progress regularly.
Start with these basic prevention techniques and adjust your approach based on the results you see. With practice and attention to detail, you’ll produce beautiful bruise-free stones every time.