Getting a professional shine on your stones can be tough. But with the right methods and tips, you can make your How To Improve Rock Tumble Polish projects look amazing.
The journey to a high gloss on stones has many steps. From coarse grit to fine polish, each step is key for getting that mirror-like finish you’re after.
TL;DR
- Use 1-2 tablespoons of polish per pound of rocks for the correct ratio.
- Final polish stage typically takes 3-7 days depending on rock hardness.
- Aluminum oxide works for harder stones while tin oxide gives finer finishes.
- Clean rocks thoroughly between each stage to prevent contamination.
How To Improve Rock Tumble Polish
The final polish stage makes or breaks your rock tumbling project. This stage brings out the stone’s natural beauty and creates that glossy surface that catches the light just right.
A proper final polish does more than look good – it creates a protective barrier that helps your stones resist scratches and maintain their shine for years. Without this crucial step, even perfectly shaped stones can look dull and lifeless.
Understanding the Final Polish Stage
The final polish transforms your rocks from matte-finished stones into gleaming treasures. This stage removes the microscopic scratches left by previous grits and creates a smooth, reflective surface.
Most rock tumbling failures happen during this final stage because people rush the process or use the wrong materials. Taking your time here pays off with dramatically better results.
Why the Final Polish Matters
A high-quality final polish makes rocks stronger by sealing the surface. This protective layer prevents moisture from getting into tiny cracks and helps the stone resist everyday wear and tear.
The difference between an average polish and a professional one often comes down to patience and using the right polish-to-rock ratio. Too much polish creates a cloudy film while too little leaves stones looking flat.
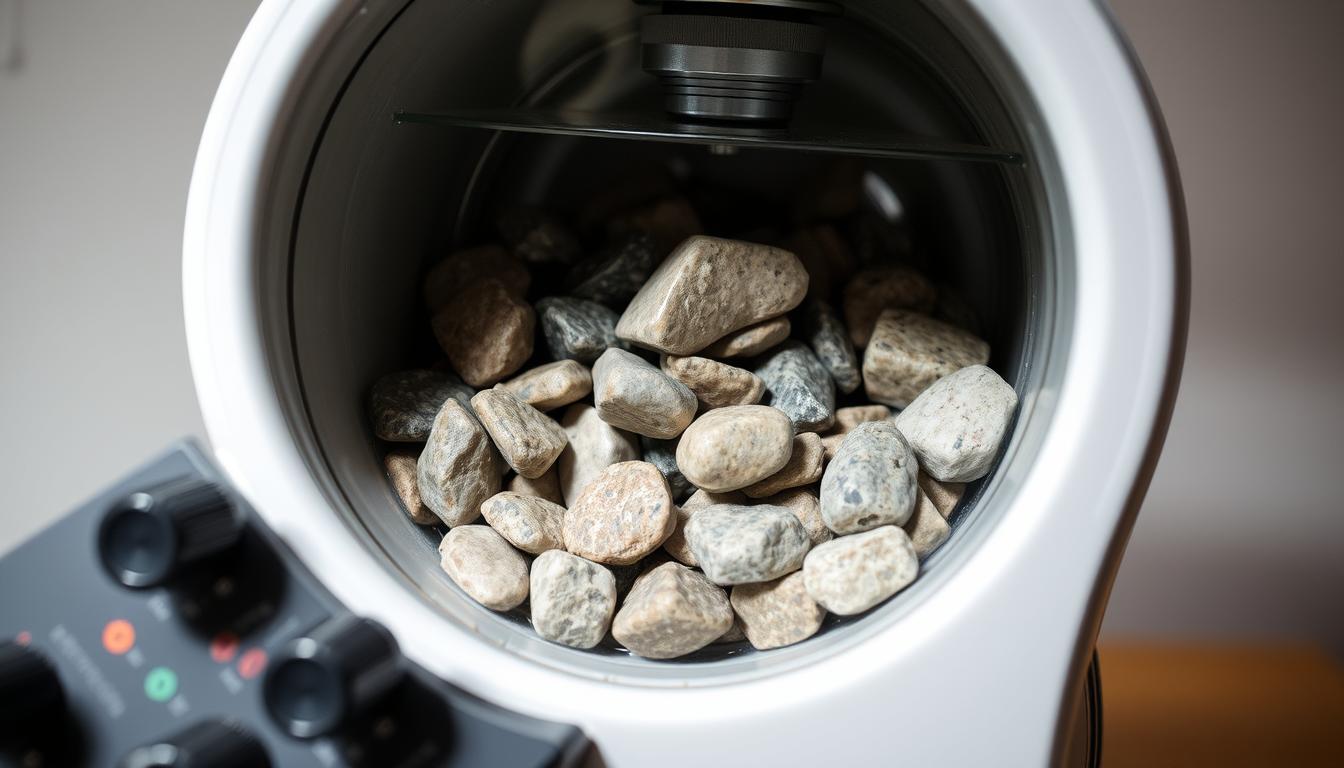
Essential Equipment for Better Results
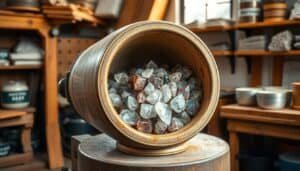
Your tumbler choice directly affects your final polish quality. Both rotary and vibratory tumblers can produce excellent results when used correctly.
Rotary tumblers work more gently and are perfect for delicate stones. Vibratory tumblers polish faster but require more careful monitoring to prevent over-polishing.
Selecting the Right Tumbler
Speed control is essential for the final polish stage. Most tumblers should run at their slowest setting during polishing to avoid creating new scratches.
Timer settings help you maintain consistent results. Set your timer for 24-hour increments so you can check progress without interrupting the cycle at random intervals.
Quality Polish Media Options
Different polish compounds work better for specific rock types. Here are the most effective options:
- Cerium oxide – gives the brightest shine on most stones.
- Aluminum oxide – works well on harder materials like agate and jasper.
- Tin oxide – provides ultra-fine polishing for premium finishes.
Quality polish media costs more upfront but delivers consistently better results than cheaper alternatives. Generic polishes often contain impurities that can scratch your stones.
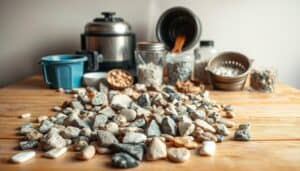
Preparing Rocks for Final Polish
Proper preparation prevents most polishing problems before they start. Clean your rocks thoroughly after each stage to remove all traces of previous grits.
Use a soft brush and mild soap to scrub each stone individually. Rinse completely and let them air dry before moving to the final polish stage.
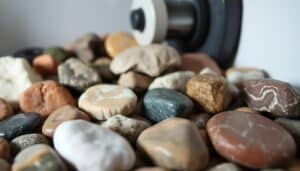
Inspecting Rocks Before Final Polish
Check each stone under good lighting to spot any remaining scratches or pits. Rocks with deep flaws need additional pre-polish work or they’ll never achieve a mirror finish.
Sort rocks by hardness and type before tumbling together. Mixed hardness levels lead to uneven results because softer stones get over-polished while harder ones stay dull.
Step-by-Step Polish Process
Start with the correct polish-to-rock ratio for your batch size. Use 1-2 tablespoons of polish per pound of rocks as a starting point, then adjust based on your results.
Load your tumbler no more than 75% full to allow proper stone movement. Add enough water to just cover the rocks – too much water dilutes the polish while too little creates excessive friction.
Determining Tumbling Duration
Most final polish cycles run 3-7 days depending on stone hardness and desired shine level. Softer stones like limestone may only need 2-3 days while harder agates might require a full week.
Check your rocks every 24-48 hours by stopping the tumbler and examining a few representative stones. Look for consistent shine across all surfaces before declaring the batch complete.
Pro Polishing Tip
Add a small amount of dish soap during the final hours of polishing for extra brilliance. The soap acts as a burnishing agent that removes any remaining polish residue.
Troubleshooting Common Problems
Dull or cloudy finishes usually result from contamination or using the wrong polish type. Always clean your tumbler barrel thoroughly between stages and use fresh water for each batch.
Scratches during the final stage often come from debris in your polish or worn tumbler linings. Replace rubber linings regularly and sift your polish through fine mesh to remove any hard particles.
Fixing Uneven Results
Uneven polish happens when rocks of different hardness levels tumble together. Separate your stones by type and hardness, then polish similar materials in separate batches.
Poor stone-to-stone contact also causes uneven polishing. Make sure your barrel is properly loaded with enough rocks to create good friction without overcrowding.
Advanced Techniques for Professional Results
Burnishing methods add extra brilliance after your main polish cycle. Run your polished stones with just soap and water for 2-4 hours to remove any polish residue and boost shine.
Two-stage polish approaches use a coarser polish first, then switch to an ultra-fine compound for the final hours. This method works especially well on challenging stones like obsidian or petrified wood.
Specialty Compounds for Different Rocks
Hard stones like quartzite respond best to diamond polish compounds. These ultra-fine abrasives cut through the toughest materials to create mirror-like finishes.
Softer materials like marble or calcite need gentler compounds like powdered limestone or chalk. These natural polishes clean and shine without damaging delicate stone surfaces.
Articles You May Like
Frequently Asked Questions
What is the most important factor for achieving high-quality polish?
Using the correct polish-to-rock ratio and maintaining proper tumbler speed are the two most critical factors for professional results.
How do I choose the best polish for my specific rocks?
Match your polish to stone hardness – aluminum oxide for hard stones, tin oxide for ultra-fine finishes, and cerium oxide for general use.
What causes dull or cloudy finishes during polishing?
Contamination from previous stages, wrong polish type, or improper cleaning between stages typically cause dull results.
How long should the final polish stage take?
Most rocks need 3-7 days of final polishing, but check progress every 24-48 hours to avoid over-polishing.
Can I polish different rock types together?
Only polish rocks of similar hardness together to prevent uneven results and potential damage to softer stones.
Final Thoughts
How To Improve Rock Tumble Polish comes down to patience, proper preparation, and using quality materials at each stage. The final polish stage requires the most attention to detail but delivers the most dramatic results.
Start with one small batch this week and focus on perfecting your technique before moving on to larger projects. For more comprehensive guidance, check out our complete equipment and materials guide to ensure you have everything needed for successful polishing.