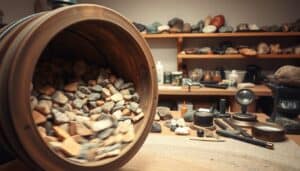
Tumbling Petrified Wood is a rewarding hobby that transforms rough, ancient material into stunning polished stones. This process requires patience, the right equipment, and understanding how to work with these unique fossilized specimens.
The journey from raw petrified wood to gleaming finished pieces takes weeks or even months, but the results make every step worthwhile. With proper preparation and technique, you can create beautiful display pieces that showcase millions of years of natural history.
TL;DR
- Start with 80-120 coarse grit and progress through 4 stages ending with polishing compound for best results.
- Clean specimens thoroughly between each stage to prevent contamination and ensure even polishing.
- Allow 7-10 days per stage – rushing the process leads to poor surface quality and scratches.
- Choose pieces 1-4 inches in size with minimal cracks for the most successful tumbling outcomes.
Tumbling Petrified Wood Basics
Petrified wood forms when minerals like quartz and agate replace organic wood fibers over millions of years. This creates stones with wood-like patterns but the hardness of quartz – rating 6-7 on the Mohs scale.
The tumbling process works by gradually smoothing rough surfaces through four main stages. Each stage uses progressively finer abrasives to remove scratches from the previous step. Understanding hardness levels and mineral testing helps you select compatible materials for consistent results.
Types of Petrified Wood for Tumbling
Different varieties produce varying results in the tumbler:
- Agatized wood – Creates vibrant colors with distinct banding patterns after polishing.
- Jasperized wood – Produces rich reds and oranges with opaque finish quality.
- Silicified wood – Offers subtle earth tones with excellent polish potential.
Essential Equipment and Materials
Success starts with choosing the right tumbler for your needs. Rotary tumblers work best for petrified wood because they provide gentle, consistent action over long periods.
Vibratory tumblers process material faster but can cause fractures in brittle specimens. Most beginners should start with a quality rotary tumbler in the 3-6 pound capacity range.
Required Grit Sequence
Professional results require following a specific grit progression:
- Coarse stage. Use 80-100 grit to shape rough pieces and remove major imperfections.
- Medium stage. Apply 220 grit to smooth surfaces and eliminate coarse scratches.
- Fine stage. Use 400-600 grit to prepare surfaces for final polishing.
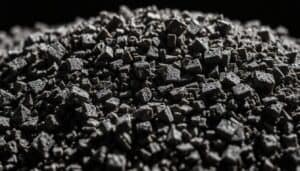
- Polish stage. Apply cerium oxide or aluminum oxide for high-gloss finish.
Additional Supplies Needed
Gather these items before starting your first batch:
- Tumbling media (ceramic pellets) to cushion specimens
- Water for lubrication during each stage
- Plastic containers for cleaning between stages
- Safety equipment including gloves and eye protection
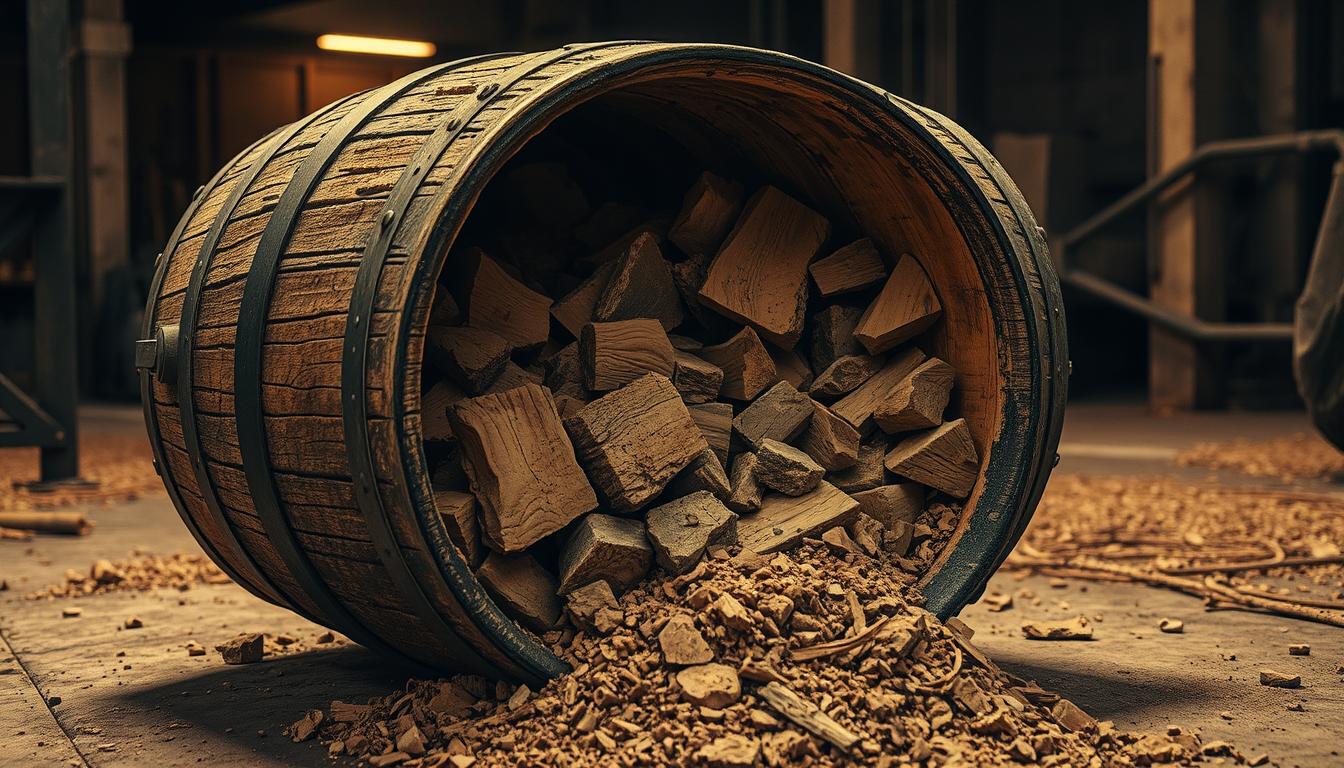
Preparing Your Specimens
Proper preparation prevents damage and ensures even polishing results. Start by examining each piece for cracks, cavities, or weak spots that could cause breakage.
Remove any specimens with deep fractures or hollow areas that trap grit. These problem pieces can contaminate your entire batch and damage other stones. Learn more about which stones to avoid to protect your investment.
Sizing and Sorting
Group specimens by size to ensure even tumbling action. Pieces should range from 1-4 inches for best results in most tumblers.
Break or cut oversized chunks using a rock saw or careful hammer work. Aim for relatively uniform thickness to prevent thin pieces from breaking during the process. Preforming your specimens properly saves time and improves final results significantly.
Pre-Tumbling Tip
Soak specimens overnight in clean water before the first stage. This helps remove loose debris and identifies pieces with hidden cracks.
Step-by-Step Tumbling Process
Stage 1: Coarse Grinding
Load your tumbler barrel about 2/3 full with prepared specimens. Add enough 80-100 grit to barely cover the stones, then fill with water until it reaches the bottom of the top layer.
Run this stage for 7-10 days, checking every few days for progress. The goal is converting rough pieces into smooth, rounded shapes without sharp edges.
Stage 2: Medium Grinding
Clean all specimens and the barrel thoroughly to remove every trace of coarse grit. Any contamination will prevent smooth results in later stages.
Reload with 220 grit using the same water level as before. Run for another 7-10 days until surfaces show consistent smoothness with minimal visible scratches.
Stage 3: Fine Grinding
Repeat the thorough cleaning process before adding 400-600 grit. This stage prepares surfaces for the final polish by removing all scratches from previous stages.
Check progress after one week – specimens should have a smooth, matte finish ready for polishing compound. Agate tumbling follows similar principles if you want to expand your skills.
Stage 4: Final Polish
Clean everything meticulously before the polish stage. Even tiny grit particles will scratch your nearly-finished stones and ruin the final appearance.
Use cerium oxide or aluminum oxide polish with clean water for 5-7 days. The result should be a mirror-like finish that brings out the wood’s natural patterns and colors.
Troubleshooting Common Problems
Preventing Cracks and Fractures
Examine specimens carefully before tumbling and reject any with visible stress lines. Reduce tumbler load if pieces seem to bang against each other too forcefully.
Add more tumbling media to cushion specimens during processing. This prevents impact damage while maintaining proper tumbling action. Understanding why rocks crack during tumbling helps you prevent costly mistakes.
Fixing Uneven Polish
Uneven results usually indicate contamination from previous stages or unbalanced tumbler operation. Always clean thoroughly between stages and check that your tumbler runs smoothly without wobbling.
If some areas remain dull after polishing, return those pieces to the fine grit stage for additional smoothing before re-polishing.
Dealing with Stubborn Areas
Some petrified wood contains harder or softer zones that polish at different rates. Hand-sand problem areas with fine sandpaper before the final polish stage.
Alternatively, extend polishing time for the entire batch to allow stubborn areas to catch up. Patience often solves what seems like equipment problems.
Articles You May Like
Frequently Asked Questions
How long does each tumbling stage take for petrified wood?
Each stage typically runs 7-10 days, with the total process taking 4-6 weeks. Never rush stages as this leads to poor results and wasted time.
What size pieces work best for tumbling petrified wood?
Pieces between 1-4 inches work best in most tumblers. Avoid very thin specimens that might break and oversized chunks that prevent proper tumbling action.
Can cracked petrified wood be successfully tumbled?
Small surface cracks often polish out, but deep fractures usually worsen during tumbling. Remove obviously damaged pieces to protect your entire batch.
What polish compound works best on petrified wood?
Cerium oxide produces excellent results on most petrified wood types. Aluminum oxide also works well and costs less for large batches.
How do I prevent contamination between tumbling stages?
Clean specimens, barrel, and lid thoroughly with soap and water between each stage. Any remaining grit will scratch stones in the next finer stage.
Final Thoughts
Tumbling Petrified Wood rewards patience with stunning results that showcase millions of years of natural history. The process takes weeks but produces professional-quality specimens for display or selling tumbled stones.
Start with high-quality rough material and follow each stage carefully for the best outcomes. Your first successful batch will motivate you to explore more advanced techniques and different wood varieties.