Learning How To Photograph Tumbled Rocks with your smartphone opens up a world of creative possibilities for rock collectors and hobbyists. Modern phone cameras have advanced enough to capture the intricate details, colors, and textures that make each polished specimen unique.
Whether you’re documenting your collection or sharing your finds with fellow enthusiasts, mastering these photography techniques will help you showcase your tumbled rocks in their best light. With just a few simple adjustments to your approach, you can transform ordinary snapshots into stunning images that highlight every band, inclusion, and polished surface.
TL;DR
- Use natural window light positioned at a 45-degree angle to reduce harsh reflections on polished surfaces.
- Place specimens on neutral backgrounds like white paper or natural wood to make colors pop without distraction.
- Enable your phone’s macro mode and tap the screen to focus on specific details like bands or inclusions.
- Edit photos using apps like Snapseed or Lightroom Mobile to adjust exposure and enhance natural colors without overdoing saturation.
How To Photograph Tumbled Rocks: Essential Setup
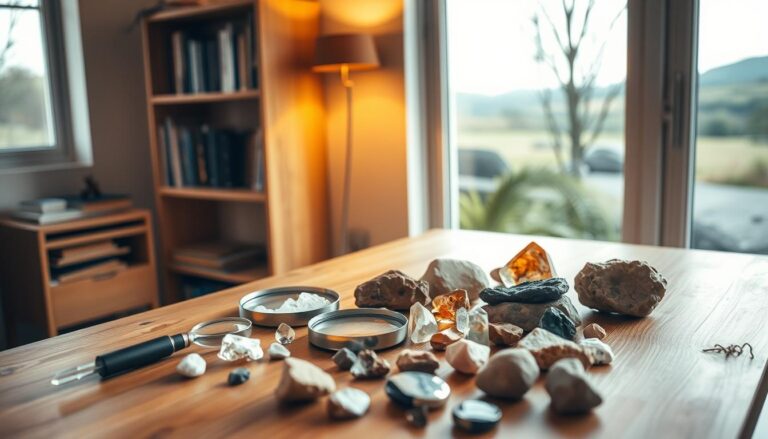
Start with a clean, stable surface near a large window for natural light. Position your tumbled rocks about 2-3 feet from the window to get soft, even lighting that won’t create harsh shadows or glare.
Your smartphone likely has everything you need built-in, but a few simple accessories can make a big difference. A small tripod or phone stand keeps your camera steady, while a piece of white poster board can serve as both backdrop and light reflector.
Basic Equipment You Already Own
Most household items work perfectly for rock photography setups. A desk lamp with a white shade provides consistent artificial lighting when natural light isn’t available.
- White paper or cardstock – Creates clean backgrounds that don’t compete with your rocks
- Small towel or cloth – Positions rocks at better angles and prevents rolling
- Desk lamp – Provides controllable lighting for evening photography sessions
- Magnifying glass – Helps you spot interesting details before composing your shot
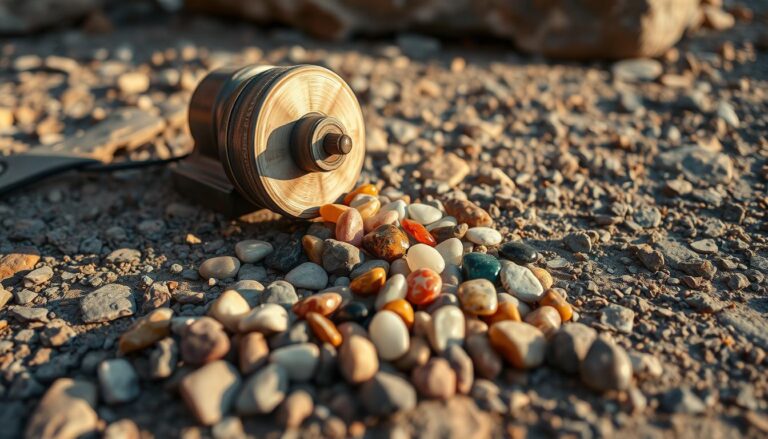
Lighting Techniques That Bring Out Rock Details
Natural window light works best for most tumbled rocks because it’s soft and shows true colors. Position your setup perpendicular to the window so light hits the rocks from the side rather than directly above.
For shiny specimens like polished agate or jasper, angle the light source at 45 degrees to minimize reflections. If you’re working with artificial light, use a white lamp shade or bounce the light off a white wall to soften it.
Managing Reflections on Polished Surfaces
Polished tumbled rocks can act like tiny mirrors, creating bright spots that hide details. Move your light source around until you find an angle that shows the rock’s patterns without creating glare hotspots.
A simple trick is to hold a piece of white paper between the light and your rock to diffuse harsh lighting. This creates the soft, even illumination that makes colors rich and textures visible.
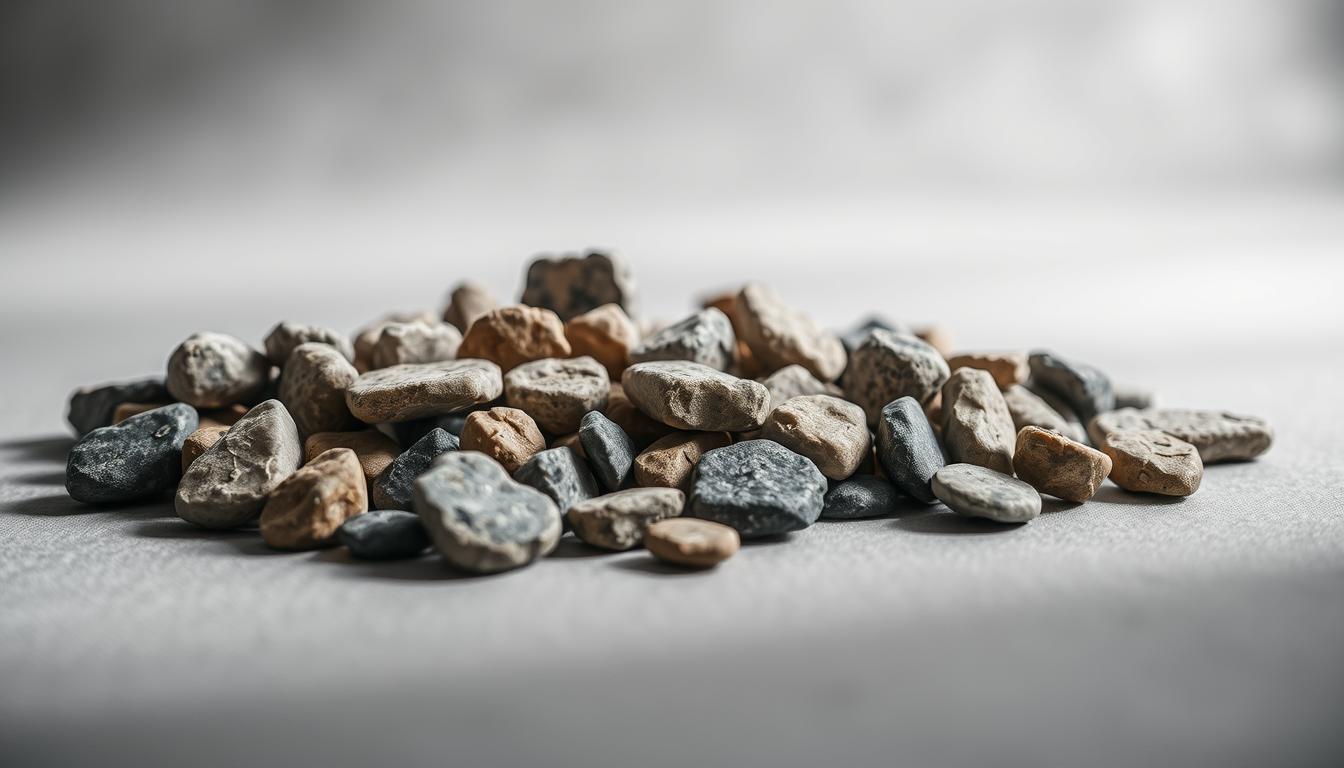
Background Selection for Maximum Impact
Your background should complement your rock’s colors without stealing attention. White backgrounds work for most specimens, while black backgrounds make lighter rocks with intricate patterns really stand out.
Consider the rock’s dominant colors when choosing backgrounds. Red jasper pops against green or blue backgrounds, while purple amethyst looks stunning on yellow or gold surfaces.
DIY Background Solutions
- Colored construction paper – Inexpensive and available in every color
- Natural materials – Wood, sand, or leaves add organic textures
- Fabric scraps – Velvet creates rich, even tones without texture distractions
- Textured surfaces – Rough wood or stone complements the natural origins of your specimens
Quick Setup Tip
Create a simple lightbox using a cardboard box lined with white paper. Cut holes in the sides for lighting and photograph through the top opening for professional-looking results.
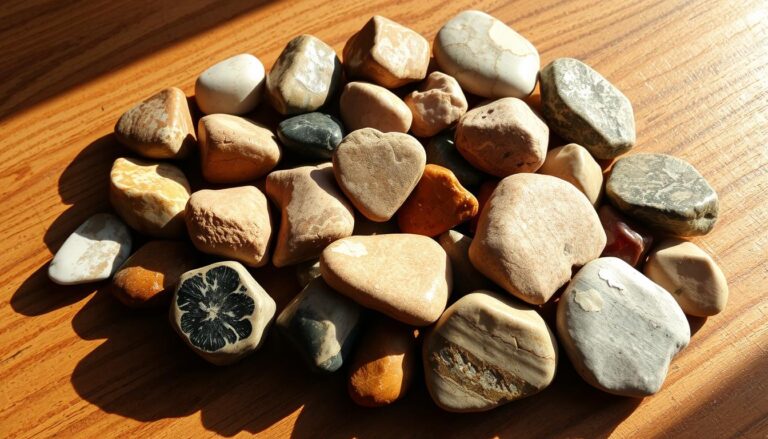
Composition Strategies for Single Rocks and Collections
When photographing individual specimens, fill most of the frame with the rock itself. Get close enough to show surface details like banding, inclusions, or crystal formations that make each piece unique.
For collection shots, arrange rocks by size, color, or type to create visual flow. Odd numbers of objects typically look more natural than even groupings, so try arrangements of three or five pieces. When organizing your specimens for photography, consider using proper storage techniques that also make your rocks easy to access for photo sessions.
Using the Rule of Thirds
Enable your phone’s grid lines and place your rock’s most interesting feature along one of the grid lines rather than dead center. This creates more dynamic, engaging compositions that draw viewers into the image.
For rocks with distinct patterns or bands, align these features with the grid lines to create strong visual anchors that guide the eye through the photograph.
Camera Settings and Techniques
Most modern smartphones automatically handle exposure and focus well, but manual adjustments can improve your results. Tap the screen to focus on the specific area you want sharp, then slide the exposure control up or down to brighten or darken the image.
Enable HDR mode for rocks with both very light and very dark areas – this captures detail in both the bright polished surfaces and darker inclusions or matrix material.
Macro Photography for Detail Shots
Switch to macro mode if your phone has one, or get as close as possible while maintaining focus. Clean your camera lens first – fingerprints and dust become very obvious in close-up shots.
For the sharpest results, use a tripod or brace your phone against a solid surface. Even tiny movements become magnified in macro photography, causing blur that hides the fine details you’re trying to capture.
Focus Stacking for Maximum Sharpness
Take multiple photos of the same rock, focusing on different areas in each shot. You can later combine these in editing apps to create images that are sharp throughout the entire specimen.
- Start with the closest point. Focus on the part of the rock nearest to your camera.
- Move focus gradually back. Take additional shots focusing on the middle and far portions.
- Combine in editing. Use apps like Helicon Focus or Photoshop to blend the sharp areas from each image.
Editing Your Rock Photos
Start with basic adjustments in your phone’s built-in editor or apps like Snapseed. Increase clarity and texture to bring out surface details, but avoid over-sharpening which creates ugly halos around edges.
Adjust the white balance if your rock’s colors look off – indoor lighting often makes specimens appear too yellow or orange. The auto white balance sometimes struggles with highly reflective surfaces, so manual adjustment helps achieve accurate colors.
Color Correction for Natural-Looking Results
Boost vibrance rather than saturation to enhance colors without making them look artificial. Vibrance affects the duller colors more than the already-rich ones, creating more natural-looking enhancement.
Use the shadows and highlights sliders to recover detail in very dark or very bright areas of your rock photos. This brings out patterns and inclusions that might otherwise be lost in extreme lighting conditions.
Apps for Rock Photography Enhancement
- Snapseed – Free Google app with excellent detail enhancement tools
- Lightroom Mobile – Professional-grade color correction and RAW editing
- VSCO – Film-inspired filters that add warmth and character to mineral photos
- TouchRetouch – Removes dust spots and unwanted reflections cleanly
Sharing Your Rock Photography
Social media platforms like Instagram and Facebook work well for sharing your tumbled rock photography with fellow collectors and enthusiasts. Use hashtags like #rockhounding, #mineralogy, and #tumblingrocks to connect with others who share your interest.
Join online rockhounding communities where members appreciate the time and effort that goes into creating quality specimen photography. These groups often provide valuable feedback and tips for improving your technique, especially when you’re just starting your rock collection.
Building an Online Portfolio
Consider creating a dedicated Instagram account or Flickr album for your rock photography. This helps you track your improvement over time and builds an audience interested in your specific collecting focus.
Document your specimens with consistent lighting and backgrounds to create a cohesive collection that looks professional. Include information about where you found each rock or what type of tumbler you used to polish it.
Articles You May Like
Frequently Asked Questions
What lighting works best for photographing polished tumbled rocks?
Natural window light positioned at a 45-degree angle reduces harsh reflections while showing true colors. Avoid direct overhead lighting which creates unwanted glare on polished surfaces.
How do I eliminate reflections when photographing shiny specimens?
Use diffused lighting by placing white paper between your light source and the rock, or bounce light off a white wall. Adjust the angle until reflections don’t hide important surface details.
What background colors work best for tumbled rock photography?
White backgrounds work for most rocks, while contrasting colors make specimens pop – try blue backgrounds for orange rocks or green backgrounds for red specimens. Neutral backgrounds prevent color competition.
Should I use my phone’s macro mode for rock photography?
Yes, macro mode helps capture fine details like banding, inclusions, and surface textures that make each specimen unique. Clean your camera lens first for the sharpest possible results.
Which editing apps work best for enhancing rock photos?
Snapseed offers excellent free editing tools for detail enhancement, while Lightroom Mobile provides professional-grade color correction. Both apps help bring out natural beauty without over-processing.
Final Thoughts
How To Photograph Tumbled Rocks becomes easier with practice and attention to lighting, composition, and your phone’s camera capabilities. Start with simple setups using natural light and basic backgrounds, then experiment with different angles and editing techniques as you develop your skills.
The key is showcasing each rock’s unique characteristics while maintaining natural-looking colors and details. Share your best shots with fellow enthusiasts and keep practicing – your photography will improve along with your appreciation for these polished treasures. Consider incorporating your photography skills into creating beautiful stone crafts that showcase both your polished specimens and artistic eye.