Rock Tumbling Grit Stages Explained might seem complex at first, but understanding each phase transforms rough stones into polished gems through a systematic four-stage process. Each stage uses progressively finer abrasive grits to gradually smooth and shape your rocks over several weeks.
The key to successful rock tumbling lies in patience and using the right grit at the right time. Rushing through stages or skipping steps will result in poorly polished stones that lack the brilliant shine you’re working toward.
TL;DR
- Stage 1 uses 60/90 grit and runs for 7-10 days to remove rough edges and shape stones.
- Stage 2 uses 120/220 grit for 7 days to smooth surfaces and remove scratches from stage 1.
- Stage 3 uses 400 grit for 7 days to create a pre-polish finish and prepare for final polishing.
- Stage 4 uses aluminum oxide polish for 5-7 days to achieve the final mirror-like shine.
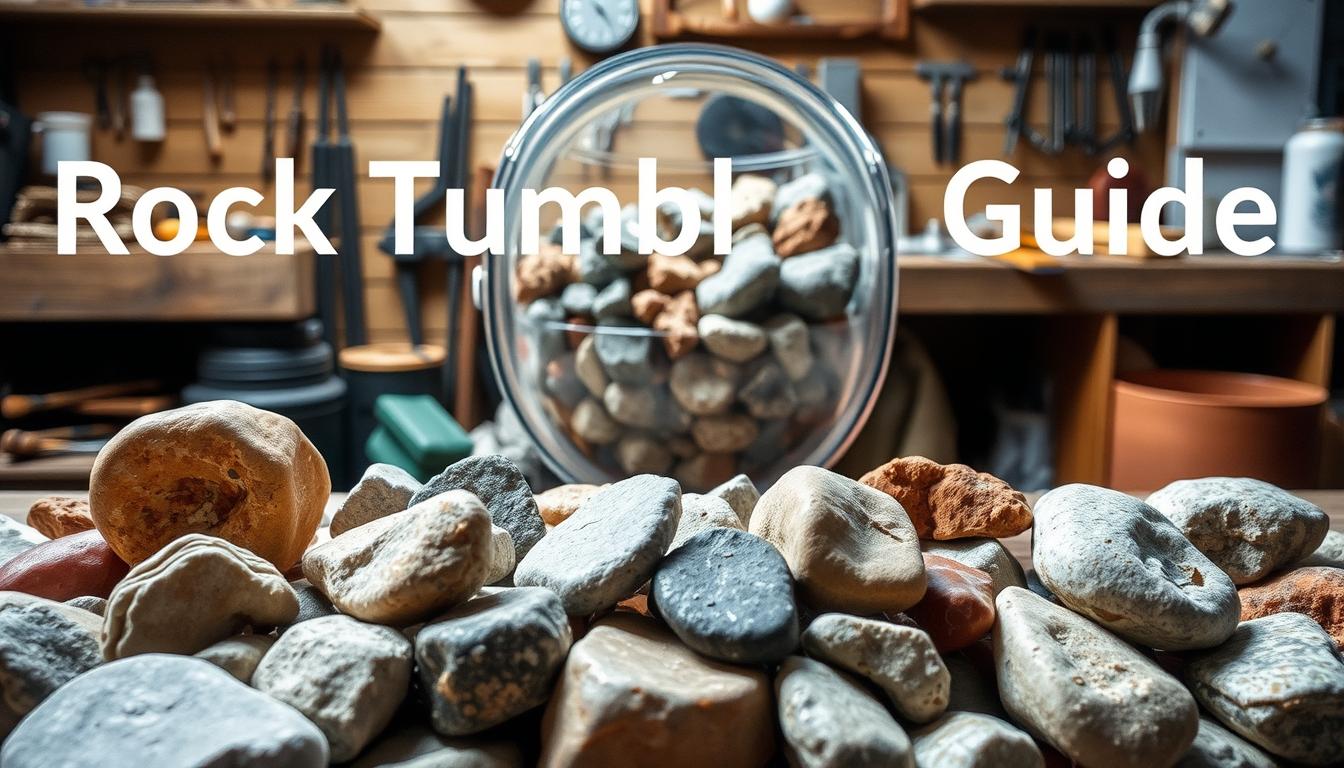
Rock Tumbling Grit Stages Explained
Rock tumbling follows a proven four-stage system where each phase serves a specific purpose in transforming rough rocks into polished stones. The process requires different types of abrasive materials, proper timing, and careful attention to detail at each step.
Success depends on completing each stage thoroughly before moving to the next. Skipping stages or cutting time short will compromise your final results and waste weeks of tumbling time.
Stage 1: Coarse Grit Shaping
Stage 1 uses the coarsest grit, typically 60/90 silicon carbide, to do the heavy work of shaping your rocks. This stage removes sharp edges, fractures, and major imperfections while establishing the basic shape of each stone.
The tumbling action during this stage is quite aggressive, with rocks constantly grinding against each other. You’ll notice significant changes in rock shape and size as rough surfaces are worn away.
Stage 1 Process Details
- Grit type – 60/90 mesh silicon carbide grit
- Duration – 7-10 days of continuous tumbling
- Water level – Cover rocks by about 1 inch
- Grit amount – 2-3 tablespoons per pound of rocks
- Expected results – Rounded shapes with matte, frosted surfaces
Stage 2: Medium Grit Smoothing
Stage 2 uses 120/220 grit silicon carbide to smooth the surfaces created in stage 1. This finer grit removes the scratches and rough texture left by the coarse grit while further refining the stone’s shape.
You’ll start to see the true character of your rocks emerge during this stage. Colors become more apparent, and the overall surface quality improves dramatically.
Stage 2 Requirements
- Grit type – 120/220 mesh silicon carbide grit
- Duration – 7 days of continuous tumbling
- Cleaning – Thoroughly rinse rocks and barrel between stages
- Grit amount – 2 tablespoons per pound of rocks
- Expected results – Smoother surfaces with reduced scratching
Stage 3: Fine Grit Pre-Polish
Stage 3 uses 400 grit silicon carbide to create a pre-polish finish that prepares rocks for the final polishing stage. This fine grit removes the last visible scratches and creates an even, consistent surface texture.
The pre-polish stage is critical for achieving excellent final results. Rocks that aren’t properly prepared in stage 3 will show defects in the final polish that cannot be corrected.
Clean Everything Between Stages
Contamination from previous grit stages will ruin your polish. Wash rocks, barrel, and lid thoroughly with soap and water between each stage.
Stage 3 Specifications
- Grit type – 400 mesh silicon carbide grit
- Duration – 7 days of continuous tumbling
- Surface appearance – Uniform, fine-textured finish
- Grit amount – 1-2 tablespoons per pound of rocks
- Quality check – No visible scratches under bright light
Stage 4: Final Polish
Stage 4 uses aluminum oxide polish to create the final mirror-like shine on your tumbled stones. This ultra-fine abrasive removes the microscopic scratches left by stage 3 grit and brings out the natural luster of the rock.
Polish requires the cleanest possible conditions since any contamination will prevent proper results. Some rock types may need longer polishing times to achieve their best appearance.
Polishing Stage Details
- Polish type – Aluminum oxide or cerium oxide polish
- Duration – 5-7 days of continuous tumbling
- Amount needed – 1 tablespoon per pound of rocks
- Water quality – Use distilled water for best results
- Final appearance – Mirror-like shine with full color depth
Timing and Quality Control
Each grit stage requires specific timing to achieve proper results, but rock hardness can affect these schedules. Softer rocks like limestone may finish stages faster, while extremely hard materials like jasper may need extra time.
Check your progress regularly by removing a few stones and examining them under bright light. Proper stage completion shows consistent surface texture across all rocks with no visible scratches from the previous grit.
Signs of Proper Stage Completion
- Stage 1 complete. All sharp edges rounded off, consistent matte finish across all surfaces.
- Stage 2 complete. Smooth feel when rubbed together, no visible deep scratches.
- Stage 3 complete. Uniform fine texture, rocks feel silky smooth to touch.
- Stage 4 complete. Mirror-like reflective surfaces with full color saturation.
Frequently Asked Questions
Can I skip grit stages to save time?
No, skipping stages will result in poor polish quality with visible scratches and defects. Each stage prepares the surface for the next finer grit.
How do I know when each stage is complete?
Remove a few rocks and examine them under bright light for consistent surface texture and absence of scratches from the previous grit stage.
What happens if I use too much grit?
Excess grit creates a thick slurry that reduces tumbling action and can actually slow down the process while wasting expensive grit material.
Why do my rocks look dull after polishing?
Dull results usually indicate contamination from previous grit stages or insufficient cleaning between stages. Always wash everything thoroughly.
How long does the complete tumbling process take?
The full four-stage process typically takes 4-5 weeks of continuous tumbling, with each stage running 5-10 days depending on rock hardness. For more detailed timing information, check out our complete timeline guide.
Final Thoughts
Rock Tumbling Grit Stages Explained becomes straightforward once you understand that each phase builds upon the previous one to gradually refine your stones. Success comes from patience, proper timing, and maintaining clean conditions throughout the process. Before you start, make sure you’re selecting appropriate rocks that will tumble well together.
Start your first batch this week and experience the satisfaction of transforming ordinary rough rocks into beautiful polished gems through this proven four-stage system. For additional tips on achieving better results, learn how to improve your rock tumble polish.