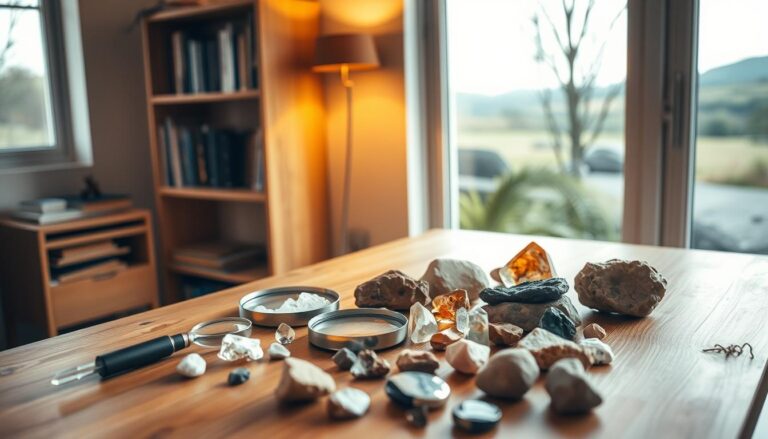
Easy Rocks For Beginners make the perfect starting point for anyone interested in rock collecting and geology. Most people think rock identification requires years of study, but many common rocks have distinctive features that make them simple to recognize.
Learning to identify basic rocks opens up a fascinating world of natural history and outdoor exploration. With just a few key characteristics to look for, beginners can quickly build confidence in their rock identification skills and start a meaningful rock collection.
TL;DR
- Granite shows speckled patterns of pink, white, and black minerals that are easy to spot with the naked eye.
- Limestone fizzes when you drop vinegar on it due to its calcium carbonate content.
- Obsidian breaks with sharp edges and looks like black glass formed from rapidly cooled lava.
- Sandstone feels rough and gritty because you can see and feel individual sand grains cemented together.
Easy Rocks For Beginners to Start With
Starting your rock collection doesn’t require advanced geological knowledge. The most beginner-friendly rocks have clear visual markers that stand out immediately.
These common rocks appear in most regions and offer distinct characteristics that make identification straightforward. Focus on learning these basics before moving to more challenging specimens.
Granite – The Speckled Rock
Granite ranks as one of the easiest rocks for beginners to identify. Its coarse-grained texture shows distinct mineral crystals that create a speckled appearance.
Look for three main colors mixed together – pink feldspar, white quartz, and black mica or hornblende. This combination creates granite’s signature look that you can spot from several feet away.
Sandstone – Feel the Grains
Sandstone offers beginners a tactile identification method. Run your fingers across its surface to feel individual sand grains that have been cemented together over millions of years.
Colors range from tan and red to white and gray, often showing visible layers or bands. The rough, sandy texture remains consistent regardless of color variations.
Simple Visual Tests for Rock Identification
Visual examination provides the quickest way to identify most beginner rocks. Train your eye to notice key features that distinguish one rock type from another.
Start with obvious characteristics like color, crystal size, and overall texture before moving to more subtle details. These initial observations narrow down possibilities significantly.
Crystal Size and Texture
Crystal size tells you how quickly a rock cooled during formation. Large, visible crystals indicate slow cooling underground, while fine-grained or glassy textures show rapid surface cooling.
- Coarse-grained – crystals visible to naked eye (granite, gabbro)
- Fine-grained – crystals too small to see clearly (basalt, shale)
- Glassy – no visible crystals at all (obsidian)
Color Patterns and Banding
Many rocks display distinctive color patterns that serve as identification markers. Banded rocks often form through layered deposition or metamorphic processes.
- Uniform color – single mineral composition
- Speckled patterns – multiple minerals mixed together
- Distinct layers – sedimentary or metamorphic origin
Start With Common Local Rocks
Visit a local nature center or geology museum to see labeled examples of rocks found in your area. This gives you reference points for field identification.
Igneous Rocks That Are Easy to Spot
Igneous rocks form from cooled magma or lava and often display the most dramatic visual characteristics. Their formation process creates distinctive textures and mineral arrangements.
Basalt – The Dark Volcanic Rock
Basalt appears as a dark gray to black rock with a fine-grained texture. This volcanic rock forms when lava cools quickly on the Earth’s surface.
Look for its uniform dark color and smooth, dense feel. Basalt sometimes shows small holes called vesicles where gas bubbles were trapped during cooling.
Obsidian – Nature’s Glass
Obsidian stands out as volcanic glass with a shiny, reflective surface. This rock forms when lava cools so rapidly that crystals don’t have time to form.
Handle obsidian carefully as it breaks into extremely sharp edges. Colors range from black to brown, red, or even rainbow-colored depending on mineral content.
Pumice – The Floating Rock
Pumice feels surprisingly light due to its foam-like structure filled with air holes. This volcanic rock actually floats on water because of its low density.
The rough, abrasive texture comes from countless tiny holes created by escaping volcanic gases. Colors typically range from white to light gray.
Beginner-Friendly Sedimentary Rocks
Sedimentary rocks form from compressed layers of sediment and often preserve fossils or show clear layering. These characteristics make them among the easiest rocks for beginners to identify.
Limestone – The Fizzing Rock
Limestone provides one of the most reliable identification tests for beginners. Drop a small amount of vinegar on limestone and watch it fizz due to the chemical reaction with calcium carbonate.
This rock often contains visible fossils like shells or coral, making it exciting for collectors. Colors range from white and gray to yellow and tan.
Shale – The Flaky Rock
Shale splits easily into thin, flat layers due to its formation from compressed mud and clay. This splitting property makes shale simple to identify in the field.
Look for fine-grained texture and the ability to break along flat planes. Colors typically appear as dark gray, brown, or black.
Conglomerate – Nature’s Concrete
Conglomerate looks like natural concrete with visible pebbles and rocks cemented together. The variety of embedded rock fragments makes this sedimentary rock easy to spot.
Each conglomerate specimen tells a story about ancient rivers or beaches where the original pebbles were deposited. The cement holding everything together is usually sandstone or limestone.
Simple Metamorphic Rocks for New Collectors
Metamorphic rocks result from heat and pressure transforming existing rocks into new forms. Several metamorphic rocks display characteristics that beginners can easily recognize.
Slate – The Smooth Splitter
Slate forms when shale undergoes metamorphism, creating a smooth, fine-grained rock that splits into flat sheets. This splitting property makes slate perfect for roofing tiles and chalkboards.
Look for its smooth surface and the way it breaks along parallel planes. Colors include gray, black, green, and purple.
Marble – Transformed Limestone
Marble develops when limestone experiences heat and pressure, creating a rock prized for sculpture and architecture. The smooth texture and ability to take a high polish distinguish marble from limestone.
Marble often shows colorful veining created by mineral impurities during metamorphism. It still fizzes with vinegar like its limestone parent rock.
Quartzite – Super-Hard Sandstone
Quartzite forms when sandstone undergoes metamorphism, fusing the sand grains into an extremely hard rock. This hardness makes quartzite much tougher than regular sandstone.
Try the hardness test – quartzite will scratch steel while sandstone won’t. The fused grains create a smooth, glassy appearance quite different from sandstone’s rough texture.
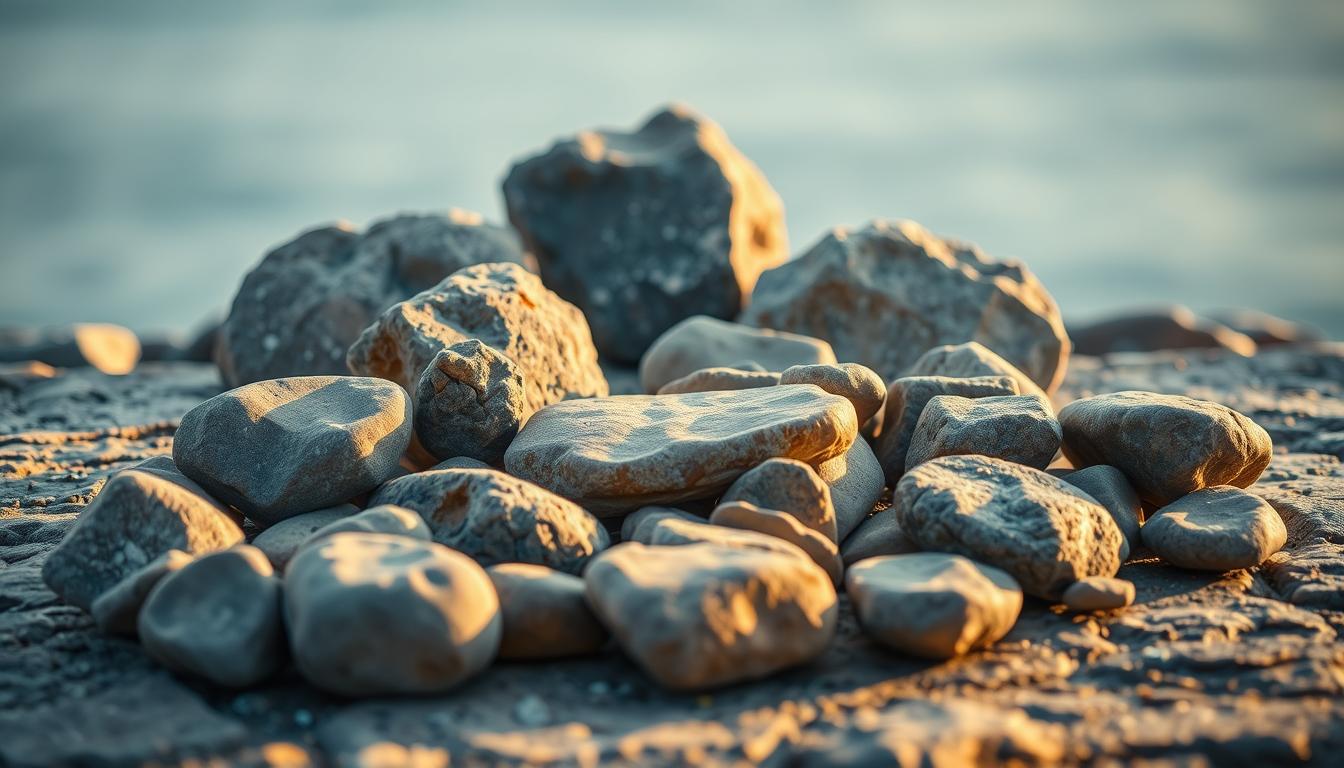
Where to Find These Easy Rocks
Knowing where to look increases your chances of finding these beginner-friendly rocks. Different environments concentrate specific rock types based on local geology, and finding the best local rock hunting spots can make all the difference.
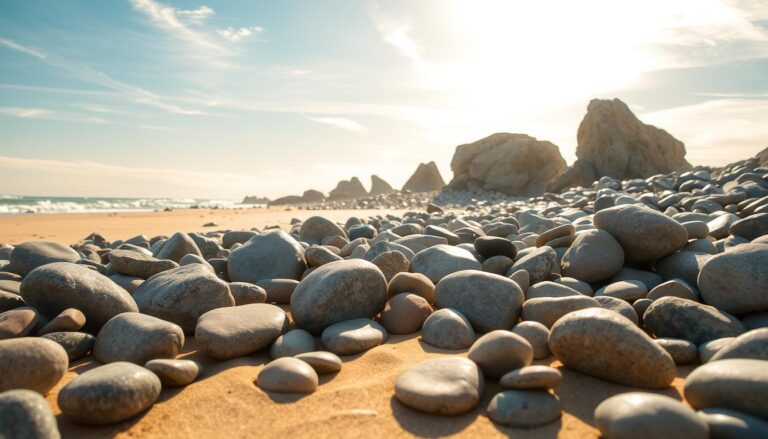
Beaches and Lakeshores
Water action concentrates and polishes rocks, making identification easier. Beaches often yield granite, sandstone, and various metamorphic rocks smoothed by wave action.
Look in the high-tide zone where storms deposit the most interesting specimens. Early morning searches often reveal newly exposed rocks.
Construction Sites and Road Cuts
Construction activities expose fresh rock faces that haven’t been weathered or covered by soil. Always get permission and prioritize safety when exploring these areas.
Road cuts through hills often reveal excellent rock outcrops showing different layers and rock types in their natural positions.
Stream Beds and Creek Banks
Moving water naturally sorts rocks by size and density while exposing fresh surfaces. Creek beds offer excellent hunting for water-rounded specimens.
Look along the banks where spring floods have deposited rocks, and check areas downstream from rocky outcrops where erosion breaks off fresh samples.
Articles You May Like
Frequently Asked Questions
What tools do I need to identify rocks as a beginner?
Start with a magnifying glass, steel nail for hardness testing, and white vinegar for limestone identification. A small hammer and safety glasses help when examining larger specimens.
How can I tell the difference between granite and marble?
Granite shows distinct speckled patterns of different colored minerals, while marble appears more uniform with flowing veins. Marble also fizzes when you apply vinegar, but granite does not.
Is it legal to collect rocks anywhere I find them?
Rock collecting rules vary by location. Public lands often allow small-scale collecting, but always check local regulations and avoid private property, national parks, and protected areas without permission.
What’s the easiest rock for absolute beginners to start with?
Sandstone offers the best starting point because you can feel the individual sand grains with your fingers. This tactile identification method works even when visual characteristics seem unclear.
How do I clean rocks I’ve collected?
Start with plain water and a soft brush to remove dirt and debris. For stubborn stains, use diluted dish soap, but avoid harsh chemicals that might damage or alter the rock’s natural appearance.
Final Thoughts
Easy Rocks For Beginners provide the perfect foundation for developing rock identification skills and building a meaningful collection. These common rocks appear in most regions and offer clear visual markers that make field identification straightforward.
Start with granite, sandstone, and limestone to build your confidence, then gradually expand to other rock types as your skills develop. The key is spending time observing real rocks rather than just reading about them, and avoiding common beginner mistakes will help accelerate your learning – consider visiting the U.S. Geological Survey website for detailed geological maps of your area.