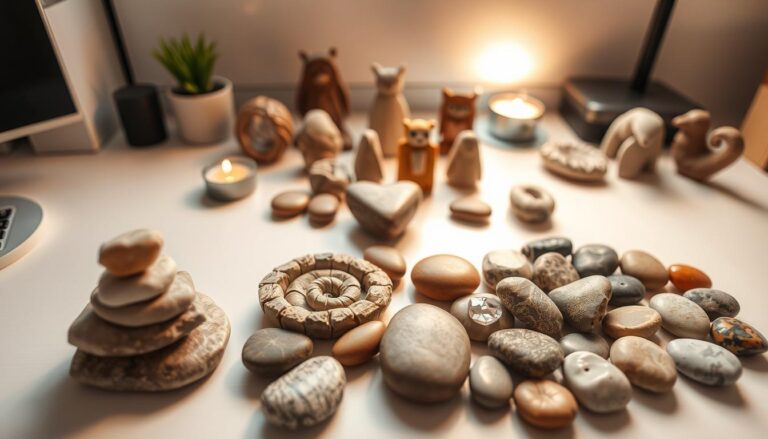
Tumbled Rock Jewelry Ideas open up endless possibilities for crafting unique accessories from nature’s polished gems. These smooth, colorful stones make perfect materials for beginners who want to create beautiful jewelry without needing advanced skills. With just a few basic tools and techniques, you can transform ordinary tumbled rocks into stunning wearable art.
Whether you’re looking to start a new hobby or create personalized gifts, tumbled rock jewelry offers an affordable way to express your creativity. The natural beauty and variety of these stones means every piece you make will be completely one-of-a-kind.
TL;DR
- Drilling small holes in tumbled stones takes approximately 2-3 minutes using diamond-tipped bits and a rotary tool.
- Beginners should start with softer stones like sandstone or limestone which are easier to work with than harder materials.
- Basic wire wrapping requires only 3 tools – wire cutters, round-nose pliers, and flat-nose pliers.
- Simple pendant projects can be completed in under 30 minutes using just a tumbled stone, bail, and chain.
Tumbled Rock Jewelry Ideas for Every Skill Level
Starting with tumbled rock jewelry gives you a huge advantage over working with raw stones. The tumbling process creates smooth, polished surfaces that feel comfortable against skin and catch light beautifully. These pre-finished stones eliminate hours of grinding and polishing work, letting you focus purely on design and creativity.
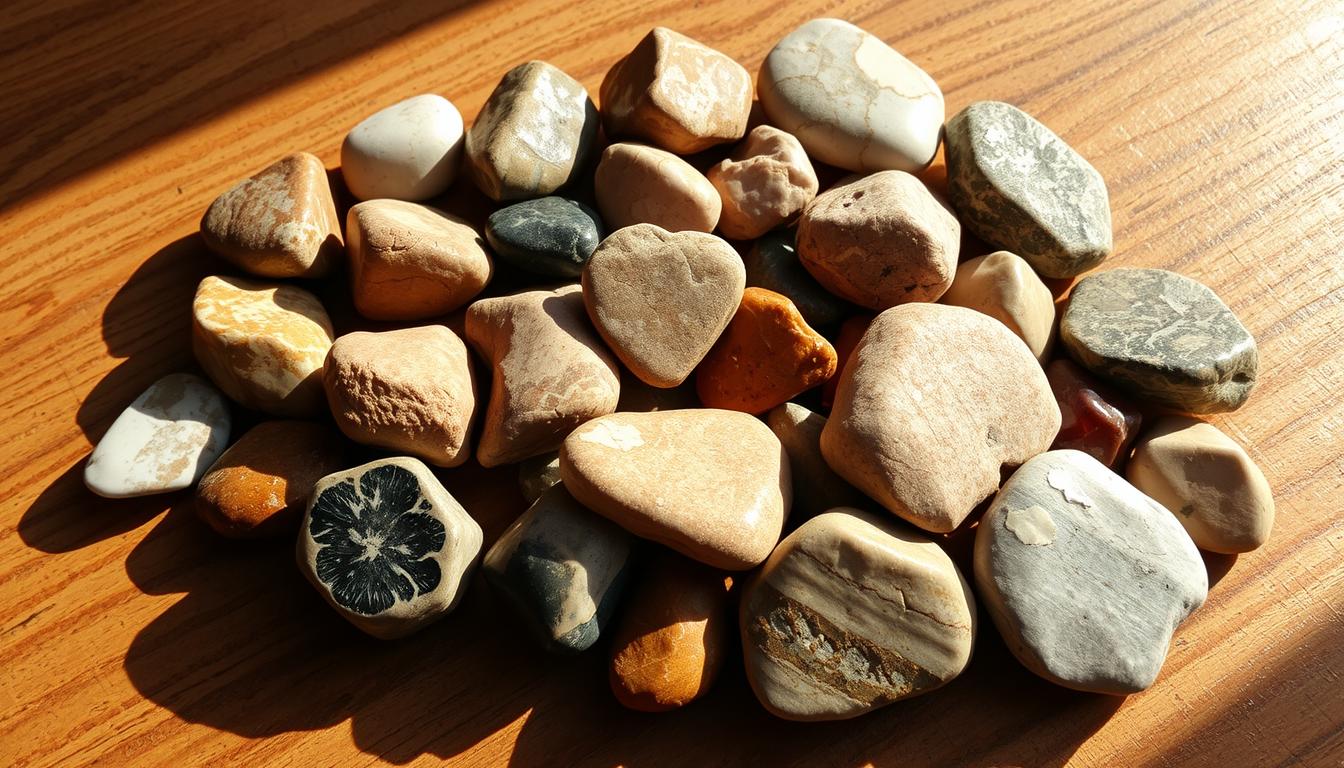
The variety of tumbled rocks available means you can find stones in almost any color, pattern, or texture you want. From classic agates with their striking bands to colorful jaspers and sparkling quartzes, each stone brings its own character to your jewelry designs.
Essential Tools and Materials
Getting started requires just a handful of basic tools that won’t break your budget. A high-speed rotary tool with diamond-tipped bits handles all your drilling needs, while basic jewelry pliers help with wire work and assembly. Many beginners start with a simple toolkit costing under $50.
Must-Have Tools
- Rotary tool – Essential for drilling holes cleanly through stones
- Diamond-tipped bits – Cut through even the hardest stones efficiently
- Wire cutters – Trim excess wire and cut findings to size
- Round-nose pliers – Create perfect loops and curves in wire
- Flat-nose pliers – Grip and bend wire with precision
Basic Materials
- Jewelry wire – 20-22 gauge works well for most stone wrapping
- Jump rings – Connect components and add movement to designs
- Earring hooks – Ready-made findings save time on simple projects
- Chains and cords – Variety pack gives options for different looks
- Clasps – Lobster claws and magnetic closures work for most pieces
Simple Projects to Start With
Beginning with straightforward projects builds your confidence and teaches fundamental techniques. Simple pendant necklaces require minimal tools and give impressive results that look professionally made.
Basic Drilled Pendant
- Choose your stone. Pick a tumbled rock with interesting colors or patterns that appeals to you.
- Mark the drilling spot. Use a pencil to mark where you want the hole – usually near the top edge.
- Drill slowly. Start with light pressure and let the diamond bit do the work to avoid cracking.
- Add findings. Insert a jump ring or bail through the hole and attach to your chain.
Wire-Wrapped Stone
Wire wrapping eliminates the need for drilling while creating elegant, professional-looking results. This technique works especially well with stones you’ve cleaned and polished yourself since you can wrap them immediately without additional preparation.
- Cut wire length. Use about 6 inches of wire for small stones, more for larger pieces.
- Create base wrap. Wrap wire around the stone’s narrowest point 2-3 times.
- Form the bail. Use round-nose pliers to create a loop above the stone.
- Secure ends. Tuck wire ends neatly and trim excess.
Practice Makes Perfect
Start with inexpensive tumbled stones while learning techniques. Save your favorite specimens for projects after you’ve mastered the basics.
Creative Design Ideas
Once you’re comfortable with basic techniques, you can explore more complex designs that showcase multiple stones or combine different materials for unique looks.
Multi-Stone Necklaces
Combining several tumbled stones creates eye-catching graduated necklaces or charm-style pieces. Choose stones that complement each other in color or select contrasting stones for bold, modern looks. Learning to evaluate rock quality helps you select specimens that will work well together in multi-stone designs.
Earring Variations
- Simple dangles – Single stones on earring hooks for everyday wear
- Cluster designs – Multiple small stones grouped together
- Asymmetrical pairs – Different but coordinating stones for artistic flair
- Chandelier style – Layered stones creating movement and drama
Bracelet Concepts
Tumbled rock bracelets work well with both elastic cord for stretch styles and traditional clasps for adjustable fits. Mix stones with metal beads or wooden elements to create patterns and prevent the piece from feeling too heavy.
Working with Different Stone Types
Understanding the characteristics of different tumbled rocks helps you choose the right stones for specific projects and work with them effectively.
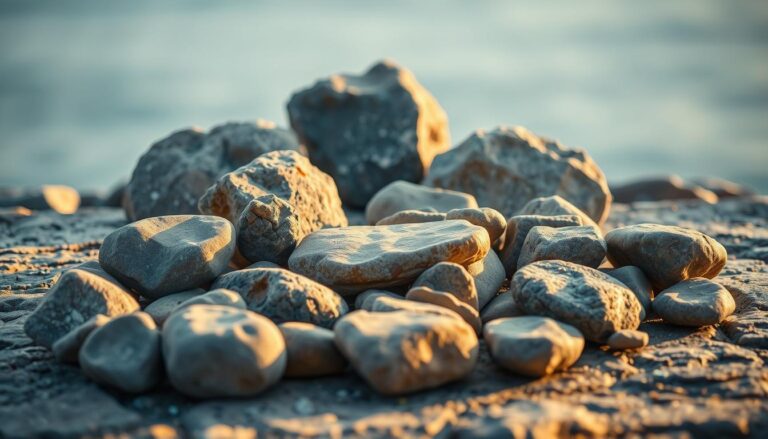
Soft Stones for Beginners
- Limestone – Drills easily and comes in subtle earth tones
- Sandstone – Interesting textures with good drilling properties
- Serpentine – Beautiful greens that work well for nature-themed pieces
Medium Hardness Options
- Jasper – Rich colors and patterns with moderate drilling difficulty
- Aventurine – Sparkly finish adds glamour to simple designs
- Rose quartz – Classic pink color popular for romantic jewelry
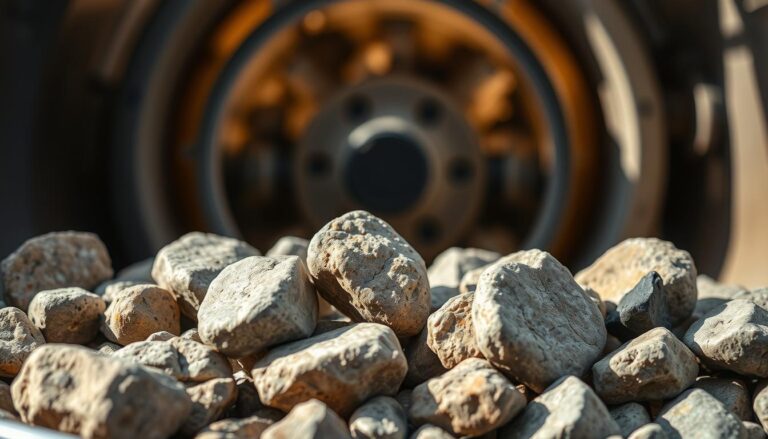
Harder Stones for Advanced Projects
As your skills improve, you can work with harder stones that offer exceptional durability and stunning visual appeal. These materials require more patience when drilling but reward you with pieces that last for years. Understanding proper tumbling timelines helps you appreciate the preparation work that goes into creating these beautiful finished stones.
Finishing Techniques
Professional-looking results come from attention to finishing details that many beginners overlook. Taking time with these final steps transforms amateur-looking pieces into jewelry you’d be proud to wear or give as gifts.
Wire Work Refinement
Clean wire work separates handmade jewelry from craft fair projects. File any sharp ends smooth and ensure all wraps lie flat against each other. Use a jewelry tumbler with steel shot to work-harden wire components and add professional shine to metal elements.
Stone Preparation
Even pre-tumbled stones benefit from final polishing with rouge or diamond compound. This extra step brings out maximum brilliance and creates uniform finish across all stones in multi-stone pieces. Consider creating unique stone crafts that incorporate your jewelry-making skills into other decorative projects.
Articles You May Like
Frequently Asked Questions
How long does it take to drill a hole in a tumbled stone?
Small tumbled stones typically take 2-3 minutes to drill through with proper diamond-tipped bits. Larger or harder stones may require 5-10 minutes of patient, steady drilling.
What’s the best wire gauge for wrapping tumbled rocks?
20-22 gauge wire works best for most tumbled rock jewelry projects. This thickness provides strength while remaining flexible enough to shape easily around stones.
Can I use regular drill bits instead of diamond-tipped ones?
Regular drill bits will dull quickly and may crack stones. Diamond-tipped or carbide bits are essential for clean holes and long-lasting performance when working with rocks.
How do I choose stones that work well together?
Look for stones with complementary colors or similar textures. Earth tones naturally pair well together, while contrasting colors create bold, modern looks.
Do I need special safety equipment for jewelry making?
Always wear safety glasses when drilling and use dust masks when working with softer stones. Good ventilation prevents inhalation of stone dust particles.
Final Thoughts
Tumbled Rock Jewelry Ideas provide endless opportunities for creative expression while working with nature’s beautiful materials. Starting with simple projects builds skills and confidence that lead to more complex, personalized designs over time.
Remember that every expert started as a beginner – focus on enjoying the process and learning from each project rather than expecting perfection immediately.