Vibratory Rock Tumbler Guide For Beginners offers an accessible way to polish stones and gems at home. These machines use vibration to create smooth, glossy finishes on various rock types without changing their natural shape. They work faster than traditional rotary tumblers and are perfect for newcomers to rock tumbling.
Understanding how vibratory tumblers work helps you achieve professional results from your first project. The vibrating motion creates consistent contact between rocks and polishing media, leading to even finishes across all surfaces.
TL;DR
- Vibratory tumblers polish rocks 2-3 times faster than rotary models while preserving original rock shapes.
- A typical 4-stage tumbling process takes 7-14 days total, with each stage running 1-4 days depending on rock hardness.
- Fill your tumbler bowl 2/3 full with rocks and media for optimal results – overfilling reduces polishing effectiveness.
- Entry-level vibratory tumblers cost $150-300 and can handle 3-6 pounds of rocks per batch.
Vibratory Rock Tumbler Guide For Beginners
Vibratory rock tumblers use rapid back-and-forth motion to polish stones against abrasive media. The vibrating bowl creates constant contact between rocks and polishing compounds, removing rough surfaces and creating smooth finishes. This motion preserves the original shape of rocks better than rolling action.
These machines excel at processing both soft and hard materials. You can tumble everything from beach glass to jasper in the same batch, making them versatile tools for mixed collections.
How Vibratory Tumblers Work
The tumbler’s motor creates vibrations that move through a rubber-lined bowl. Rocks bounce against each other and the polishing media in controlled patterns. This creates grinding action that smooths surfaces without the harsh impacts of rotary tumblers.
Water and grit form a slurry that carries away ground material. Fresh slurry constantly contacts rock surfaces, maintaining consistent polishing pressure throughout the cycle.
Vibratory vs Rotary Tumblers
Rotary tumblers roll rocks in a rotating barrel, while vibratory models use rapid shaking motion. Vibratory tumblers complete each stage faster because rocks contact abrasive media more frequently. They also run quieter and use less electricity than rotary models.
The vibrating action produces less fracturing in fragile stones. This makes vibratory tumblers better for delicate materials like obsidian or soft minerals.
Choosing Your First Vibratory Tumbler
Bowl capacity determines how many rocks you can process at once. Small tumblers handle 3-4 pounds of rocks, while larger models process 15-20 pounds per batch. Beginners should start with mid-size models that hold 6-8 pounds.
Motor power affects tumbling speed and the types of rocks you can polish. More powerful motors handle harder materials like quartz and agate more effectively.
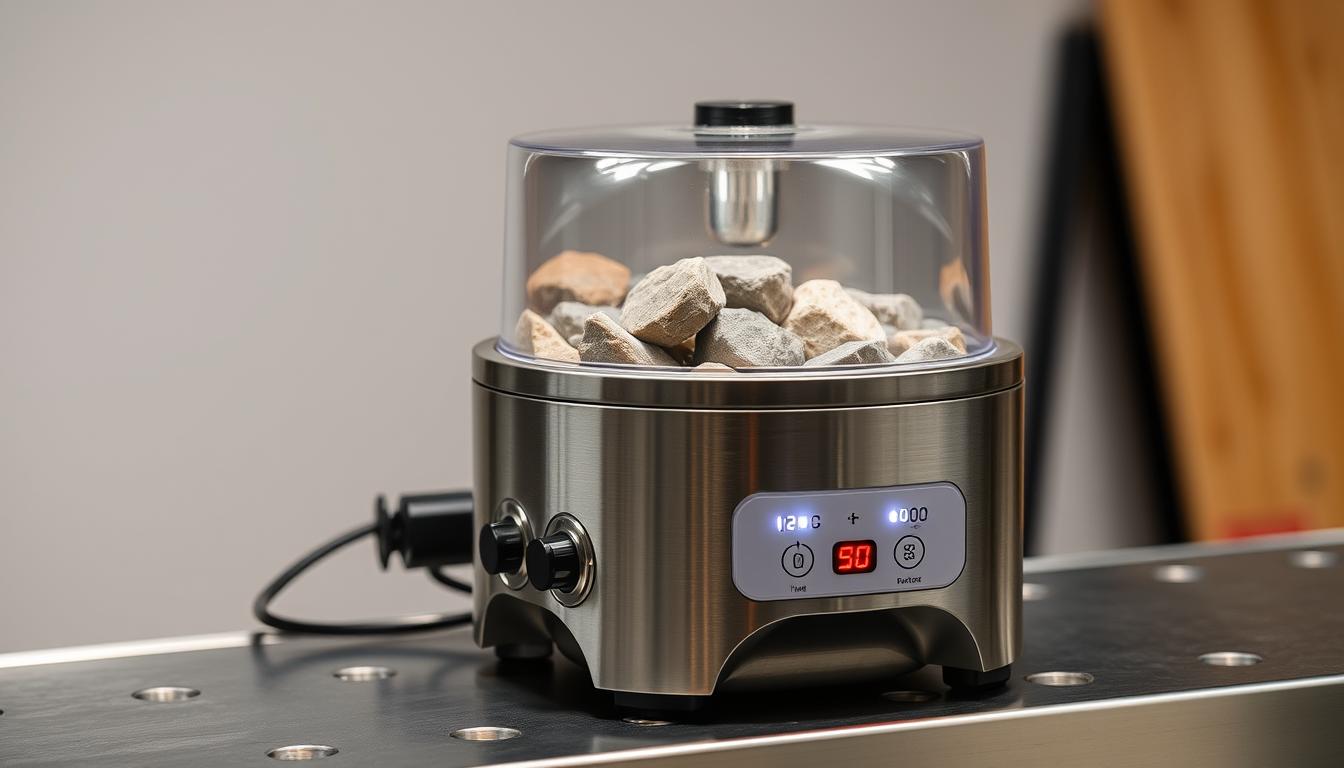
Essential Features
- Timer controls – automatic shutoff prevents overprocessing.
- Variable speed – adjust intensity for different rock types.
- Rubber bowl liner – reduces noise and prevents metal contamination.
- Sturdy base – minimizes vibration transfer to work surfaces.
Recommended Brands
Raytech makes professional-grade tumblers with powerful motors and precise speed control. Their models cost more but last for decades with proper care. Tagit offers budget-friendly options that work well for hobbyists and beginners.
Harbor Freight sells basic vibratory tumblers under $100. These work for occasional use but may lack durability for regular tumbling projects.
Required Supplies and Media
Tumbling media creates the grinding action that polishes rocks. Ceramic pellets work for most applications and last through multiple cycles. Plastic pellets are gentler on soft stones but wear out faster.
Steel shot produces mirror finishes on hard stones but can contaminate softer materials. Use steel media only for final polishing stages on appropriate rock types.
Grit Stages and Selection
- Coarse grit (60-90 mesh) – removes major scratches and shapes stones.
- Medium grit (120-220 mesh) – smooths surfaces and removes coarse grit marks.
- Fine grit (400-600 mesh) – prepares surface for polishing compounds.
- Polish (cerium oxide or tin oxide) – creates final glossy finish.
Silicon carbide grit works for the first three stages. Aluminum oxide also works but cuts slower than silicon carbide on most rock types.
Media Ratio Tip
Use 1 part media to 2 parts rocks by volume for best results. This ratio provides enough cushioning while maintaining grinding action.
Setting Up Your Tumbler
Clean rocks thoroughly before tumbling to remove dirt and loose material. Inspect each stone for cracks that could cause breakage during processing. Remove any rocks with visible fractures to prevent damage to other stones.
Sort rocks by hardness when possible. Mixing very hard and soft stones can cause uneven polishing or damage to softer materials.
Loading the Bowl
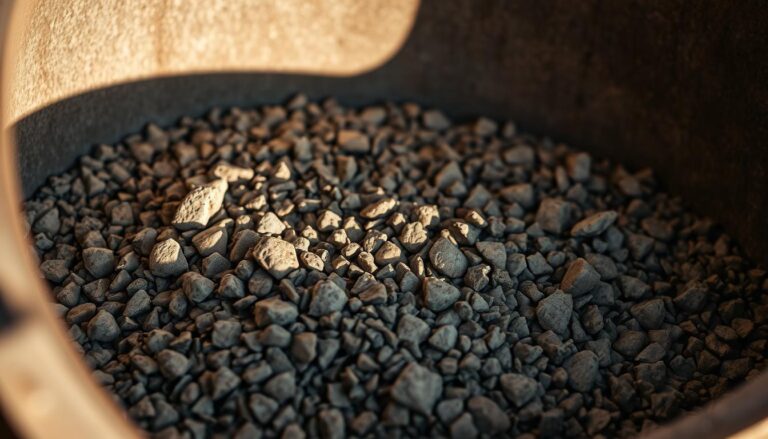
Fill the bowl 2/3 full with rocks and media combined. Add just enough water to create a thick slurry – too much water dilutes the abrasive action. The mixture should have the consistency of wet concrete.
Distribute rocks evenly across the bowl bottom. Clumping in one area creates uneven wear patterns and reduces polishing effectiveness.
The Four-Stage Tumbling Process
Each stage serves a specific purpose in transforming rough rocks into polished gems. Skipping stages or rushing the process leads to poor results and wasted time.
Check progress every 24 hours during the first few cycles. This helps you learn how your rocks respond to different grits and timing.
Stage 1: Coarse Grinding
Run coarse grit for 2-4 days depending on rock hardness and starting condition. This stage removes the most material and establishes the final shape. Very rough rocks may need additional time.
The slurry turns muddy as ground material accumulates. Change water and grit if the slurry becomes too thick to circulate properly.
Stage 2: Medium Grinding
Medium grit removes scratches left by coarse grit while maintaining the shape established in stage 1. Run this stage for 2-3 days for most rock types. Harder stones may need extra time.
Clean rocks thoroughly between stages to prevent grit contamination. Leftover coarse grit will scratch surfaces during finer stages.
Stage 3: Fine Grinding
Fine grit prepares surfaces for final polishing by removing all visible scratches. This stage typically runs 2-3 days. Rocks should have a smooth, matte finish when complete.
Insufficient time in this stage leads to poor polish quality. The surface must be completely scratch-free before applying polishing compounds.
Stage 4: Final Polish
Polishing compounds create the final glossy finish. Cerium oxide works well for most stones, while tin oxide produces superior results on harder materials. Run polishing stage for 1-2 days.
Add a small amount of soap to reduce foaming during the polish stage. Too much soap prevents proper polishing action.
Working with Different Rock Types
Soft stones like limestone and marble require gentler processing with shorter cycle times. Hard stones like jasper and agate need longer cycles and more aggressive media. Medium-hardness stones like river rocks process well with standard timing.
Avoid mixing stones with hardness differences greater than 2-3 points on the Mohs scale. Harder stones will damage softer ones during tumbling.
Special Considerations
- Obsidian and glass – use plastic media only to prevent chipping.
- Porous stones – seal with clear nail polish before tumbling.
- Fractures stones – stabilize with thin cyanoacrylate glue.
- Metal specimens – tumble separately to prevent contamination.
Maintenance and Care
Clean your tumbler thoroughly after each cycle to prevent grit contamination between stages. Rinse the bowl, lid, and all components with clean water. Remove any residue with a soft brush.
Dry all parts completely before storage to prevent rust on metal components. Pay special attention to the motor housing and electrical connections.
Regular Maintenance Tasks
- Check rubber liner – replace when worn or cracked.
- Inspect electrical cords – repair any damage immediately.
- Lubricate moving parts – follow manufacturer recommendations.
- Test safety features – ensure emergency stops function properly.
Troubleshooting Common Problems
Excessive noise usually indicates worn bearings or loose components. Stop the tumbler immediately and inspect all moving parts. Poor polish quality often results from contaminated grit or insufficient cleaning between stages.
Uneven polishing suggests improper loading or worn media. Check that rocks are distributed evenly and replace media when it becomes too small to provide adequate cushioning.
Frequently Asked Questions
How long does each tumbling stage take?
Coarse grinding takes 2-4 days, medium grinding 2-3 days, fine grinding 2-3 days, and final polishing 1-2 days. Harder rocks need longer processing times.
Can I tumble different rock types together?
Yes, but only mix rocks within 2-3 points of hardness on the Mohs scale. Harder stones will damage softer ones during processing.
How much media should I use?
Use a 1:2 ratio of media to rocks by volume. This provides adequate cushioning while maintaining effective grinding action.
Why are my rocks not getting shiny?
Poor polish results from contaminated grit, insufficient cleaning between stages, or rushing through the fine grinding stage. Clean thoroughly and allow adequate time for each stage.
How often should I replace tumbling media?
Ceramic media lasts 10-20 cycles with proper care. Replace when pieces become too small or rounded to provide effective grinding action.
Final Thoughts
Vibratory Rock Tumbler Guide For Beginners provides the foundation for creating beautiful polished stones at home. These machines offer an efficient way to transform rough rocks into glossy gems suitable for jewelry, display, or gifts.
Start with common rocks like river stones or beach pebbles to practice your technique before working with expensive materials. Consider proper grit storage to maintain your supplies between projects.