Pre Polish Grit is the foundation of any successful polishing project, whether you’re working on metal, wood, or stone surfaces. Getting this crucial first step right determines how smooth and professional your final finish will look.
Many DIY enthusiasts skip proper preparation and jump straight to fine grits, but this shortcut often leads to disappointing results. Understanding which grit to start with and how to progress through the stages will save you time and deliver the quality finish you’re aiming for.
TL;DR
- Start with 80-120 grit for heavy material removal and deep scratch repair on most surfaces.
- Progress through at least 3-4 grit levels, doubling the number each time (120, 240, 400, 800).
- Clean the surface completely between each grit change to prevent contamination.
- Spend 60-80% of your total polishing time on the coarsest grits for best results.
Pre Polish Grit Selection Guide
Choosing the right starting grit depends on your surface condition and material type. Most polishing projects benefit from beginning with a coarser grit than you might expect.
For heavily scratched or oxidized surfaces, start with 80-120 grit sandpaper or compound. This aggressive beginning removes deep imperfections that finer grits simply can’t handle effectively.
Material-Specific Starting Points
- Aluminum and soft metals – Begin with 120-220 grit to avoid gouging
- Steel and hard metals – Start with 80-120 grit for efficient material removal
- Wood surfaces – Use 100-150 grit depending on the wood hardness
- Painted surfaces – Begin with 400-600 grit to avoid removing too much material
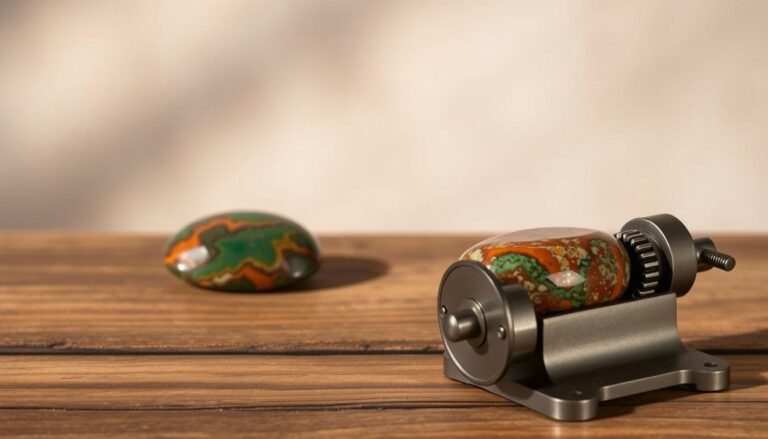
- Stone and concrete – Start with 50-100 grit for initial shaping, following the same principles outlined in our complete rock tumbling grit guide
Grit Progression Strategy
The secret to professional results lies in systematic grit progression rather than jumping between random grits. Each successive grit should remove the scratches left by the previous one while creating finer scratches of its own.
A typical progression follows this pattern: 120 → 240 → 400 → 800 → 1200. Skipping steps or jumping too far ahead creates inconsistent scratch patterns that show through your final finish, similar to the common rock tumbling mistakes that can ruin your results.
Timing for Each Grit Level
- Coarse grit (80-120). Spend the most time here removing major imperfections and establishing your surface profile.
- Medium grit (220-400). Focus on removing the deep scratches from step one while refining the surface.
- Fine grit (600-1000). Create the smooth base needed for your final polish or coating.
- Extra fine (1200+). Final preparation before polishing compounds or clear coats.
Clean Between Grits
Wipe the surface with a clean cloth or compressed air between each grit change. Leftover particles from coarser grits will scratch your work and ruin the progression.
Common Pre-Polish Mistakes
Starting with too fine a grit wastes time and creates uneven results. Many beginners think they can save time by starting with 400 grit, but this approach takes longer and produces inferior finishes.
Another frequent error involves inconsistent pressure or direction changes during sanding. Maintain steady, overlapping passes in the same direction until you achieve uniform scratch patterns across the entire surface.
Pressure and Speed Guidelines
- Hand sanding – Apply firm, consistent pressure without forcing the abrasive
- Power sanders – Let the tool do the work; excessive pressure clogs the abrasive and creates heat
- Rotary tools – Use moderate speeds to prevent overheating and material removal
- Belt sanders – Keep the tool moving to avoid creating low spots or gouges
Surface Assessment Techniques
Before selecting your starting grit, evaluate the surface condition under good lighting. Run your finger across scratches to feel their depth and identify the most damaged areas.
Deep scratches that catch your fingernail require starting with 80-100 grit. Surface scratches that you can feel but don’t catch your nail can begin with 150-220 grit, and checking your progress regularly throughout the process ensures optimal results, much like monitoring each stage of rock tumbling.
Tools for Surface Evaluation
- Bright LED light – Reveals scratch patterns and surface irregularities
- Fingernail test – Determines scratch depth for grit selection
- Magnifying glass – Shows fine details in delicate work
- Straight edge – Checks for flatness on larger surfaces
Articles You May Like
Frequently Asked Questions
What grit should I start with for light scratches?
Begin with 220-320 grit for light surface scratches that don’t catch your fingernail. This removes the damage without creating unnecessary work.
Can I skip grit levels to save time?
No, skipping grit levels creates uneven scratch patterns that show through your final finish. Each grit must remove the scratches from the previous level.
How do I know when to move to the next grit?
Move to the next grit when you have uniform scratch patterns across the entire surface with no deeper scratches visible. This ensures consistent results.
Should wet or dry sanding be used for pre-polish work?
Dry sanding works best for initial rough work, while wet sanding helps with finer grits to prevent clogging and heat buildup according to OSHA safety guidelines.
Final Thoughts
Pre Polish Grit selection and progression form the foundation of any quality finishing project. Taking time to properly prepare your surface with the right starting grit and systematic progression saves time and delivers professional results. Understanding how to improve your polishing techniques can significantly enhance the quality of your finished projects.
Start your next project with proper grit assessment and watch how much easier the entire polishing process becomes.