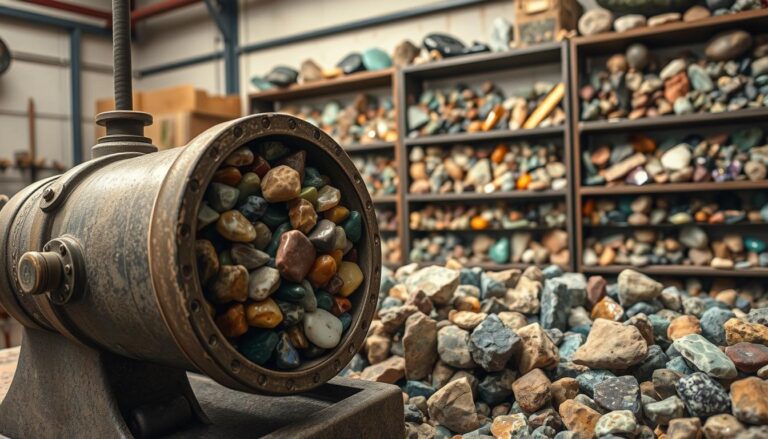
Soft Rocks For Tumbling open up a world of beautiful possibilities for both beginners and experienced rock hounds. These gentler stones require special care and techniques, but they reward your patience with stunning colors and unique patterns that harder rocks simply can’t match.
Many people avoid softer stones thinking they’re too difficult to work with, but with the right approach, you can create amazing polished gems. Understanding which soft rocks work best and how to handle them properly makes all the difference in your tumbling success.
TL;DR
- Soft rocks like turquoise, amber, and malachite require 220-400 grit for initial shaping instead of coarse 60-90 grit.
- Tumble soft stones separately from harder rocks to prevent damage and achieve better results.
- Use plastic pellets or ceramic media as cushioning to protect delicate stones during the process.
- Most soft rocks need 3-5 days per stage instead of the standard 7 days for harder materials.
Soft Rocks For Tumbling: Best Options to Start With
The most rewarding soft rocks for tumbling include stones that polish beautifully while remaining manageable for home tumblers. Turquoise stands out as a favorite because its vibrant blue-green colors become absolutely stunning when polished properly.
Malachite offers incredible green patterns with swirling bands that create natural artwork in each piece. Amber provides warm golden tones and sometimes contains fascinating inclusions like ancient insects or plant matter.
Popular Soft Rock Choices
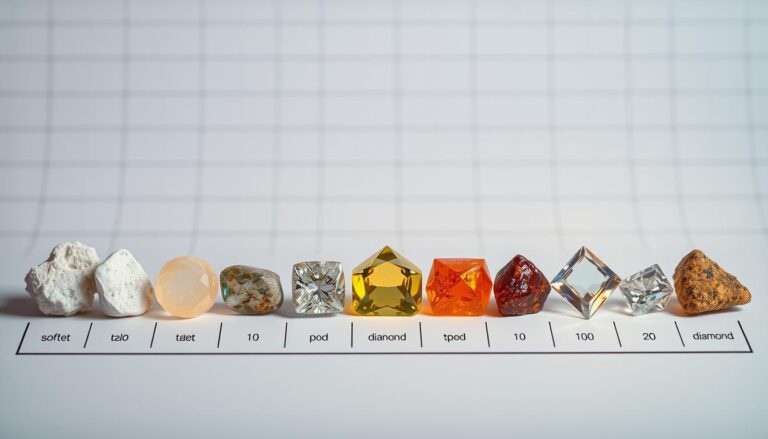
- Turquoise – Beautiful blue-green colors, hardness 5-6 on Mohs scale
- Malachite – Striking green patterns, hardness 3.5-4
- Amber – Warm golden hues, hardness 2-2.5
- Fluorite – Multiple colors available, hardness 4
- Calcite – Clear to colored varieties, hardness 3
- Serpentine – Green with interesting patterns, hardness 3-5
Special Techniques for Tumbling Soft Stones
Soft rocks need gentler treatment than typical tumbling materials like jasper or agate. Start with medium grit (220-400) instead of coarse grit to avoid excessive wear and potential breakage.
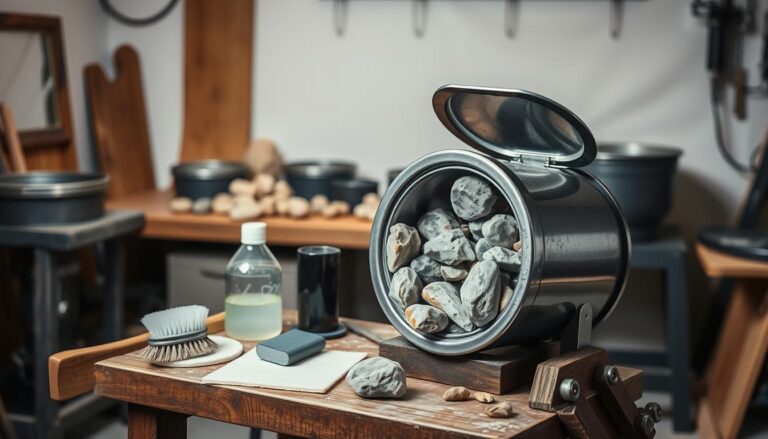
Cushioning becomes essential when working with delicate stones. Add plastic pellets or ceramic media to your tumbler barrel to create a buffer between stones and reduce direct impacts.
Modified Tumbling Process
- Pre-sort by hardness. Group stones within 1-2 points on the Mohs scale to ensure even processing.
- Use medium grit first. Skip coarse grit entirely for most soft rocks to prevent damage.
- Add cushioning material. Fill 10-15% of barrel space with plastic pellets or ceramic media.
- Reduce tumbling time. Check progress after 3-5 days instead of the standard 7-day cycles.
- Monitor water levels. Soft rocks create more debris, requiring more frequent water changes.
Common Mistakes to Avoid
The biggest mistake people make is mixing soft and hard rocks in the same barrel. Harder stones will batter and potentially break softer materials, ruining hours of work – a problem that’s explored in detail in our guide on rock tumbling mistakes.
Using too coarse grit represents another frequent problem that leads to excessive material loss. Many soft rocks will literally dissolve away if you start with 60 or 80 grit.
What Not to Do
- Don’t mix hardness levels – Keep stones within 1-2 Mohs points together
- Avoid coarse grit – Start with 220 grit or finer for most soft rocks
- Don’t overtumble – Check progress frequently to prevent excessive wear
- Skip the shortcuts – Rushing stages leads to poor polish quality
Pro Tip for Soft Rock Success
Test tumble one piece of each new soft rock type separately first. This helps you determine the ideal grit progression and timing without risking your entire batch.
Grit Selection and Progression
Soft rocks require a modified grit progression that starts gentler and uses finer steps between stages. The standard 60-220-600-1200 progression works poorly for delicate materials, which is why understanding proper grit selection is crucial for success.
A better approach uses 220-400-800-1200 or even starts with 400 grit for extremely soft stones like amber. This prevents the shock damage that coarse grits can cause.
Recommended Grit Progressions
- Moderately soft (hardness 4-5) – 220, 400, 600, 1200, polish
- Very soft (hardness 2-3) – 400, 600, 800, 1200, polish
- Extremely soft (hardness 1-2) – Hand sand with 600 grit, then tumble with 1200
Timing and Barrel Management
Soft rocks tumble faster than hard materials because they wear away more easily. This means shorter cycle times and more frequent progress checks to avoid over-processing, which is why monitoring your tumbling progress becomes even more critical with delicate stones.
Keep detailed records of your timing for each rock type since soft stones vary significantly in their tumbling requirements. What works for turquoise might be too aggressive for amber.
Timing Guidelines
- Stage 1 (medium grit). 3-5 days depending on starting condition and desired shape.
- Stage 2 (fine grit). 2-4 days to remove scratches from previous stage.
- Stage 3 (pre-polish). 2-3 days to prepare surface for final polish.
- Stage 4 (polish). 3-5 days for final shine, checking every 24 hours.
Frequently Asked Questions
Can I tumble soft rocks with harder stones?
No, you should never mix soft rocks with harder stones in the same barrel. The harder stones will damage or break the softer materials during tumbling.
What grit should I start with for soft rocks?
Start with 220-400 grit for most soft rocks instead of the standard coarse 60-80 grit. Very soft stones like amber may need to start with 400 grit or finer.
How long does it take to tumble soft rocks?
Soft rocks typically need 3-5 days per stage instead of 7 days. Total time ranges from 2-3 weeks depending on the stone type and starting condition.
Do I need special equipment for soft rocks?
You can use a standard rotary tumbler, but add plastic pellets or ceramic media as cushioning. A variable speed tumbler helps with very delicate stones.
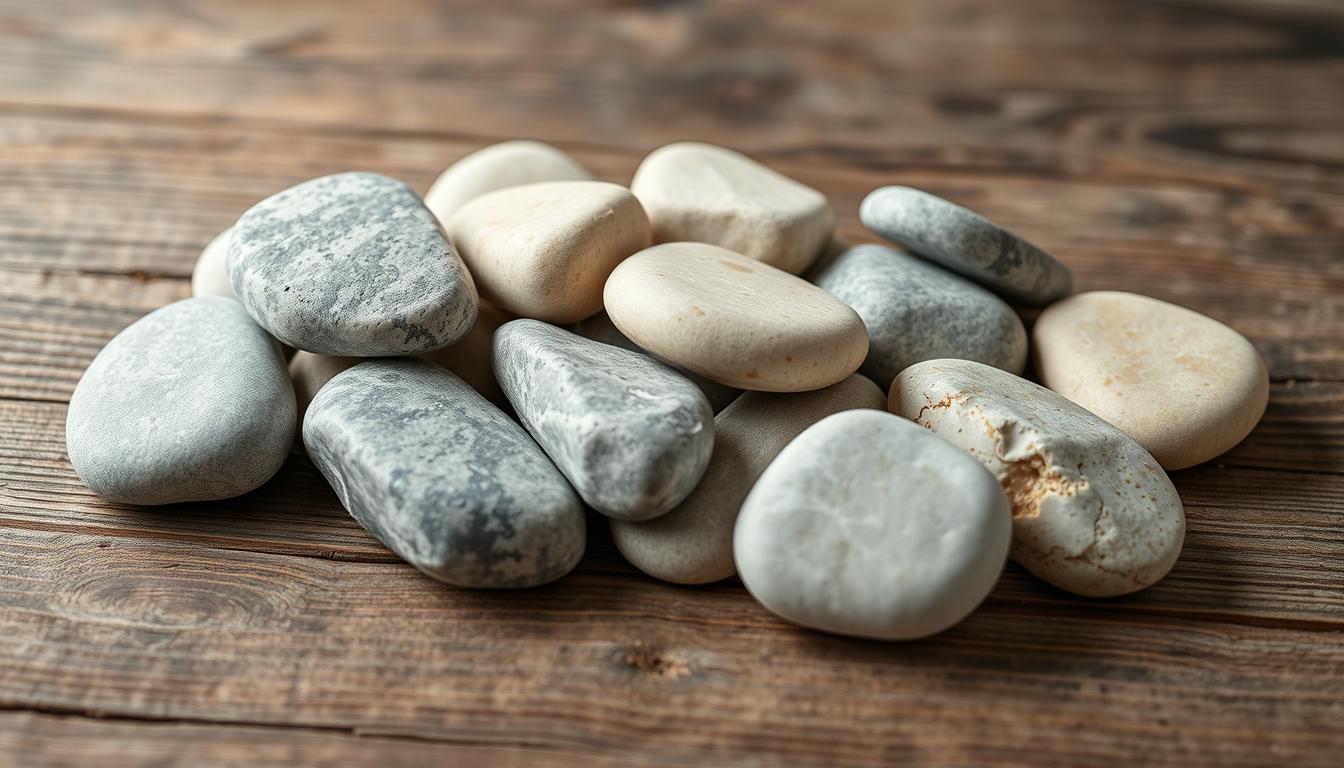
Final Thoughts
Soft Rocks For Tumbling require patience and modified techniques, but they reward your efforts with stunning colors and patterns that harder stones can’t match. The key lies in understanding each stone’s specific needs and adjusting your process accordingly.
Start with moderately soft stones like turquoise or fluorite to build your skills before tackling extremely delicate materials. Keep detailed records of what works so you can repeat successful results and avoid costly mistakes.