Why Rocks Not Shiny After Tumbling is a common frustration for beginners who expect mirror-like results from their first batch. Many new rock tumblers assume that simply running rocks through a tumbling cycle will automatically produce glossy, polished stones.
The truth is that achieving that coveted shine requires understanding the complete polishing process, proper grit progression, and patience with timing. Several factors can prevent rocks from reaching their full glossy potential, but most issues are easily fixable once you know what to look for.
TL;DR
- Incomplete grit progression causes 90% of dull finishes – each stage must run for the full recommended time period.
- Contaminated barrels from previous grits will prevent final polish from bonding properly to rock surfaces.
- Soft rocks like limestone or sandstone will never achieve high shine regardless of tumbling time.
- Proper rock-to-grit ratios require 1 tablespoon of grit per pound of rocks for best results.
Why Rocks Not Shiny After Tumbling: Common Causes
The most frequent reason rocks lack shine after tumbling comes down to rushing through the grit stages. Each tumbling stage serves a specific purpose, and skipping time or steps leaves visible scratches that prevent light reflection.
Rock hardness plays a major role in final results. Choosing the right rocks for tumbling means selecting stones with a hardness rating of 6 or higher on the Mohs hardness scale for optimal shine.
Inadequate Grit Progression
Many beginners underestimate how long each grit stage requires. Coarse grit (stage 1) needs 7-10 days to remove rough surfaces and create uniform texture.
Medium grit (stage 2) requires another 7 days to smooth out scratches from coarse grit. Fine grit (stage 3) takes 7 days to prepare surfaces for final polish, and the polish stage needs 3-5 days to develop full shine.
Contaminated Equipment
Cross-contamination between grit stages ruins polish results instantly. Even tiny particles of coarse grit mixed with polish will scratch surfaces and prevent shine development.
Clean your tumbler barrel, lid, and rocks thoroughly between each stage using soap and water. Inspect rocks under bright light to ensure no grit particles remain embedded in cracks or crevices.
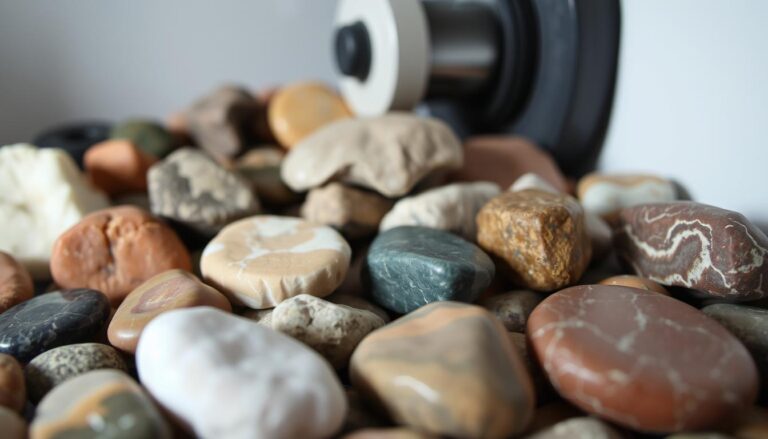
Rock Types That Won’t Shine
Some rock types simply cannot achieve high polish regardless of tumbling technique. Soft sedimentary rocks like limestone, sandstone, and shale have hardness ratings below 6 and will remain dull or chalky.
Porous rocks absorb grit and polish compounds, preventing surface shine development. These stones may become smoother through tumbling but won’t develop the glossy finish you’re expecting.
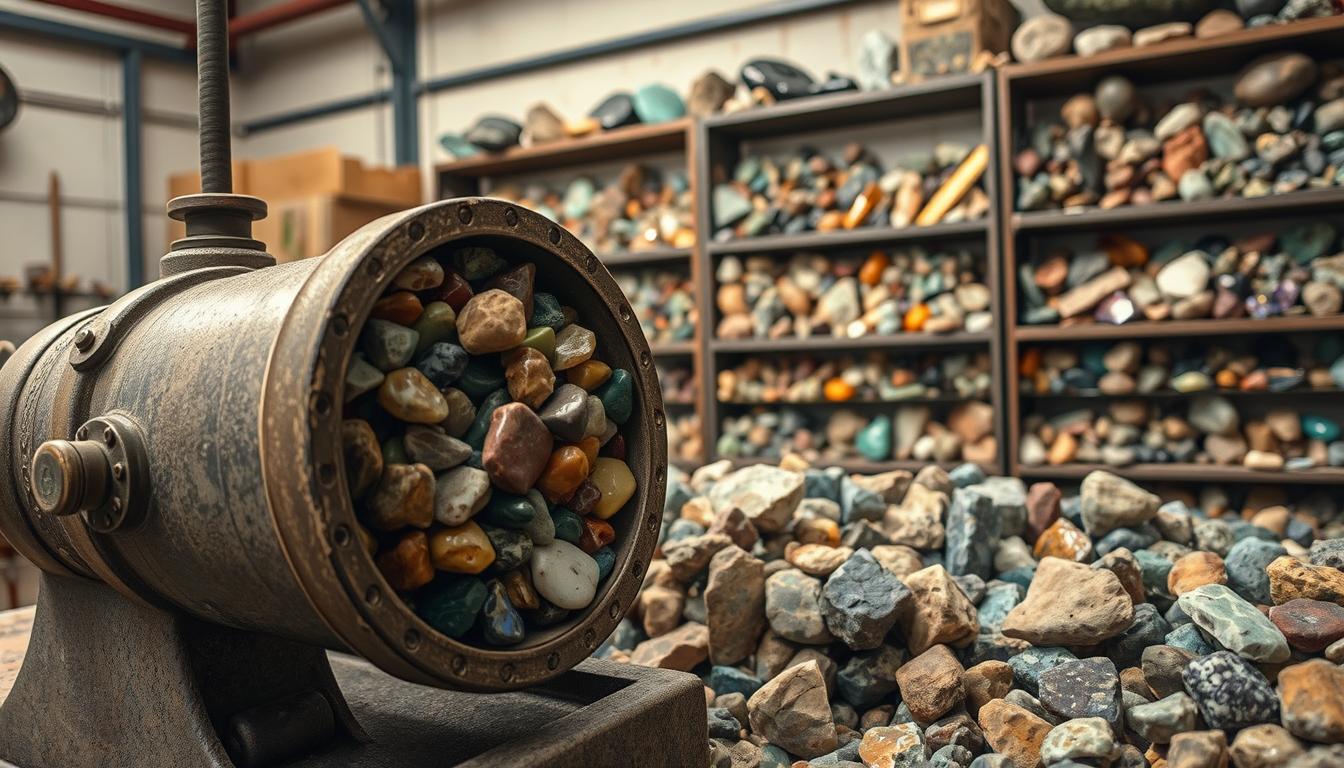
Best Rocks for High Shine
- Jasper – Hardness 6.5-7, takes exceptional polish with rich colors.
- Agate – Hardness 7, develops mirror-like surface when properly tumbled.
- Quartz varieties – Hardness 7, including amethyst and citrine for brilliant results.
- Obsidian – Natural glass that polishes to incredible shine quickly.
Proper Tumbling Technique
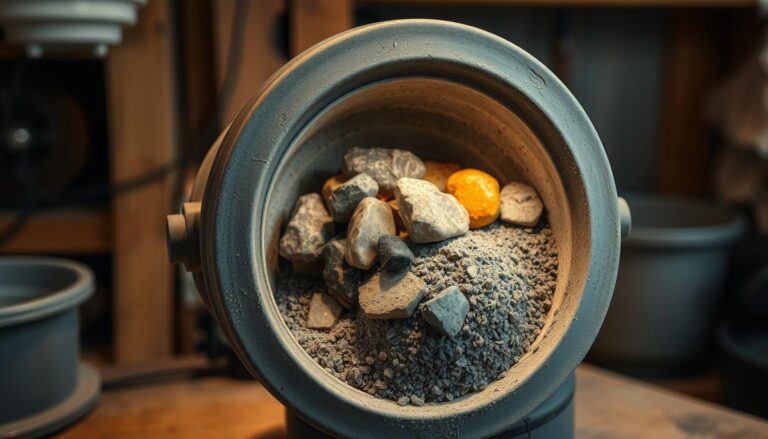
Correct barrel loading affects final results significantly. Fill your tumbler barrel 2/3 full with rocks, leaving space for proper tumbling action and grit circulation.
Add the right amount of grit – too little won’t work effectively, while too much creates thick slurry that prevents proper rock-to-rock contact. Understanding tumbler grit types helps ensure you’re using appropriate amounts for each stage.
Water and Additive Balance
Water level should just cover rocks completely. Too much water dilutes grit effectiveness, while too little creates thick paste that impedes tumbling motion.
Plastic pellets help cushion soft rocks and maintain proper tumbling action when your barrel isn’t full. Add enough pellets to reach the 2/3 full mark if needed.
Check Your Rocks Mid-Cycle
Open your tumbler after 3-4 days to inspect progress and clean out accumulated rock dust. This prevents buildup that can dull your final results.
Troubleshooting Dull Results
If your rocks came out dull, examine them closely under bright light to identify the problem. Visible scratches indicate insufficient time in earlier grit stages or contamination issues.
Chalky or cloudy appearance usually means the rocks absorbed grit or polish compounds. These rocks may not be suitable for high-polish results regardless of additional tumbling time.
Fixing Common Problems
- Restart with coarse grit. Go back to stage 1 if rocks show scratches or uneven surfaces after polish stage.
- Extended polish time. Run polish stage for additional 2-3 days if rocks show slight dullness but no scratches.
- Hand polish technique. Use fine polishing compound on felt wheel for final enhancement of already-smooth rocks.
- Check rock compatibility. Separate hard and soft rocks into different batches to prevent cross-contamination.
Equipment Maintenance for Better Results
Your tumbler’s condition directly impacts final rock quality. Worn rubber barrel lining creates uneven tumbling action that prevents uniform polishing across all rock surfaces.
Replace barrel linings when they show cracks, holes, or significant wear patterns. Regular barrel cleaning and maintenance prevents mechanical issues that affect rock finishing quality.
Barrel Cleaning Protocol
Thorough cleaning between grit stages prevents contamination that ruins polish results. Use hot soapy water and scrub brush to remove all grit residue from barrel walls and lid.
Rinse rocks individually under running water, checking crevices and rough spots where grit particles hide. Any remaining coarse grit will scratch rocks during fine polishing stages.
Frequently Asked Questions
How long should each tumbling stage run?
Coarse grit runs 7-10 days, medium grit 7 days, fine grit 7 days, and polish 3-5 days for best results.
Can I re-tumble rocks that didn’t get shiny?
Yes, you can restart the process with coarse grit if rocks show scratches, or extend polish time if they’re smooth but dull.
Why do some rocks in the same batch shine while others don’t?
Different rock hardness levels and mineral compositions affect polish results, even within the same tumbling batch.
What’s the most common mistake that prevents rock shine?
Rushing through grit stages or inadequate cleaning between stages causes 90% of dull finish problems.
Do I need special polish for different rock types?
Standard aluminum oxide polish works for most rocks, but cerium oxide produces better results on glass and obsidian.
Final Thoughts
Why Rocks Not Shiny After Tumbling usually comes down to incomplete grit progression, contamination between stages, or attempting to polish unsuitable rock types. Most dull results can be fixed by restarting the process with proper timing and cleaning protocols.
Start with high-quality tumbling rough and follow each grit stage completely for consistently shiny results. Patience and attention to detail make the difference between disappointing rocks and stunning polished gems.