Tumbling jasper transforms rough stones into polished gems that showcase nature’s stunning patterns and colors. This rewarding hobby combines patience with technique to reveal the hidden beauty within ordinary-looking rocks.
Jasper belongs to the chalcedony family and features incredible variety in its patterns and hues. The tumbling process smooths away rough edges and creates a brilliant shine that makes each piece perfect for jewelry, decoration, or collecting.
Success with DIY jasper tumbling requires the right equipment, proper technique, and understanding of the four-stage process. With careful preparation and attention to detail, you can achieve professional-quality results from your home workshop.
TL;DR
- Complete jasper tumbling takes 28-40 days across four stages with different grit sizes.
- Start with 80-120 coarse grit, progress through 220-320 medium grit, then 600-800 pre-polish, finishing with 1200+ polish compound.
- Fill your tumbler barrel 2/3 full with stones, grit, and water for optimal movement and grinding action.
- Picture jasper, ocean jasper, and brecciated jasper work best due to their density and fine grain structure.
Tumbling Jasper: Getting Started
Jasper ranks 6.5-7 on the Mohs hardness scale, making it ideal for tumbling operations. The stone’s durability means it can withstand the extended grinding process while developing an excellent polish.
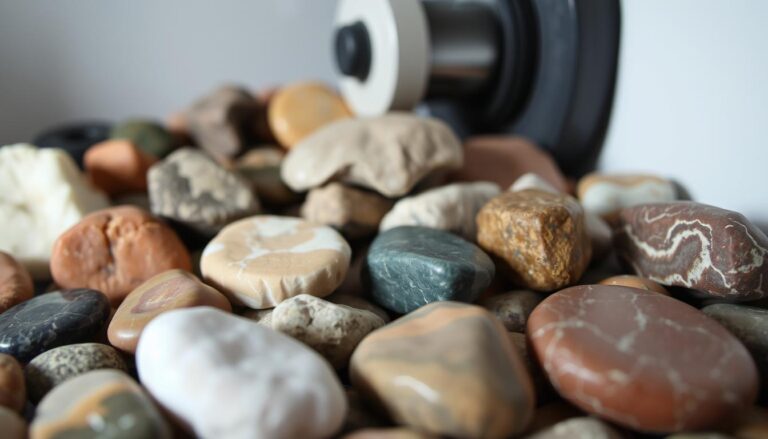
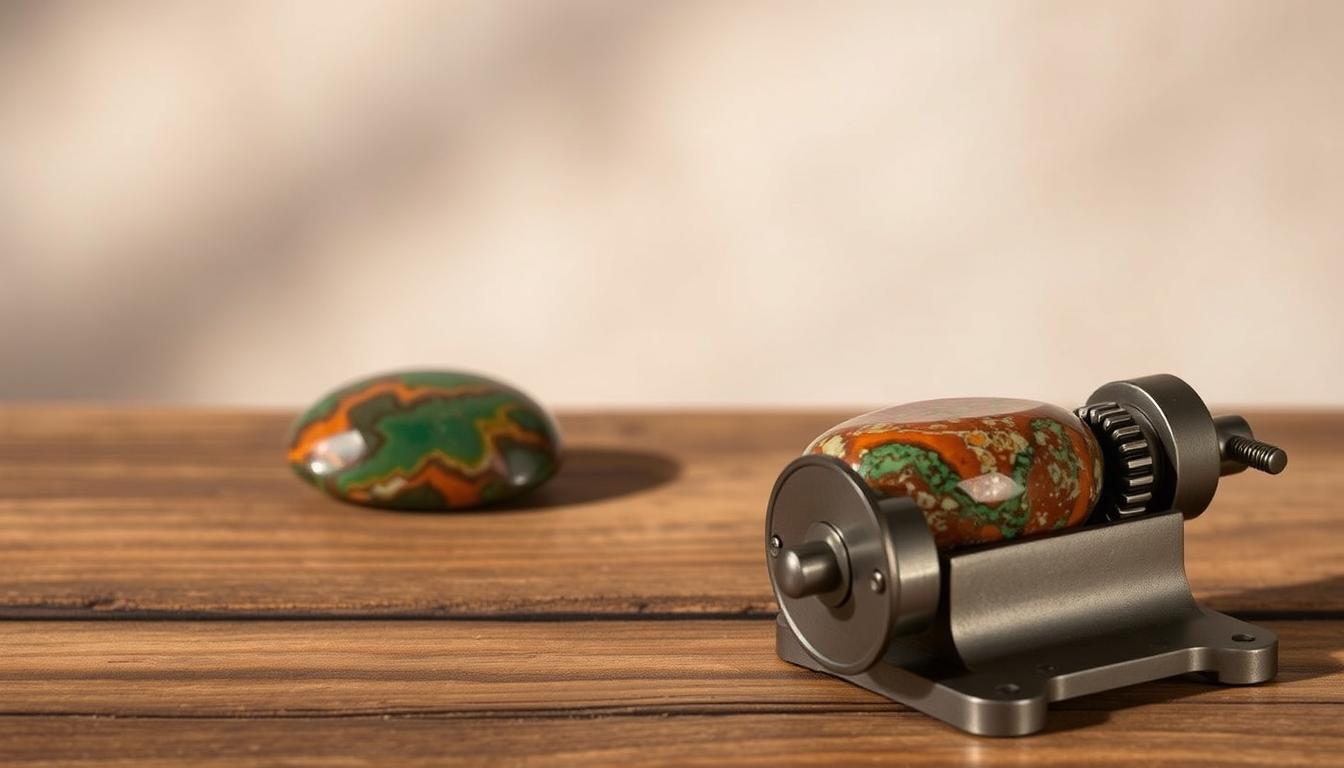
Different jasper varieties offer unique visual appeal once tumbled. Picture jasper displays landscape-like scenes, while ocean jasper features distinctive orbicular patterns that become more pronounced after polishing.
Choosing Your Jasper Specimens
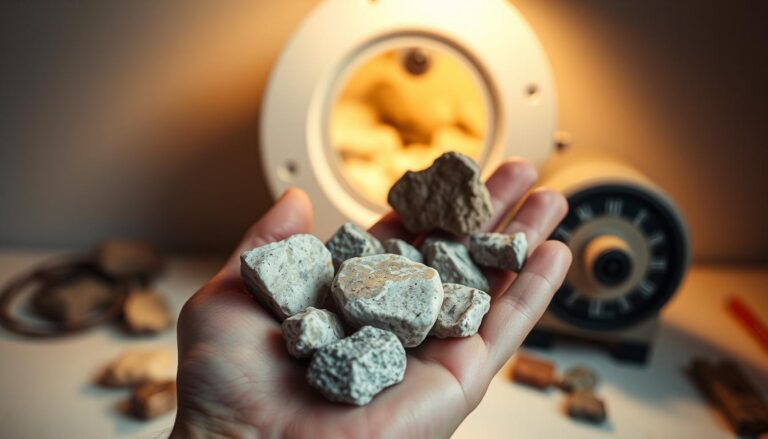
Select jasper pieces without major fractures or soft inclusions that could break apart during tumbling. Look for specimens with interesting colors or patterns that will become more vibrant once polished.
Size your stones appropriately for your tumbler capacity. Most home tumblers work best with pieces ranging from 1-3 inches in diameter.
Essential Equipment for Success
A rotary tumbler provides the consistent motion needed for effective jasper polishing. Choose a model with a durable barrel and reliable motor that can handle continuous operation for weeks at a time.
Your grit selection determines the final quality of your polished stones. Purchase silicon carbide grit in multiple grades plus polishing compounds to complete all four stages properly.
Required Materials List
- Rotary tumbler – sized appropriately for your batch volume
- Silicon carbide grit – 80-120 coarse, 220-320 medium, 600-800 fine
- Polishing compound – cerium oxide or aluminum oxide
- Plastic pellets – to cushion stones during final polishing
- Safety equipment – goggles, dust mask, and gloves
Safety First
Always wear protective equipment when handling grit and checking your tumbler. The fine particles can irritate eyes and lungs if proper precautions aren’t taken.
The Four-Stage Tumbling Process
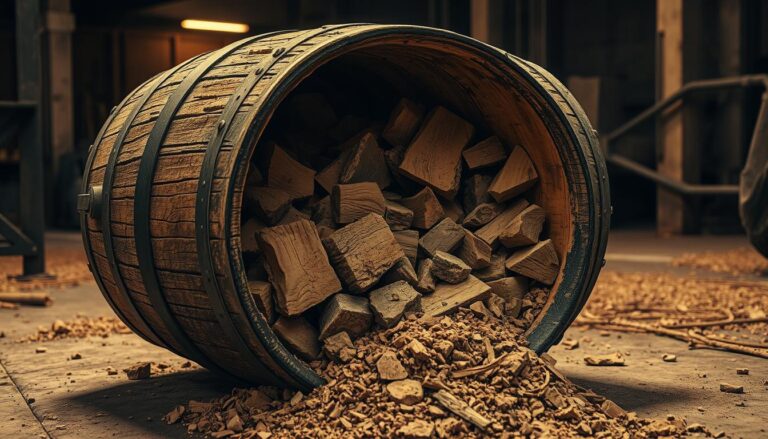
Stage one uses coarse grit to shape your jasper and remove surface imperfections. Load your barrel with stones, grit, and water to create a thick mud-like consistency that allows proper grinding action.
Run this first stage for 7-10 days, checking periodically to ensure proper operation. The stones should move freely within the barrel without jamming or creating excessive noise.
Stage 1: Coarse Grinding
Fill your tumbler barrel 2/3 full with jasper specimens of similar hardness. Add one tablespoon of coarse grit per pound of rock, then add water until it just covers the stones.
The barrel should sound like rolling marbles when operating correctly. If you hear scraping or grinding sounds, add more water to improve the slurry consistency.
Stage 2: Medium Grinding
Clean all stones thoroughly with warm water and a soft brush before starting stage two. Any remaining coarse grit will create scratches that prevent proper polishing later.
Use medium grit for 7 days to smooth the surface and remove scratches from the coarse stage. The stones should begin showing their true colors and patterns at this point.
Stage 3: Pre-Polish
The pre-polish stage refines the stone surface using fine grit over 5-7 days. This step removes the last scratches and prepares the jasper for final polishing.
Clean everything meticulously between stages – even tiny amounts of coarser grit can ruin your final polish quality.
Stage 4: Final Polish
Add polishing compound and plastic pellets for the final 7-day stage. The pellets cushion the stones and prevent damage while the compound creates the brilliant shine.
Cerium oxide works well for most jasper varieties, though aluminum oxide provides excellent results for harder specimens.
Troubleshooting Common Problems
Fractures and pits sometimes develop during tumbling due to internal weaknesses or improper technique. Examine your stones carefully before starting and remove any specimens with obvious flaws. For comprehensive guidance on preventing damage, learn more about why rocks crack in tumbler situations.
Uneven polishing often results from contamination between stages or incorrect water levels. Clean thoroughly and maintain proper slurry consistency throughout the process. Understanding rock hardness and polish relationships helps achieve consistent results.
Working with Difficult Varieties
Picture jasper requires gentle handling to preserve delicate patterns and details. Consider extending tumbling times slightly while reducing the amount of grit to minimize aggressive grinding action. The preforming rocks before tumbling technique can help prepare delicate specimens for the grinding process.
Some jasper varieties benefit from burnishing – a brief final tumble with soap and water that enhances the surface shine without additional polishing compound.
Displaying Your Finished Jasper
Tumbled jasper makes excellent jewelry components, especially for pendants, earrings, and bracelet beads. The polished surface highlights natural patterns while providing durability for regular wear.
Create attractive displays by grouping similar varieties or contrasting different patterns and colors. Small stands or shadow boxes showcase individual specimens effectively while protecting them from damage. For inspiration on selecting the most suitable stones, explore our guide to the best rocks for perfect polish to maximize your collection’s visual impact.
Articles You May Like
Frequently Asked Questions
How long does the complete jasper tumbling process take?
The full four-stage process requires 28-40 days total, with coarse grinding taking 7-10 days, medium grinding 7 days, pre-polish 5-7 days, and final polish 7 days.
What grit progression should I use for jasper?
Start with 80-120 coarse grit, progress to 220-320 medium grit, then 600-800 fine grit, and finish with cerium oxide or aluminum oxide polishing compound.
Can I tumble different jasper varieties together?
Yes, but only tumble stones of similar hardness together to ensure even grinding and polishing across all specimens in your batch.
How do I prevent jasper from cracking during tumbling?
Inspect stones for existing fractures before tumbling, maintain proper water levels, and avoid overloading your tumbler barrel beyond 2/3 capacity.
What safety equipment do I need for jasper tumbling?
Wear safety goggles, a dust mask, and gloves when handling grit or checking your tumbler to protect against fine particles and debris.
Final Thoughts
Tumbling Jasper opens up a world of creative possibilities while teaching patience and attention to detail. The transformation from rough stone to polished gem provides satisfaction that makes the extended process worthwhile.
Start with a small batch of quality specimens and focus on mastering the basic technique before expanding to larger quantities or more challenging varieties.