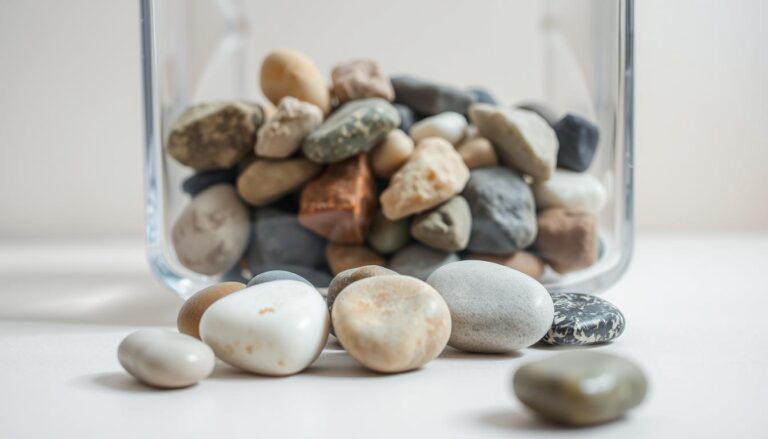
Preforming rocks before tumbling is the secret to getting smooth, shiny stones that look amazing. Most people skip this step and wonder why their tumbled rocks don’t turn out as beautiful as they hoped.
Rock preparation involves cleaning, inspecting, and shaping your stones before they go into the tumbler. This extra work upfront saves hours of tumbling time and gives you much better results.
TL;DR
- Preforming rocks can reduce tumbling time by 25-40% compared to unprepped stones.
- Hard rocks like quartz and agate benefit most from preforming with diamond-coated tools.
- Safety gear including eye protection and dust masks prevents 90% of rock tumbling injuries.
- Removing cracks and weak spots before tumbling prevents stones from breaking during the process.
Preforming Rocks Before Tumbling
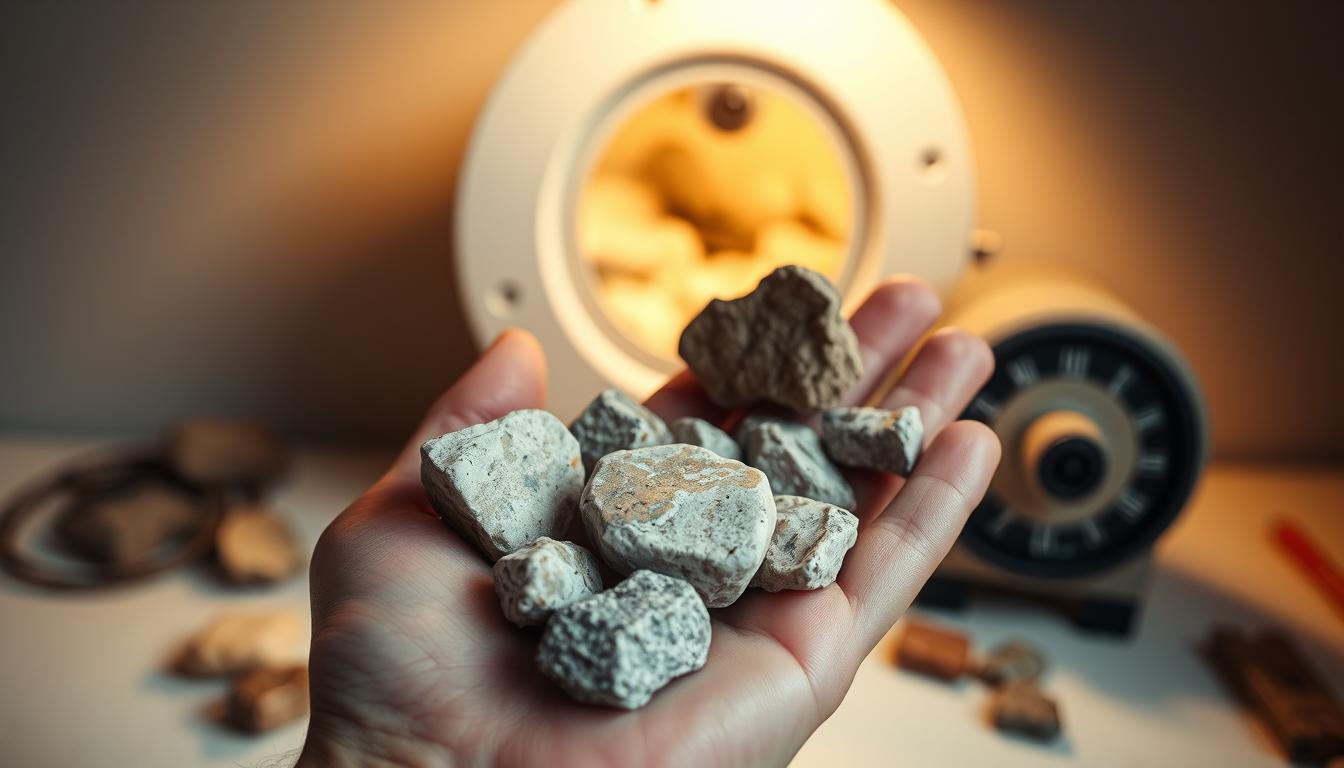
Preforming means getting your rocks ready before they go in the tumbler. You clean them, check for problems, and shape them so they tumble better.
This step matters because it removes features that could cause problems later. Sharp edges, cracks, and weird shapes can make tumbling take longer or damage your stones.
Why Rock Preparation Makes a Difference
Good preparation leads to better polish and shorter tumbling time. When you remove problem areas first, the tumbler can focus on polishing instead of trying to fix flaws.
Well-prepared rocks also tumble more evenly. They don’t get stuck in corners or create uneven wear patterns that hurt the final results.
Essential Tools for Rock Preforming
You need the right tools to prep rocks safely and effectively. Basic equipment handles most jobs, but having good tools makes the work easier.
Basic Equipment
- Rock hammer – breaks and shapes stones with control.
- Chisels – remove specific areas or split rocks along lines.
- Trim saw – makes clean cuts through hard materials.
- Grinder – smooths surfaces and rounds sharp edges.
Safety Gear You Need
Rock work creates dust and flying chips that can hurt you. Always wear safety glasses to protect your eyes from debris.
A dust mask or respirator keeps you from breathing harmful particles. Work in a well-ventilated area or outdoors when possible.
Pro Tip for Better Results
Mark problem areas with a pencil before you start working. This helps you remember which spots need attention and prevents you from removing too much material.
Step-by-Step Rock Preforming Process
Follow these steps to get your rocks ready for tumbling. Take your time with each step to avoid mistakes that could ruin good stones.
Selecting Good Rocks
Pick rocks that will tumble well and look good when polished. Understanding which rocks should not be tumbled helps you avoid stones with major cracks that go all the way through.
Look for interesting patterns or colors that will show up after polishing. Solid colors work too, but patterned rocks often give more exciting results.
Cleaning and Inspection
- Wash thoroughly. Use soap and water to remove all dirt and debris so you can see the rock clearly.
- Check for cracks. Look for hairline fractures that might cause the stone to break during tumbling.
- Identify weak spots. Find soft areas or inclusions that might cause problems.
Removing Problem Features
Sharp edges and protrusions can damage other stones in the tumbler. Use your grinder to round off these areas carefully.
Small cracks can sometimes be fixed with stone adhesive. Larger cracks mean the rock probably won’t survive tumbling and should be set aside to understand why rocks crack in tumblers.
Techniques for Different Rock Types
Different stones need different approaches based on their hardness and structure. Hard rocks can handle aggressive shaping, while soft ones need gentle treatment based on the Mohs Hardness Scale.
Hard Rocks (Quartz, Agate, Jasper)
These tough stones can take heavy grinding and shaping. Use diamond-coated tools for the best results on very hard materials.
Pay attention to natural patterns in banded stones like agate. Shape around these features to highlight them in the finished stone. For best results, follow our complete guide on tumbling agate after preforming.
Medium-Hard Rocks (Petrified Wood, Obsidian)
These materials need a balanced approach. They’re hard enough to shape but can chip if you’re too aggressive.
Obsidian is especially tricky because it breaks with very sharp edges. Work slowly and wear extra protection when handling it.
Softer Rocks and Minerals
Soft stones like calcite or fluorite are hard to preform without damage. Sometimes it’s better to skip preforming and just tumble them gently using techniques for soft rocks for tumbling.
When you do work with soft materials, use light pressure and fine grits. Stop if you see the stone starting to crack or crumble.
Common Mistakes to Avoid
Many beginners rush the preforming process and damage good stones. Taking your time prevents most problems.
Don’t ignore safety gear even for quick jobs. Eye injuries from flying rock chips happen fast and can be serious.
Signs of Poor Tumbling Candidates
- Deep cracks – these will usually get worse during tumbling.
- Very soft areas – these create uneven wear and poor polish.
- Layered rocks – these often fall apart during the tumbling process.
- Weathered surfaces – these rarely polish well even with long tumbling.
Articles You May Like
Frequently Asked Questions
How long should I spend preforming each rock?
Spend 5-15 minutes per rock depending on the problems you need to fix. Don’t rush this step since it affects your final results.
Can I preform rocks without power tools?
Yes, you can use hand tools like hammers and chisels for basic shaping. Power tools make the job faster but aren’t always necessary.
What size should rocks be after preforming?
Keep rocks between 1-3 inches for most tumblers. Smaller pieces get lost in the grit, while larger ones don’t tumble well.
Should I preform all rocks or just problem ones?
At minimum, round off sharp edges on all rocks. Do full preforming on stones with cracks, odd shapes, or unwanted features.
How do I know if a rock is too damaged to tumble?
Rocks with cracks going all the way through or very soft, crumbly areas usually won’t survive tumbling. Save these for display as rough specimens.
Final Thoughts
Preforming Rocks Before Tumbling takes extra time upfront but saves hours later and gives you much better results. The difference between preformed and unprepped rocks is obvious in the final polish quality.
Start with one or two problem rocks this week to practice the techniques. You’ll quickly see why this step makes such a big difference in your tumbled stones.