Understanding Rock Hardness And Polish requires knowing how material properties directly affect your polishing results. The hardness of your gemstone or rock specimen determines everything from which abrasives to use to how much time each polishing stage will take.
Getting professional-quality results means matching your technique to the material’s hardness level. This relationship between hardness and polish quality is fundamental to successful lapidary work.
TL;DR
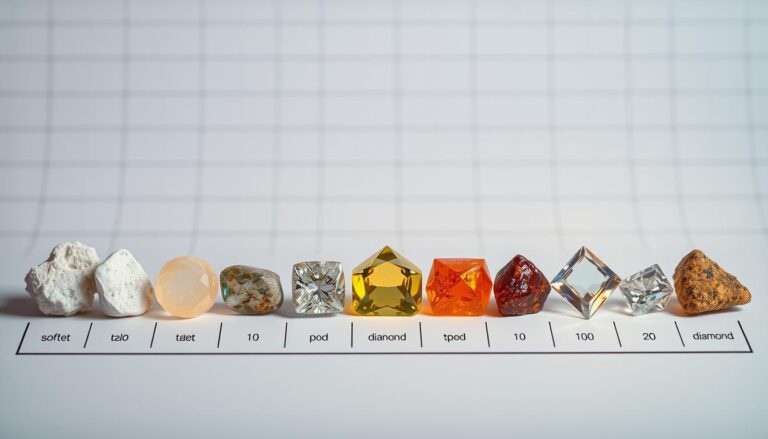
- The Mohs hardness scale runs from 1 (talc) to 10 (diamond) and determines your polishing approach.
- Soft rocks (1-3) need gentle 80-120 grit starting points, while hard rocks (7-10) can handle aggressive 60-80 grit.
- Single-mineral rocks polish evenly, but multi-mineral specimens create relief problems requiring special techniques.
- Professional tumblers can process 3-5 pounds of mixed hardness materials in 4-6 week cycles.
Understanding Rock Hardness And Polish Fundamentals
The science behind rock hardness centers on the Mohs scale developed by Friedrich Mohs in 1812. This scale measures scratch resistance by testing whether one mineral can scratch another.
Each number represents a reference mineral – talc at 1, gypsum at 2, calcite at 3, fluorite at 4, apatite at 5, feldspar at 6, quartz at 7, topaz at 8, corundum at 9, and diamond at 10. Understanding where your material falls helps predict polishing behavior, and our complete guide to the Mohs hardness scale provides detailed testing techniques for identifying mineral hardness.
Why Hardness Determines Polish Quality
Harder materials resist abrasion better during polishing, allowing them to maintain their shape while achieving mirror-like surfaces. Softer materials tend to round over edges and may develop a waxy rather than glassy polish.
The atomic structure of harder minerals creates tighter bonds that produce cleaner fractures when polished. This results in flatter surfaces that reflect light more uniformly.
Mineral Composition Effects on Polishing
Single-mineral rocks like pure quartz or calcite polish predictably because every part has the same hardness. Multi-mineral rocks present challenges because different components polish at different rates.
When polishing a granite containing quartz (7), feldspar (6), and mica (2-3), the mica wears away faster than the quartz. This creates relief where harder minerals stand proud of the surface.
Crystal Structure Impact
Crystal structure affects how minerals break during polishing. Minerals with perfect cleavage like mica split along flat planes, while minerals with conchoidal fracture like quartz break in curved surfaces.
- Perfect cleavage – splits cleanly along crystal faces (mica, calcite)
- Good cleavage – breaks along preferred directions (feldspar)
- Poor cleavage – fractures irregularly (quartz, garnet)
- No cleavage – breaks in all directions equally (obsidian)
Selecting Polishing Sequences by Hardness
Your polishing sequence must match the material’s hardness to avoid wasted time and poor results. Each hardness range requires specific grit progressions and techniques, and selecting the right rock tumbling grit progression is essential for achieving professional results.
Soft Materials (Hardness 1-3)
Start with 120-220 grit for soft materials like talc, gypsum, or calcite. These materials cut quickly and can skip coarser grits that might cause deep scratches.
- Shape with 120 grit. Remove major flaws and establish basic form in 15-30 minutes per piece.
- Smooth with 220 grit. Eliminate scratches from shaping stage in 10-15 minutes.
- Pre-polish with 400 grit. Create uniform scratch pattern in 5-10 minutes.
- Final polish with cerium oxide. Achieve final luster on felt wheel in 2-5 minutes.
Medium Materials (Hardness 4-6)
Medium hardness stones like fluorite, apatite, and feldspar need balanced pressure and moderate grits. Start with 80-120 grit depending on initial condition.
- Rough shape with 80-120 grit. Remove major damage and establish form in 20-45 minutes.
- Refine with 220 grit. Smooth rough scratches in 15-20 minutes.
- Prepare with 400 grit. Create even surface texture in 10-15 minutes.
- Pre-polish with 1000 grit. Remove fine scratches in 5-10 minutes.
- Polish with aluminum oxide. Final polish on leather wheel in 3-8 minutes.
Hard Materials (Hardness 7-10)
Hard materials like quartz, garnet, and sapphire can handle aggressive cutting and extended polishing times. Start with 60-80 grit for efficient stock removal.
- Heavy cutting with 60-80 grit. Shape and remove damage in 30-90 minutes.
- Intermediate grinding with 220 grit. Refine surface in 20-30 minutes.
- Fine grinding with 600 grit. Prepare for polishing in 15-20 minutes.
- Pre-polish with 1200 grit. Remove grinding marks in 10-15 minutes.
- Final polish with diamond compound. Achieve mirror finish on cast iron lap in 5-15 minutes.
Test Small Areas First
Always test your polishing sequence on a small, hidden area of valuable specimens. This prevents ruining irreplaceable materials with incorrect techniques.
Essential Tools for Different Hardness Levels
The right tools make the difference between amateur and professional results. Each hardness range benefits from specific equipment designed for those materials.
Manual Polishing Equipment
Hand polishing gives maximum control for delicate work or small specimens. Essential manual tools include graduated sandpaper sets, polishing cloths, and handheld grinding wheels.
- Sandpaper sets – 80 through 3000 grit for complete sequences
- Polishing cloths – felt, leather, and canvas for different compounds
- Hand files – diamond-coated for initial shaping of hard materials
- Polishing compounds – cerium oxide, aluminum oxide, diamond paste
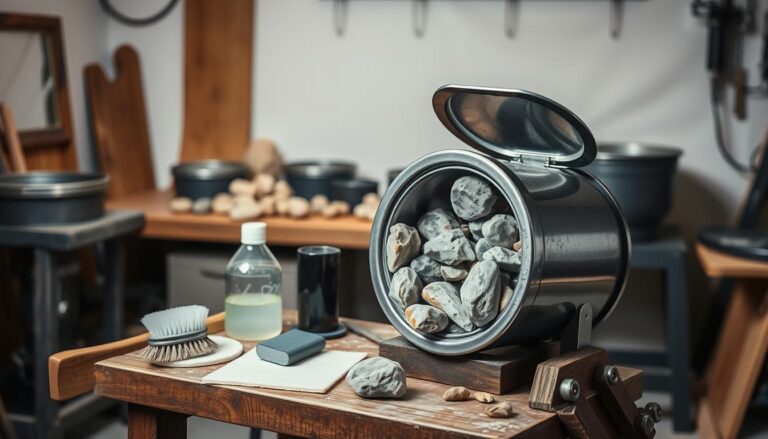
Rotary and Vibratory Tumblers
Tumblers automate the polishing process for multiple specimens simultaneously. Rotary tumblers work better for initial grinding, while vibratory tumblers excel at final polishing stages.
A standard 3-pound rotary tumbler can process mixed hardness materials together by adjusting cycle times. Soft materials complete in 2-3 weeks while hard materials need 4-6 weeks for full sequences.
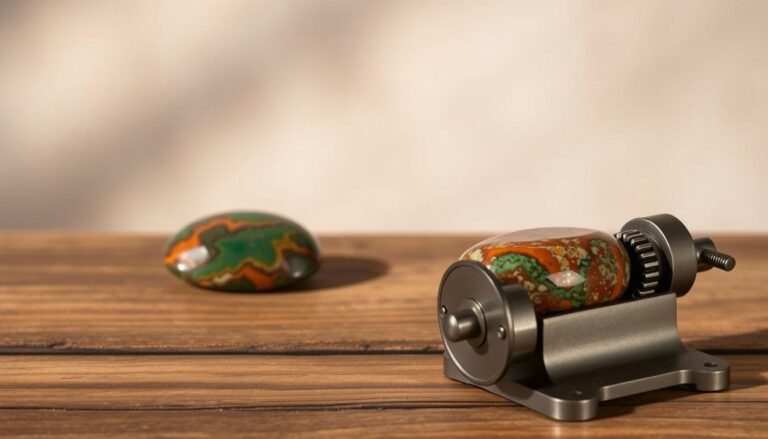
Flat Laps and Cabbing Machines
Precision equipment like 8-inch flat laps and cabbing machines handle the most demanding polishing tasks. These tools maintain exact angles and pressures impossible to achieve by hand.
Cast iron laps charged with diamond compound work best for hardness 7+ materials, while softer tin or lead laps suit materials under hardness 6.
Common Challenges and Solutions
Mixed-hardness specimens create the most problems for rock polishers. Different minerals polish at different rates, creating relief where hard components stand proud of soft ones, which is why understanding mixed hardness rock tumbling techniques is crucial for professional results.
The solution involves adjusting pressure and grit selection throughout the sequence. Use lighter pressure on later stages and extend polishing times to allow softer components to catch up.
Preventing Undercutting Issues
Undercutting occurs when soft minerals wear away faster than surrounding hard minerals. This creates unsightly ditches around hard crystal inclusions.
- Reduce pressure – use minimal force in final polishing stages
- Extend time – longer polishing cycles with lighter touch
- Change compounds – use softer polishes like tin oxide instead of cerium
- Protect soft areas – mask delicate minerals during aggressive stages
Home Polishing Techniques
Successful home polishing starts with understanding your material and choosing appropriate techniques. Beginners should start with simple rotary tumbler methods before advancing to precision equipment.
Basic tumbling requires minimal investment but produces excellent results on most materials. Advanced techniques using flat laps and flexible shaft tools offer greater control for challenging specimens.
DIY Methods for Beginners
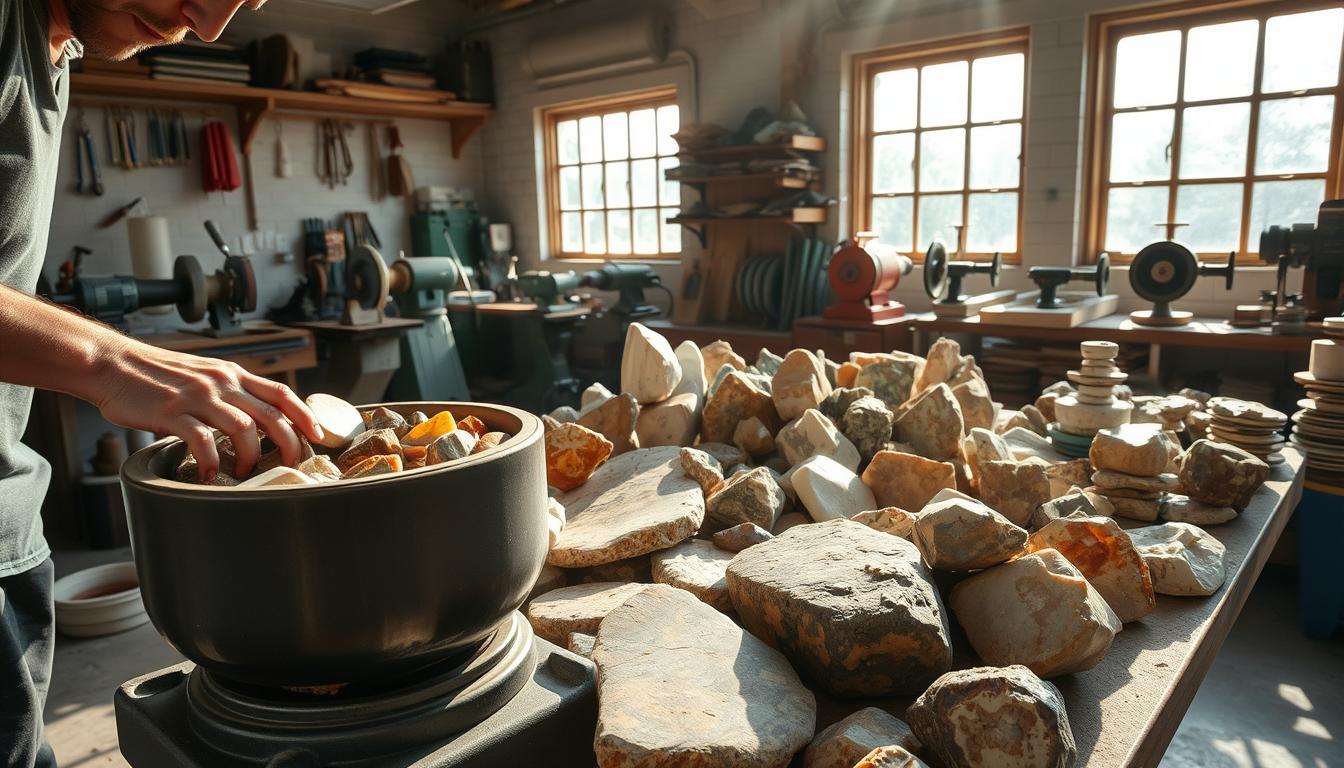
Start with a 3-pound rotary tumbler and basic grit progression. This setup handles 90% of common polishing tasks and teaches fundamental principles without major investment.
Load tumblers 2/3 full with mixed sizes of similar hardness materials. Add enough water to just cover the rocks, then add grit according to manufacturer specifications.
Advanced Techniques
Experienced polishers graduate to flat lap systems for precision work. These tools require more skill but produce superior results on valuable specimens.
Understanding proper grit selection and progression becomes critical when working with expensive equipment and irreplaceable materials.
Frequently Asked Questions
What hardness rocks polish best for beginners?
Rocks with hardness 6-7 like jasper and agate polish reliably for beginners. They’re hard enough to take good polish but not so hard they require expensive diamond abrasives.
Can I polish different hardness rocks together?
Yes, but group materials within 1-2 hardness points for best results. Mixing hardness 6 and 8 materials creates problems, but hardness 6 and 7 work fine together.
How do I know when to move to the next grit?
Move to finer grit when the current grit’s scratches cover the entire surface uniformly. Check with a magnifying glass – all scratches should be the same size and depth.
Why won’t my soft rocks take a good polish?
Soft rocks often develop waxy rather than glassy polish due to their crystal structure. Use very fine final grits and soft polishing compounds like tin oxide for better results.
What causes white residue during polishing?
White residue usually indicates cerium oxide or aluminum oxide buildup from too much compound or insufficient water. Clean thoroughly between stages and use minimal compound amounts.
Final Thoughts
Understanding Rock Hardness And Polish relationships transforms amateur rock hounds into skilled lapidary artists. The key lies in matching your technique precisely to your material’s properties.
Start with easier materials in the 6-7 hardness range, master the basic principles, then gradually tackle more challenging specimens as your skills develop. For those ready to achieve exceptional results, learning how to improve rock tumble polish through advanced techniques will take your work to the next level.